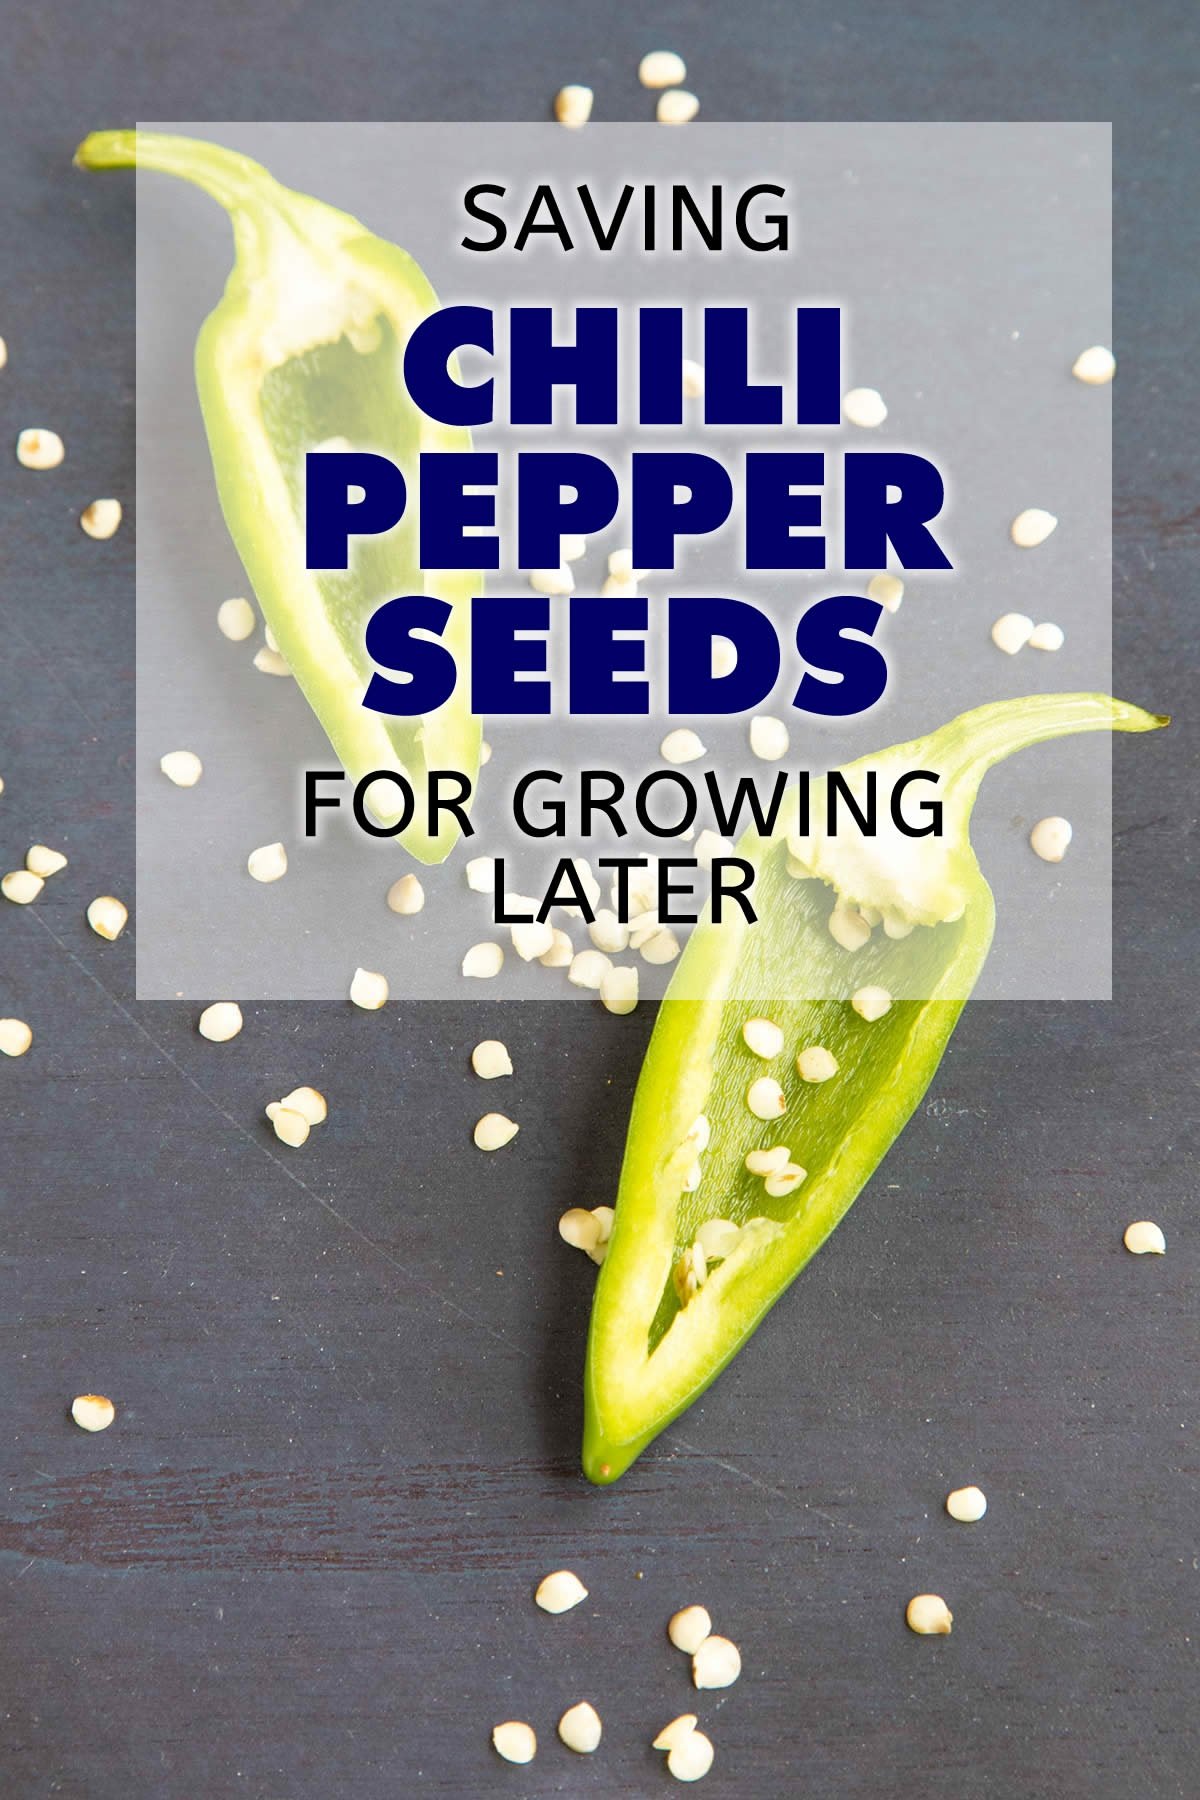
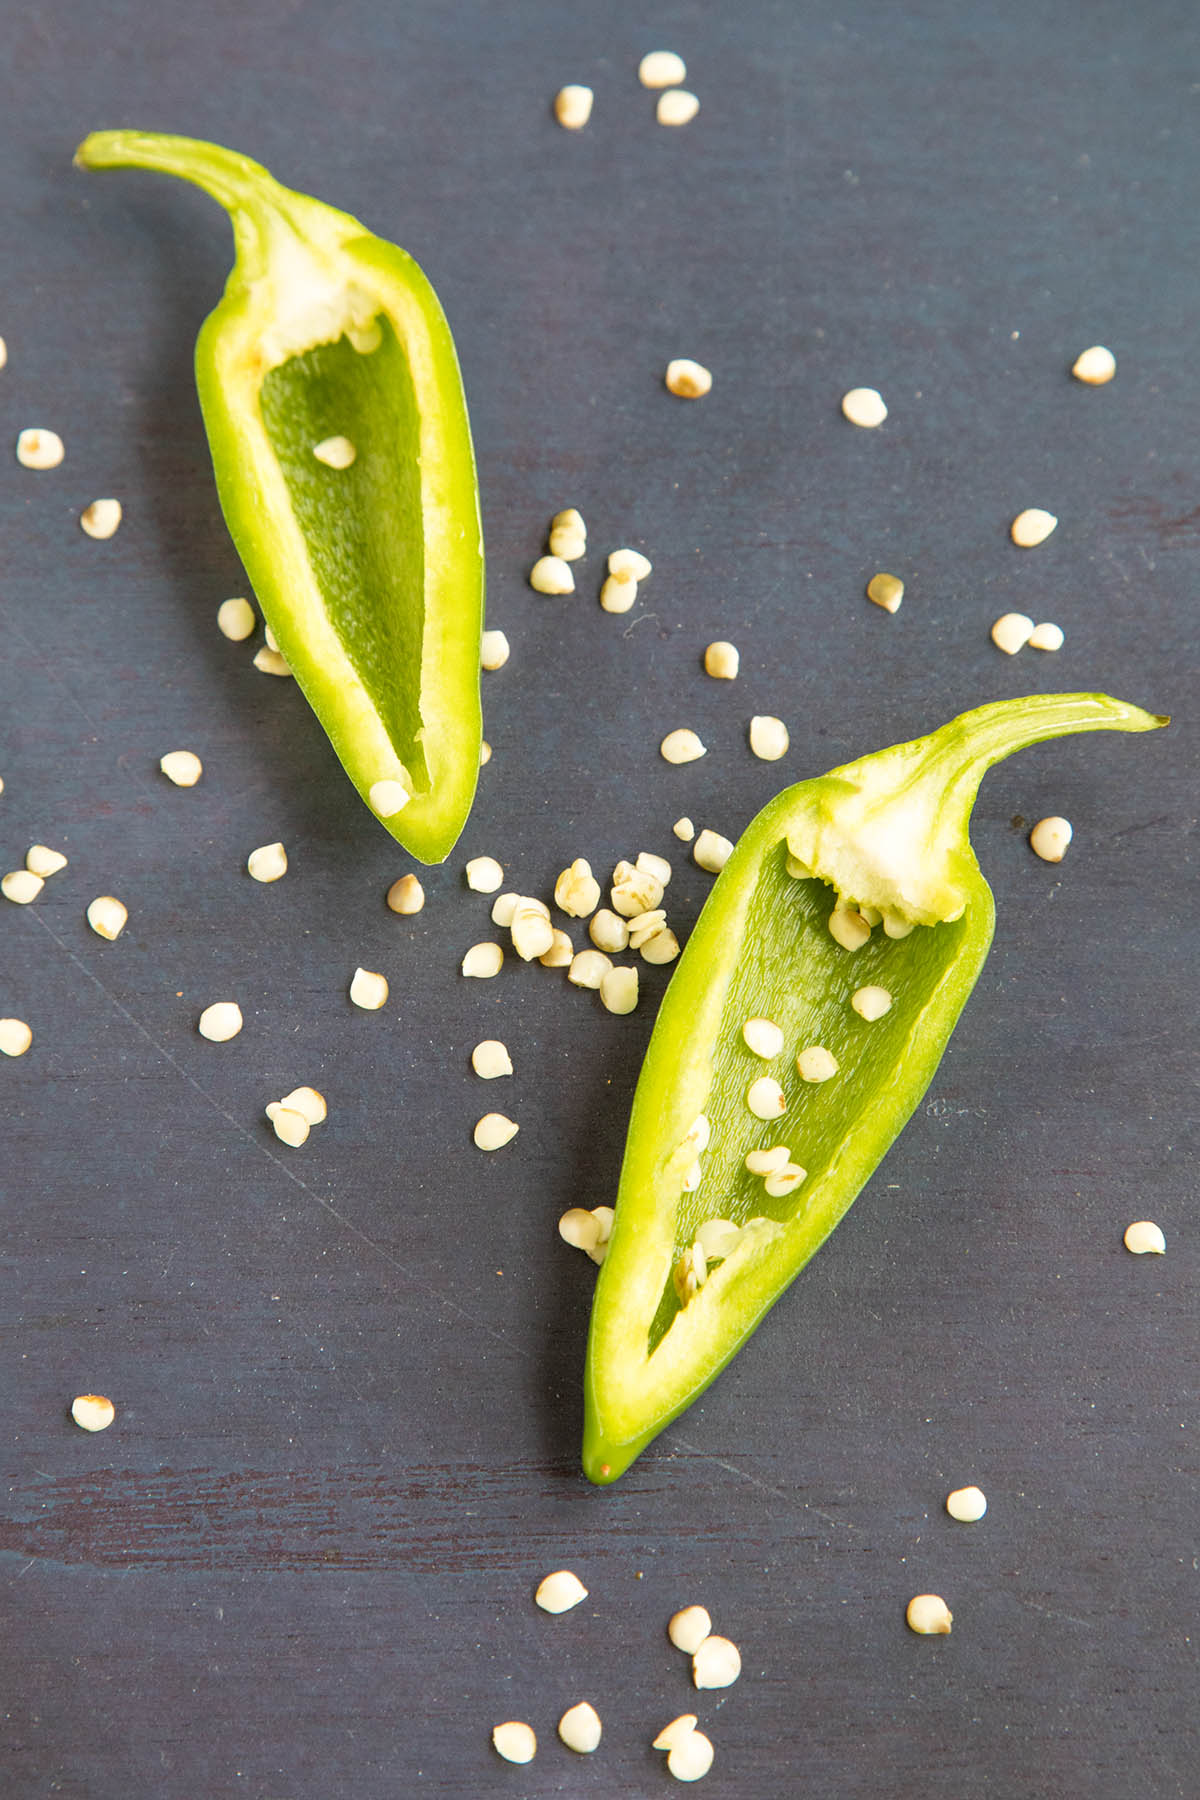
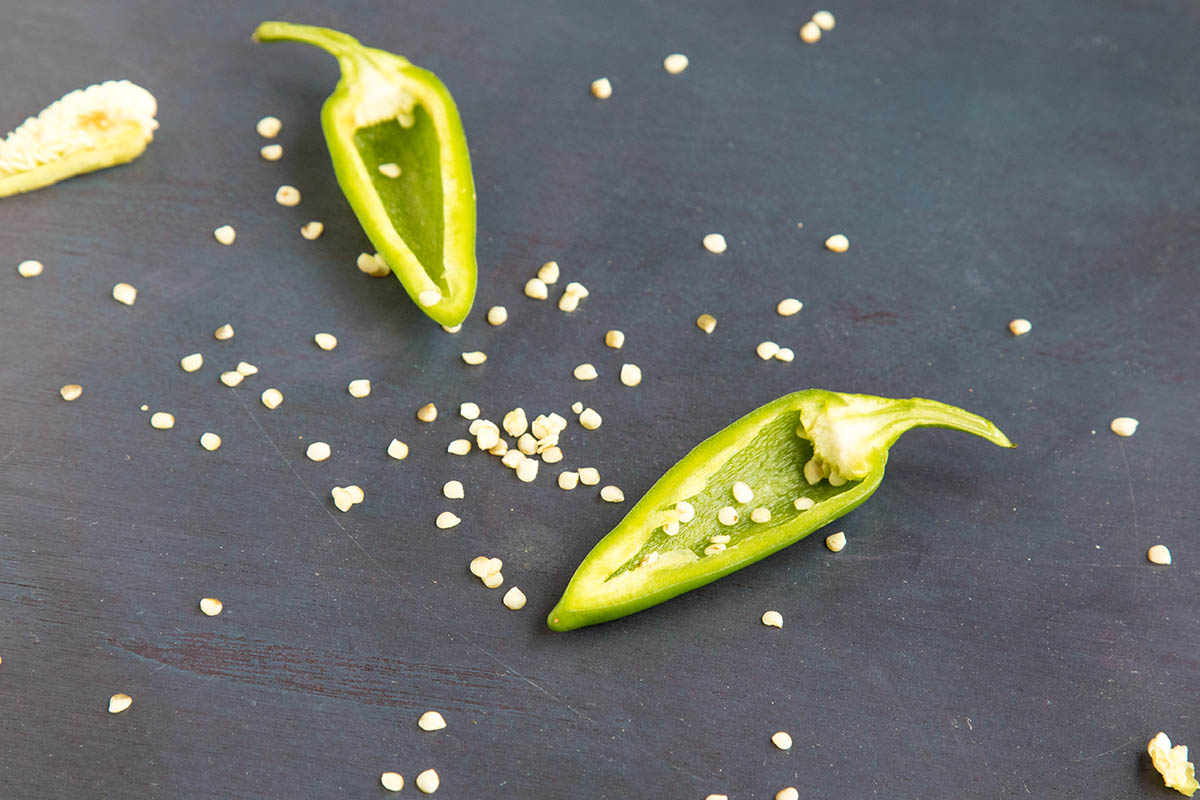
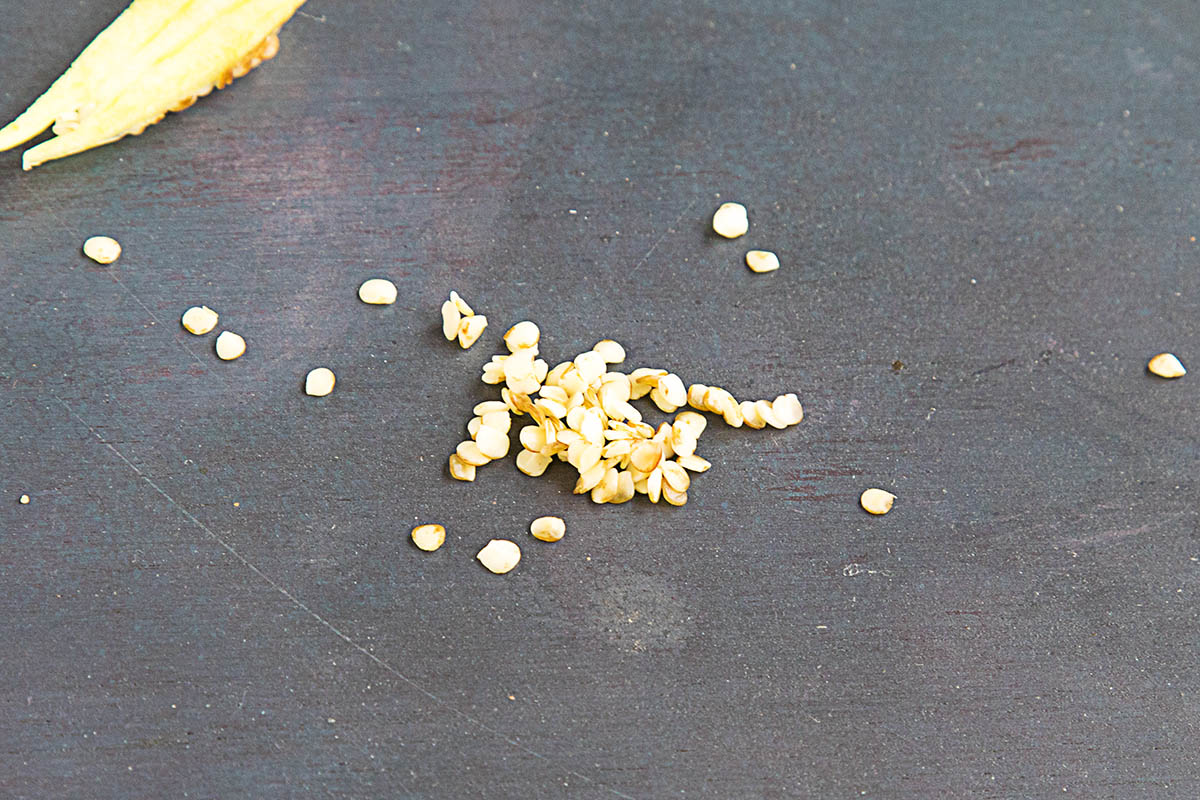
Luckily for us, chili peppers lend themselves to easy seed saving. Harvesting the seeds is a simple process, and they require very little effort to dry and store. The only major issue to consider, however, is the possibility of cross pollination from other peppers in your garden. Pepper plants can cross pollinate, so if you do grow multiple peppers in your garden, you’ll want to take steps to limit cross pollinating. This genetic variant will not show up in your current plants, but may show up in future generations grown from those seeds. This is a highly popular method for creating new pepper strains with new and interesting characteristics, such as thicker pepper walls or greater heat. If you want the same peppers from year to year, it is best to not save seeds from cross pollinated pepper plants. If you are growing plants for seed, then grow them at sufficient distance from one another, or better yet, use specialized netting to protect them. Note that not all chili pepper species cross pollinate. Annuum will cross easily with Chinense, sometimes with Baccatum and Frutescens, but not with Pubenscens, which generally does not cross with any other species. If your goal is to grow seed and sell them commercially, you will need to isolate your plants by type and take steps to ensure no cross pollination occurs. If you are simply growing a home garden, you may not care what types of peppers you get, and it might even be fun to grow your own hybrids. Regardless, the process of saving pepper seeds for growing later is the same. Mature seeds are hard and dull white in color, where immature seeds are softer, bright, glossy white. Only mature seeds are viable for saving for future growing. Next, clean and dry the peppers. Cut them open and remove the seeds. Some seeds are easier to remove than others. Bell peppers, for example, are quite easy, as the seeds are prominently located at the top of the pepper. Smaller peppers, including superhots, aren’t quite as easy to remove, though still aren’t that difficult. There are techniques, such as finely chopping or processing the peppers then mixing them with water in a bowl, allowing the seeds to sink to the bottom, but use whatever is easiest for you, whether that is using tweezers or just chopping and removing the mature seeds. Just be sure to wear gloves when handling hot pepper pods. Next, spread the seeds out on a flat surface indoors and away from direct sunlight in a well ventilated room. There should be no humidity. Do not use paper plates or paper towels, as the seeds will clump and stick to them. Ceramic or coated plates work well, or even cups. Allow to dry for 2-3 days, or up to a week. Shake or flip them each day to ensure even drying. They will be ready when a seed is brittle and breaks rather than bends when pressure is applied. You can also use a dehydrator to dry the seeds, though temperature is very important. Do not exceed 95 degrees F. 85 degrees F is ideal for drying pepper seeds for growing. Remove the seeds and dry them per the instructions above. It would be best to get viable seeds and grow them, then save those seeds from your own garden grown plants. Store them in a cool, dark, dry place, such as your cupboard or refrigerator. The refrigerator is the best for storage. These seeds will be viable for approximately 2 years, though it is best to use them within a year as the genetic material can degrade and the likelihood of non-sprouting increases with age. Learn more about growing chili peppers here - A Guide to Growing Chili Peppers.
Growing Chili Peppers from Seed Growing Chili Peppers in the Ground Growing Chili Peppers Indoors Growing Chili Pepper Plants in Pots Harvesting Your Chili Peppers Winter Gardening for Chili Peppers and more