It’s been a while I’ve shared some chaat recipes aka Indian street food on the blog here. Ever since I’ve been in the US I’ve lost track of the last time I indulged in some chaat. It was a regular affair back home. Nonetheless, I’m happy to share this puri recipe, the vessel that carries all that yummy filling and mouthwatering, spicy and tangy flavored water or thinned out chutneys. Pani Puri or golgappa is hands down my favorite Indian street food, followed by dahi puri, sev puri and much more actually. And now I’ve mastered the art of making some at home, that we enjoy guilt-free. Well, I’m not talking about the calories of course, rather of the quality, prepared with clean ingredients and fresh water. Sure, ready-made puri is readily available in Indian stores, not only the ready to fry pani puri or golgappa but also the ones that are already fried. It does make life simpler. But, I prefer to make my own puris at home. It is really easy, although a bit time consuming, you can’t beat freshly made homemade puris. You know what goes into it, and the quality of oil you used to fry them. Golgappa does sound like a pretty strange name, right? It does not have an English name. The puri or golgappa is basically a crispy sphere filled will all sorts of tongue-tickling deliciousness. Stay tuned for that part in my coming post.
Puri ingredients
Fine semolina, flour, and salt are the main ingredients to make this crispy puri for paani puri. I’ve tried various combinations of making this puri, so I can share a foolproof recipe here with you guys. You can also make maida puri with maida or atta golgappa with wheat flour or a mix of rava and maida or rava and atta. When I initially began making puris at home, I experimented with various permutations and combinations. My previous experience in R&D bug surfaces now and then, even though I don’t work as of now. But I love to experiment where required. I tried the following 3 variations to make these pani puri shells, just to see if you really need a leavener such as baking soda to make these puff up.
First Experiment: semolina + salt + flour (maida) + water Second Experiment: semolina + salt + flour (maida) + baking soda + water Third Experiment: semolina + salt + flour, dough kneaded with club soda.
All these 3 doughs yielded delicious, crispy and puffy puris. So the bottom line is that you may or may not add baking soda. It is basic science, the moisture in the dough makes these puri swell upon coming in contact with the hot oil, the steam escapes causing it to puff, the same science that applies to the soft and puffy puris. Here the puris are crisp and not soft, coz the dough here is made mainly of semolina, and maida is added as a binding agent. I do add a little baking soda though, coz almost all the puris will puff up. When you don’t add baking soda, you have to rely heavily on rolling out the dough as evenly as possible. It is completely doable and will come with practice. But if you are a beginner at making puris, adding a pinch of baking soda or kneading the dough with club soda would be your safe bet to make perfectly puffed up puris.
You can make these pani puri shells in 3 easy steps
The recipe to make puchka balls or puri is really uncomplicated and pretty easy to execute.
Step 1: Make a dough that is not too hard nor too soft. Step 2: Next roll out the dough. Cut it into rounds and place them on a damp cloth covered with another damp cloth. Traditionally the dough is divided into small marble-sized balls, and each ball is rolled out individually. Some people use a roti maker to flatten out individual balls. Basically, they use this appliance as a pani puri maker. If you have it, go ahead and use it, it does flatten out the dough evenly, which will help in the puris puffing us evenly. But it is not a necessity and a must-have. Do it as I did, and you will have good results as well. Seriously, no biggie! Step 3: Next, fry the puri in moderately hot oil until golden brown.
These are the 3 main steps, but I’ve broken down them further in the stepwise instructions so that it is easy for you to understand. I’ve never tried a baked pani puri recipe, and I’m not sure if it would work. You need that chemistry of the interaction with the hot oil and the moisture in the dough for it to puff up. I just don’t think that can be achieved in the oven. You would end up with a crispy cookie of sorts instead is what I feel.
Tips to make the perfect puri for pani puri
There is no specific secret of crispy pani puri, just keep in mind the following, and you will be making puris like a pro.
The consistency of the dough
The puri for pani puri needs to be crispy, and that is achieved only with the activation of gluten strands in the semolina. That’s why it is important to knead the dough well, so it is elastic enough when rolled out without any tearing.
The thickness of the dough when you roll it out
You have to be careful about the thickness of the dough. It has to be thin, or else they won’t puff up whilst frying.
The temperature of the oil whilst frying the puris
The oil should be heated on medium-high heat, it should be hot enough that the puris begin to float and puff up. Fry them until they are golden brown and crisp. Spread the fried puris on a tray lined with absorbent paper to drain off excess oil. Do not stack the puris one over the other while they are still hot, as they can get soft and soggy. Once they are completely cool, transfer to an airtight container.
So next time you want to have some chaat, especially pani puri at home, you ought to make your own puris. And I’ve got you covered with the best poori recipe, so what are you waiting for? Ahh! the pani?? Stay tuned, coz that’s coming up in a few days along with the complete Bombay pani puri recipe.
You may also enjoy these Indian street food recipes
Ragda Patties Kutchi dabeli Veg Frankie Don’t forget to check this post on the 3 essential chutney’s for chaat snacks as well.
How to make crispy puri for paani puri/suji golgappa – Step by step instructions
How to make rava pani puri dough?
1.In a medium-sized bowl, add 1 cup fine rava, 2 tablespoons flour, 1/8 teaspoon baking soda, and a pinch of salt. Mix well.
2.Now add water, 1-2 tablespoons at a time, and knead a smooth, elastic dough that is neither too soft nor too stiff. Remember, rava absorbs water, so if you knead a very stiff dough, it will get difficult to roll out the dough later. It will take about 8-10 minutes to knead the dough.
3.Cover the dough with a damp kitchen napkin, set aside for 30 minutes.
Rolling out the dough
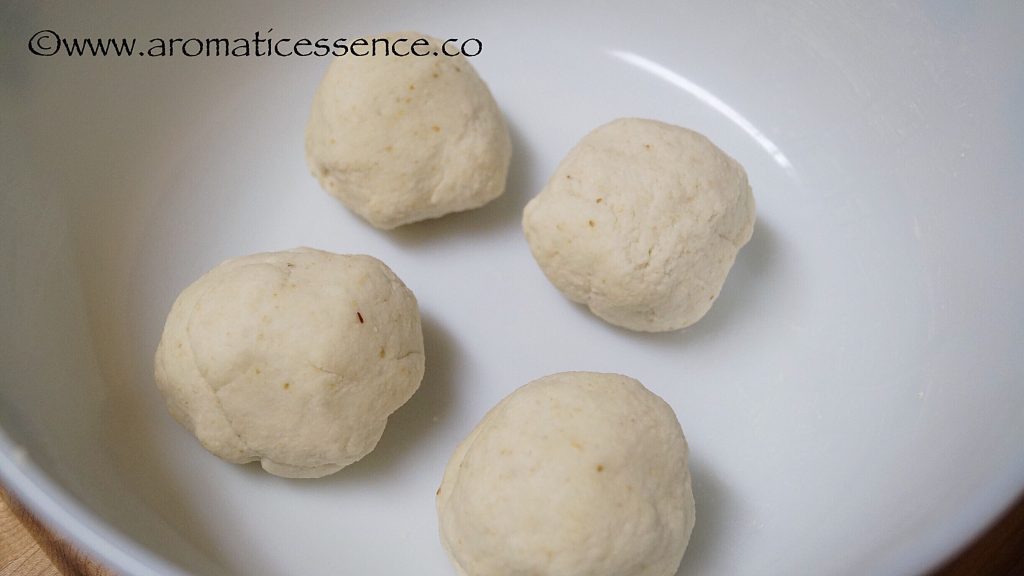
1.After the resting period, knead the dough again for another 5 minutes. Divide the dough into 4 parts.
2.Grease the rolling pin and board or work surface with oil. Take one part, and roll it evenly to a diameter of 6.5 inches approx and 2 mm in thickness. The rolled out dough should not be too thick as the puris won’t puff up, and they should neither be so thin that you can see the surface of the board through it. Using a round cutter or a sharp bowl, cut out circles (or fancy shapes for a change :D).
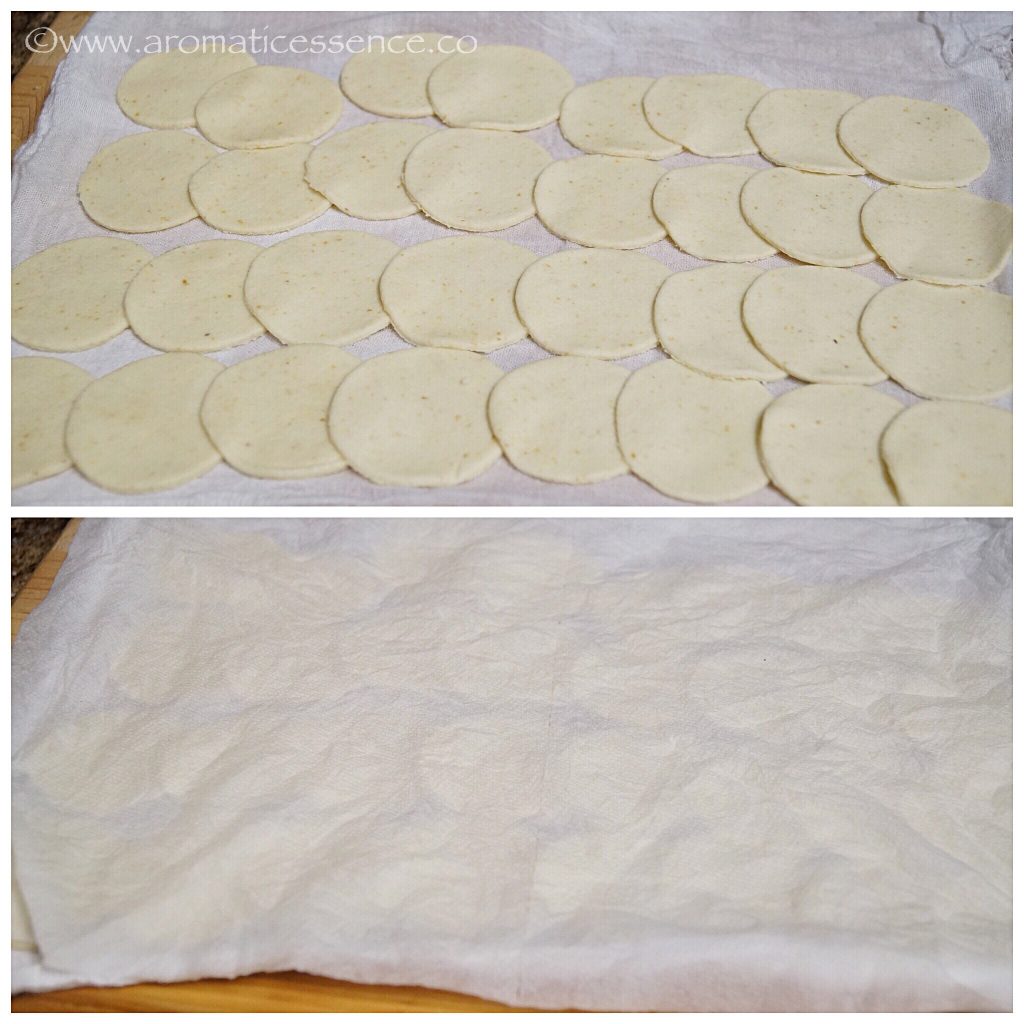
3.Transfer the cut-outs onto a damp cloth, cover with another damp cloth. Repeat the same with the other 3 parts. Collect the scraps together and knead again, roll it out repeat the same procedure until all the dough is used up.
Frying the puris
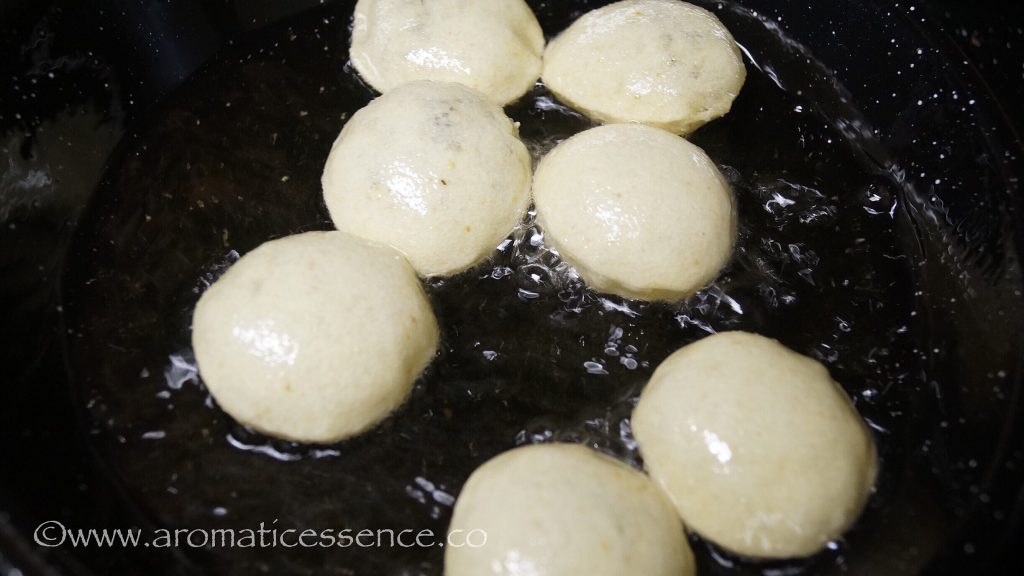
1.Heat oil over medium-high heat in a heavy-bottomed wok/kadai. To check the right temperature and thickness of the puri, test one puri, it should sizzle, float and puff up immediately.
2.Gently slide a few puris in the oil, fry on medium-high heat, you will see them rising on top and puffing up within a few seconds. You may nudge the puris with a slotted spoon to help them puff up. Reduce the temperature to medium-low once the puris puff up to maintain the temperature.
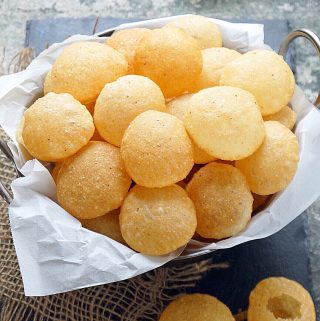
3.Keep flipping them on both sides until it reaches a light golden brown color. The ones that don’t puff up can be used for other chaat snacks like sev puri etc.
4.Fry the remaining puris, in the same way, maintaining the temperature of the oil as required. If the oil is too hot, the puris will burn, and if it is warm, the puris will absorb a lot of oil.
Notes
Do not try to roll out the entire dough, especially if you are a beginner, as you may have spots of uneven thickness. For best results, I find it’s good to divide the dough into at least 4 parts. Rolling a smaller part of the dough gives an even thickness, which in turn helps most puris puff up. If you followed all the steps correctly and still find that even though the puri puffed up they are soft and not as crisp, then how do you troubleshoot that? It is very easy, turn on the oven and preheat it to the lowest temperature for about 15 minutes. Switch off the oven and place all the puris in a baking tray, and bake for about 15 minutes. They will crisp up. Once it is completely cool, transfer to an airtight container.
★ If you try this suji pani puri recipe, I would love to hear from you! I’d appreciate it if you could rate and leave a review below in the comments. Your reviews help others know the recipe better too. Feel free to share your feedback and suggestions at [email protected]. Thanks so much 🙂 You can also follow me on Facebook, Pinterest, Instagram & Twitter


