WHAT IS POHA?
Poha or aval is nothing but rice that has been flattened into flakes. It is also known as beaten rice. There are two kinds of poha that are available in the market- thin and thick poha. For this chivda, we will be using thin poha, so it is also known as patal poha chivda. Thick poha (jada poha) is used to make another breakfast dish, that is also popular in the Maharashtrian cuisine, Kanda poha. That is soft and moist as opposed to this poha chivda which is crisp. You can even make crispy chivda with thick poha variety, but I prefer the ones made with thin poha. Chivda or chiwda or even pauva no chevdo as it is known in Gujarati is generally made in a large batch and stored, it lasts for many days, and is a great option for snacking!
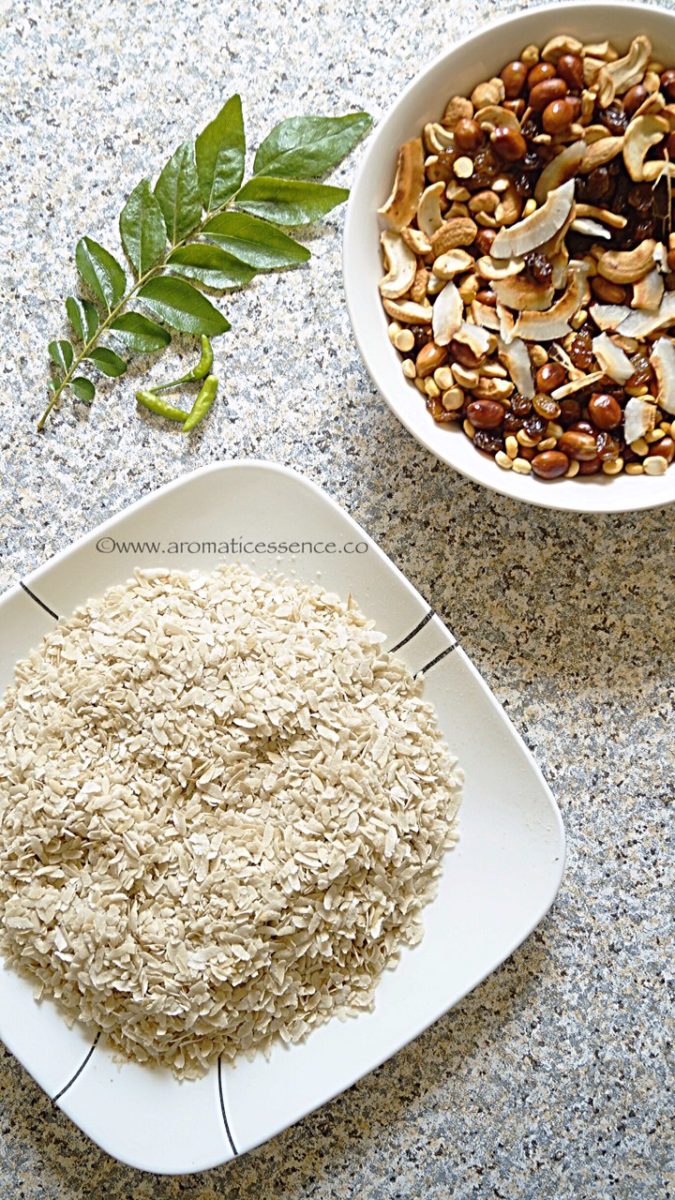
HOW TO MAKE POHA CHIVDA | POHA NAMKEEN?
For this chivda mixture, thin poha is combined with dry fruits, coconut, and raisins and tempered with mustard seeds, curry leaves, and few other ingredients. Now, traditionally each ingredient is deep fried and then everything is assembled, but keeping the health quotient in mind, I’ve dry roasted most of the ingredients and used little oil for the tempering. The roasted poha chivda was still as great and crisp as the fried poha chivda 🙂 You can also make chivda in the microwave by roasting each ingredient separately in intervals. You may coat the ingredients with a little oil if you wish too. This poha chivda recipe was shared by my mum in law’s Maharashtrian neighbor. I’ve adjusted the quantities to suit our taste buds. There is no fixed rule to use these quantities, you can add more or less of any ingredient and customize it totally to suit your palate. Each household probably has their own little variation to this poha chivda. Mostly this is prepared as a savory snack during Diwali, along with other savory snacks like chakli, masala sev, gathia etc which is distributed along with other delicious sweets to family, friends, and neighbors.
This time I thought of making some at home. I like to munch on these savory snacks along with my evening cuppa masala chai. Moreover my son is a big fan of this poha chivda too, actually, he likes to pick up the peanuts from the chivda. So I’ve added a lot of peanuts and all the other dry fruits. I’ve not made this very spicy, coz as I said my son eats it too. So if you like a spicy chivda, you could add more green chillies in the tempering. This recipe makes a pretty healthy chivda, as there is minimal oil that is used, so you can feel good about snacking on this 🙂
You can also make other poha snacks such as poha cutlets, poha idlis or add them to your regular idli batter while grinding rice to make softer idlis. In Goa, we also use this poha to make another sweet tea time snack. Simply mix soaked poha with grated coconut, jaggery, and cardamom. Tastes amazing!! Do try this easy chivda recipe this Diwali or simply make some to snack on 🙂
ENJOYED THIS ROASTED POHA CHIVDA RECIPE? HERE ARE SOME MORE DIWALI SWEETS TO TRY
Karanji Rava laddu Kesar Peda
STEP BY STEP INSTRUCTIONS TO MAKE PATAL POHA CHIVDA | POHA CHIWDA | ROASTED POHA NAMKEEN
1.Dry roast the thin poha (flattened rice) in batches in a sufficiently big heavy-bottomed pot or kadai. Do not brown the poha. Set it aside to cool on a plate. Now roast all the ingredients one at a time, first the peanuts, then dalia dal, cashew nuts. Add about a teaspoon of oil, and roast the raisins until they puff up, remove and set aside. Finally, roast the dried coconut slices. Remove all the dried fruits and nuts in a plate. Set aside.
2.In the meanwhile prepare the tempering, Add 1 tablespoon oil in the same kadai, once it’s hot enough, splutter mustard seeds, add in fennel seeds next followed by chopped green chillies and curry leaves. Fry on hot heat until the curry leaves and green chillies crisp up, make sure they don’t change color. 3.Switch off the heat, and add in the dry spices – salt, sugar, turmeric. Mix well. 4.Return the pot to heat, and add in the dry roasted poha and roasted nuts, dalia dal, dried coconut slices and raisins. Mix well stirring continuously for 2-3 minutes on medium-low heat. Switch off the heat. The chivda will be slightly chewy when it’s warm, it will crisp up upon cooling completely. Leave it in the pan itself for extra crispiness, or transfer to a wide plate and let it cool. Store in an airtight container once it is completely cool.
HOW TO MAKE POHA CHIVDA | POHA NAMKEEN?
PIN IT FOR LATER
I would love to hear from you! Please feel free to share your feedback with photos and suggestions to me at [email protected] You can also follow me on : Facebook @ Aromaticessence Pinterest @ Aromatic Essence Instagram @ aromatic_essence77 Twitter @ freda_dias Regards, Freda