If you enjoy my sushi recipes like Hand Roll Sushi, California Roll, Dragon Roll, and Spicy Tuna Roll, there’s one essential complementary item you need to enjoy with your amazing sushi. And that’s pickled sushi ginger, also known as gari. Let me show you how easy it is to make this delicious pickle at home!
What is Pickled Sushi Ginger?
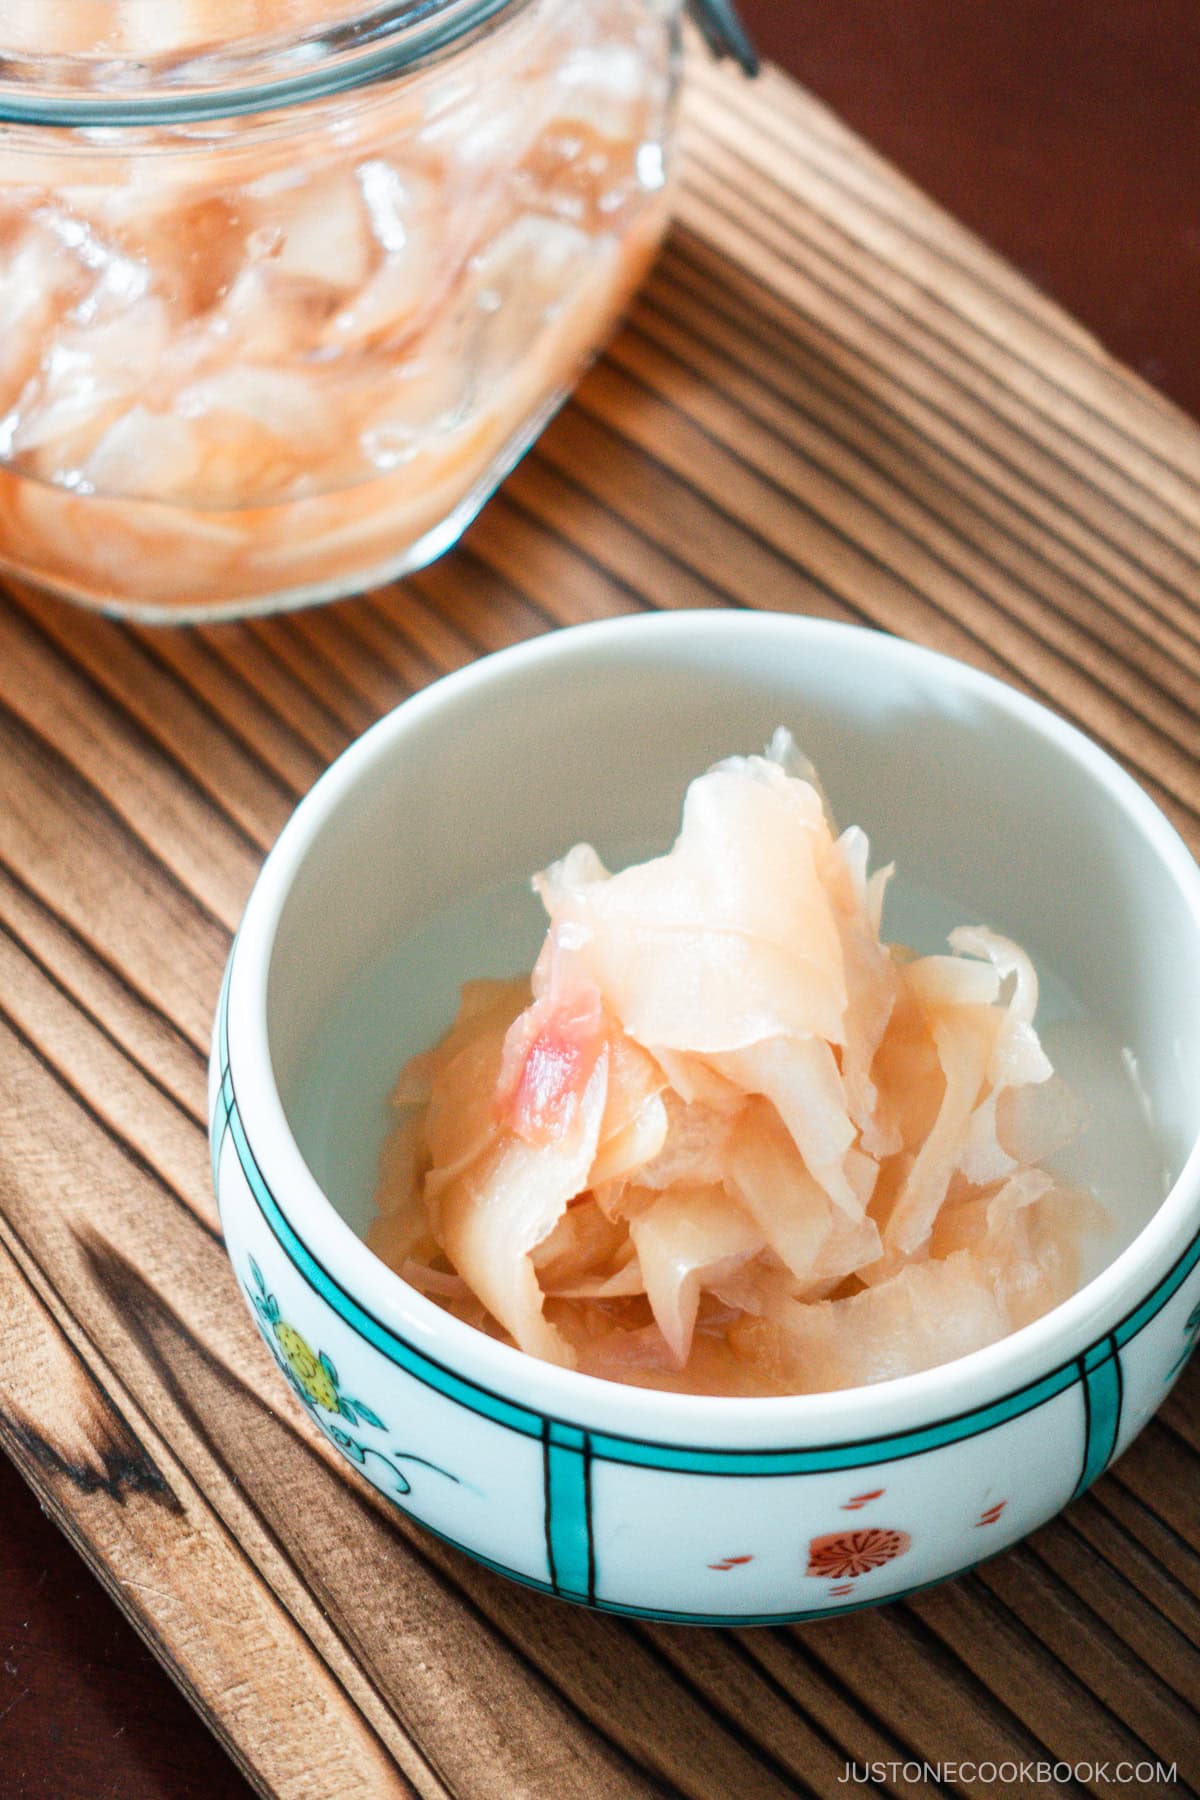
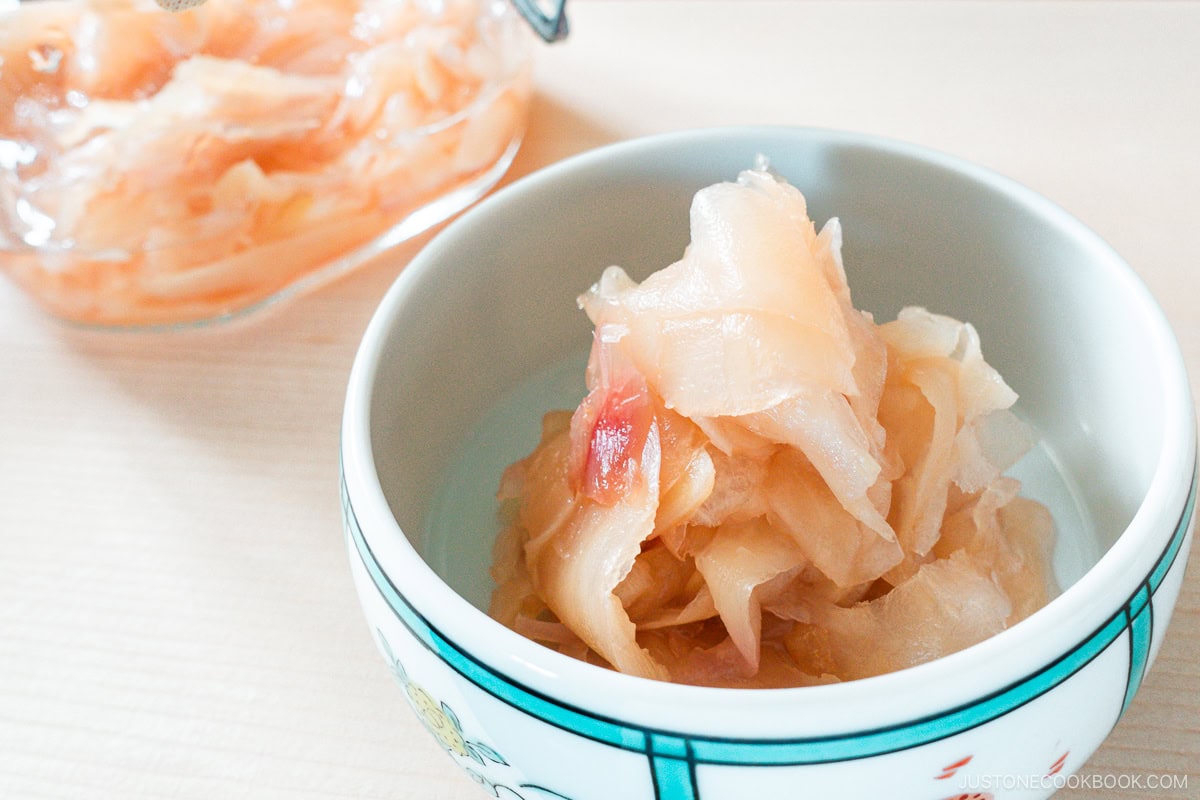
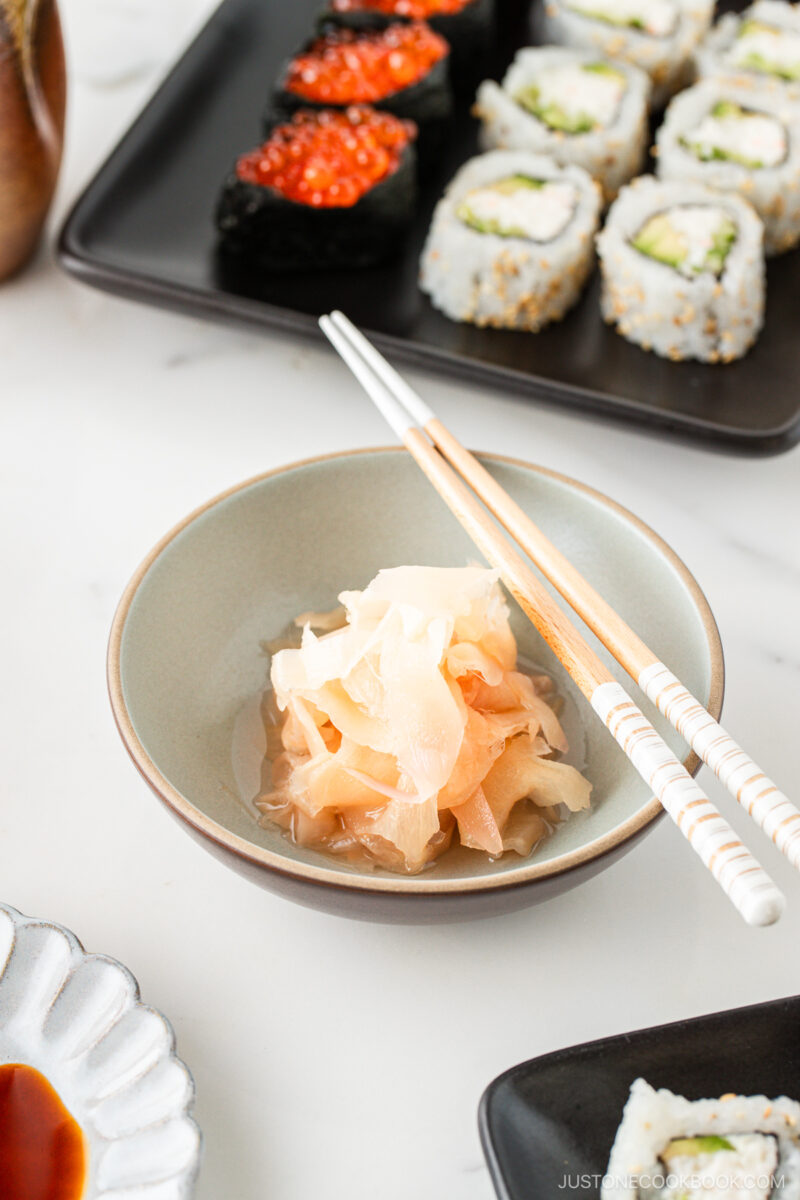
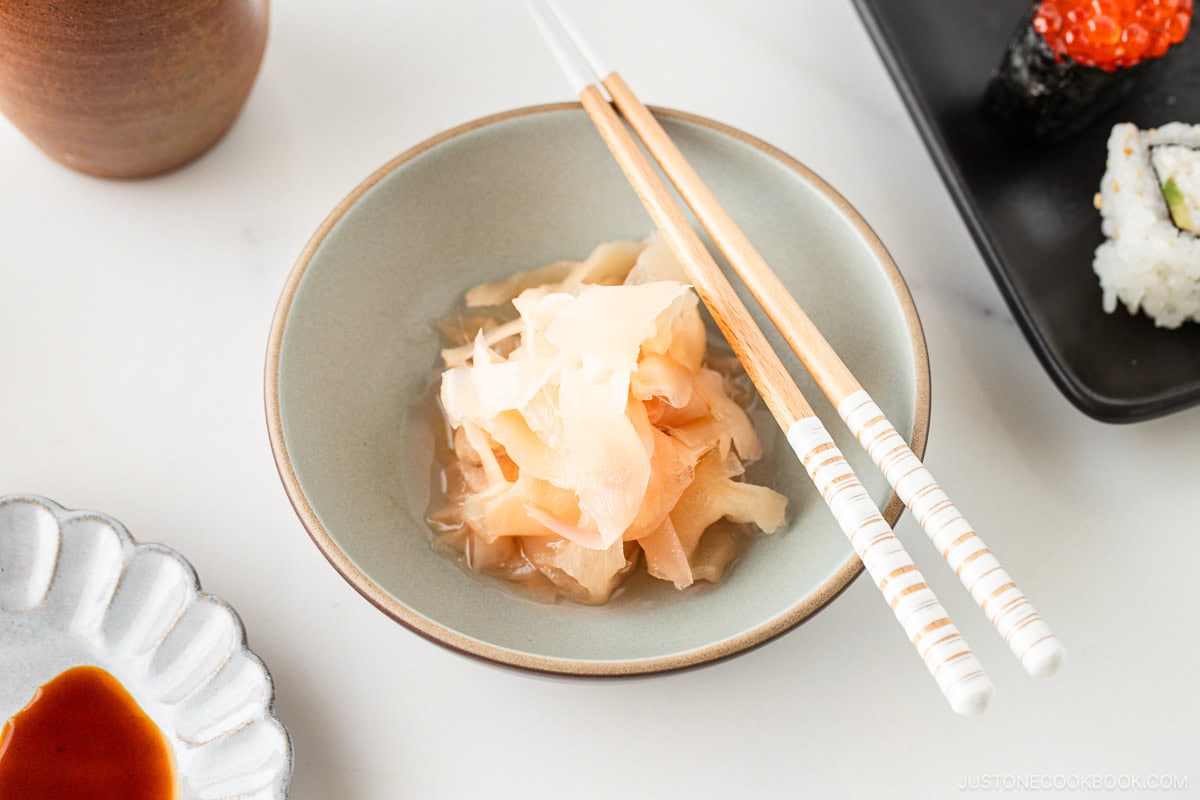
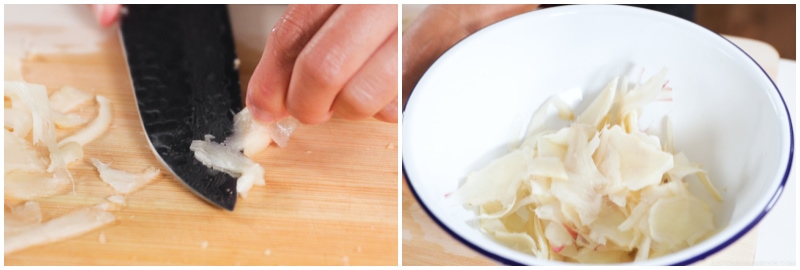
In Japan, we call pickled ginger gari (ガリ) or shin-shoga no amazu-zuke (新生姜の甘酢漬け). They are very thin slices of young ginger soaked in sweet vinegar brine (amazu) until blush pink in color. The name gari is an onomatopoeia for the crunching sound of a knife thinly slicing the ginger! We often serve and eat pickled ginger while eating sushi. It’s an essential part of a sushi meal. The spiciness and sweet vinegar flavor serve as a palate cleanser between courses, allowing you to enjoy different pieces of fish and rolls.
What are Sweet Pickles or Amazuzuke?
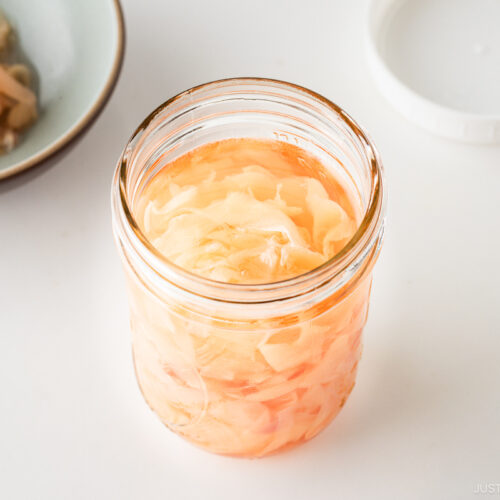
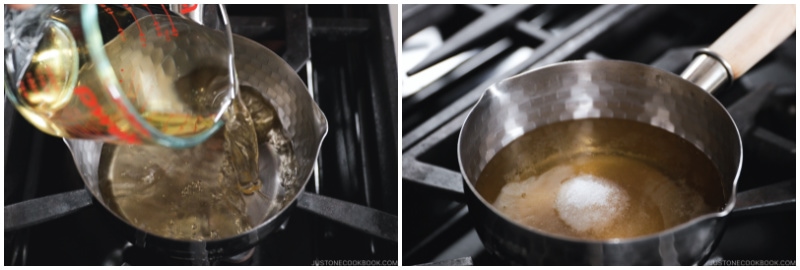
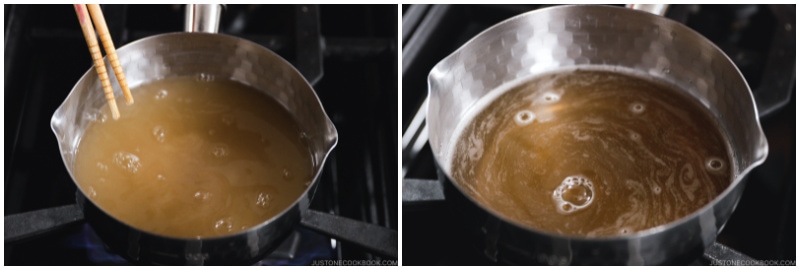
There are many types of pickles that we call tsukemono (漬け物) in Japan. We call the sweet type amazu-zuke (甘酢漬け). For the pickling solution, you just need 3 ingredients. Simply put rice vinegar, sugar, and salt in a saucepan and boil, then let cool. You can keep it in the refrigerator for 2-3 months to use in batches. Do you need to use rice vinegar? Ideally, yes. The taste is mellow, milder, and more refreshing compared to the other types of vinegar. Because of that, you can use less sugar. You must add more sugar if you use another type. For authentic Japanese flavor, go with rice vinegar!
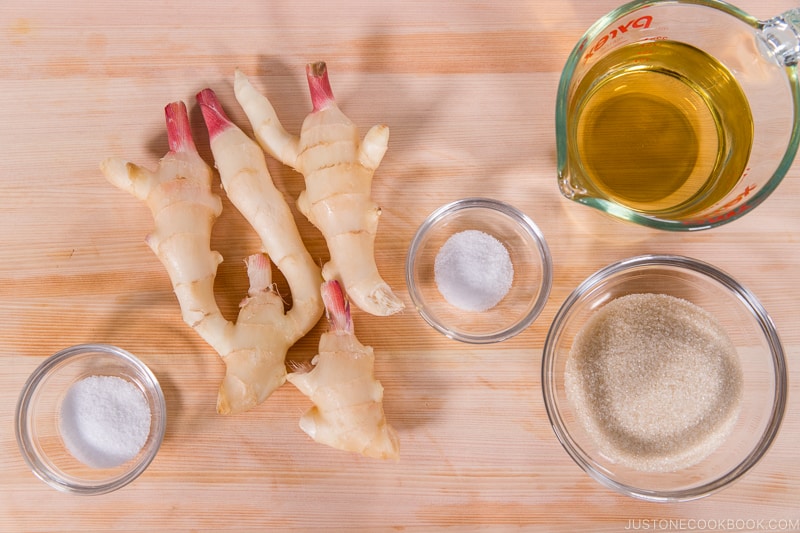
Ingredients for Pickled Sushi Ginger
young ginger – we’ll talk more about this later salt – roughly 3–5% of the ginger weight; I use kosher salt rice vinegar, sugar, and salt – for the sweet pickle solution (amazu)
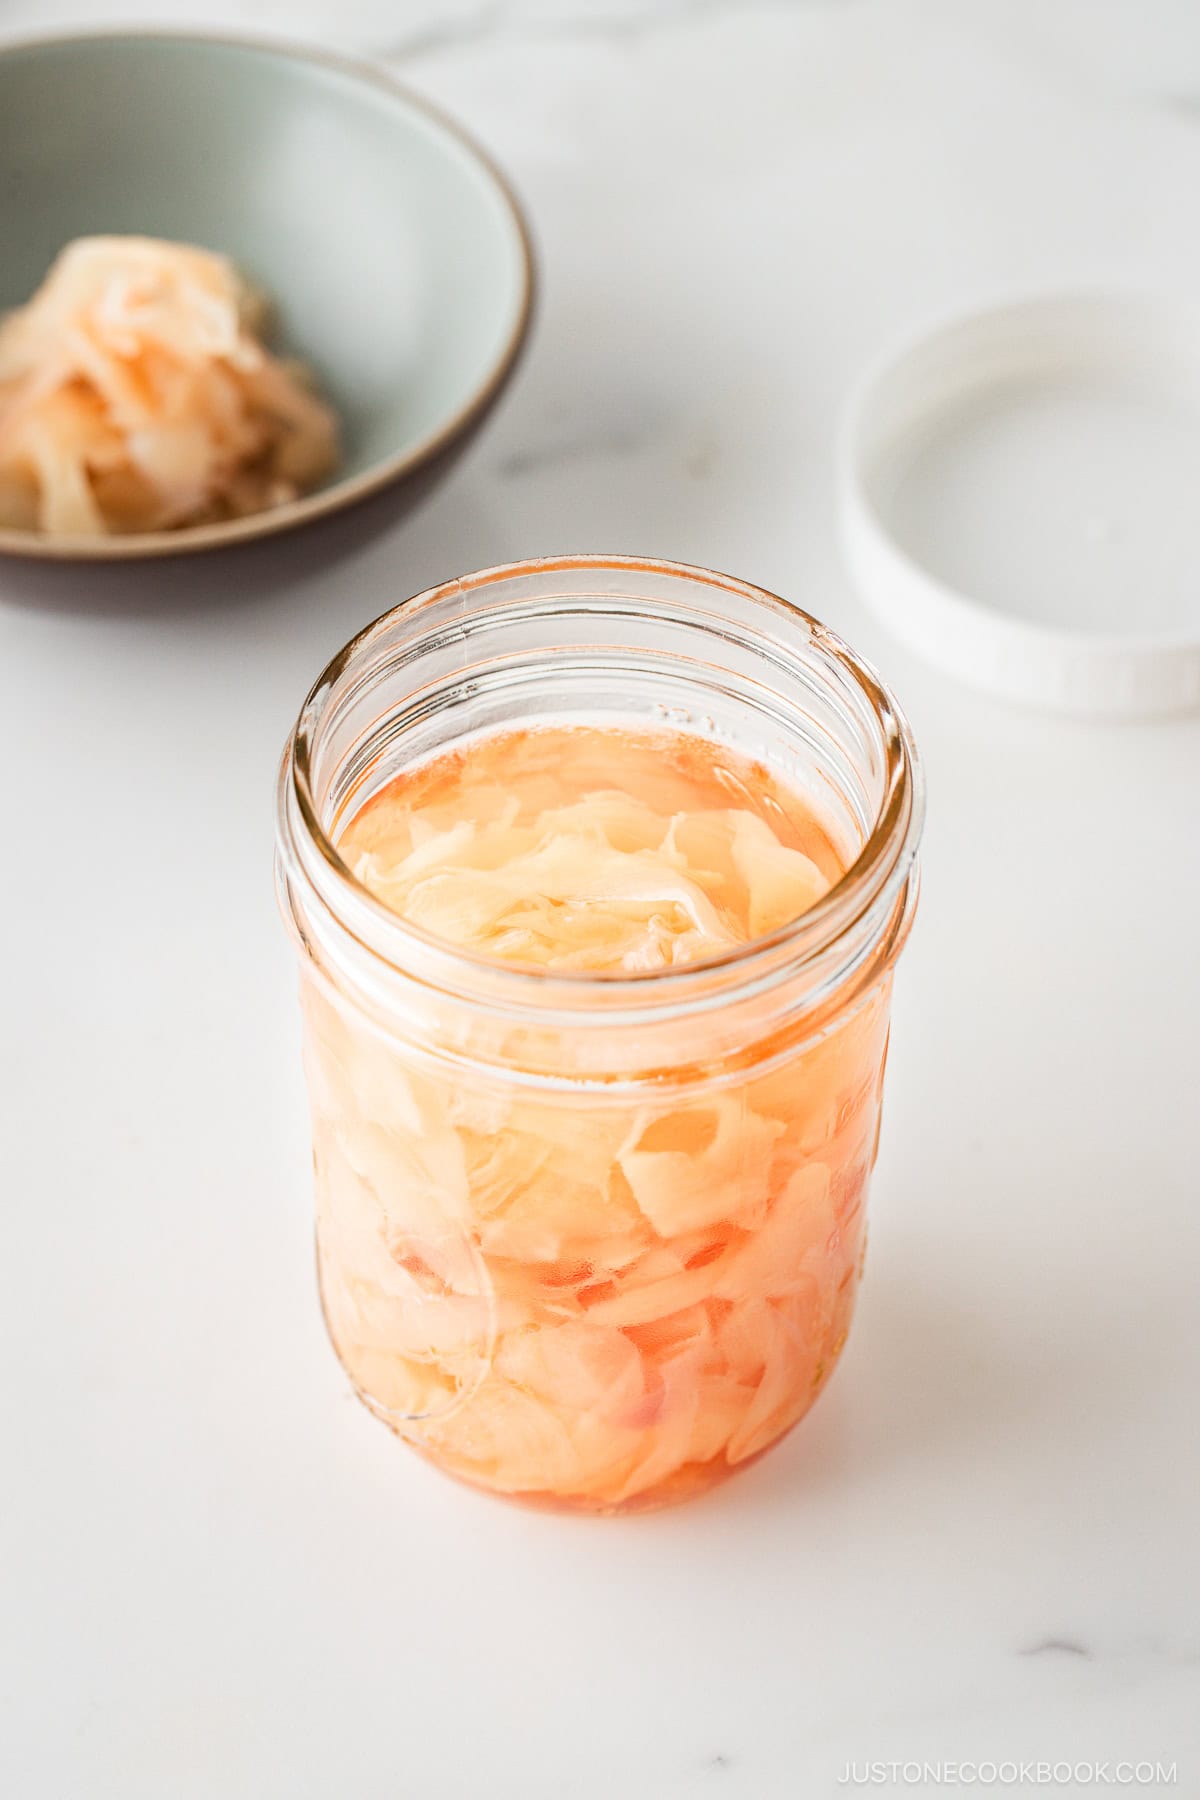
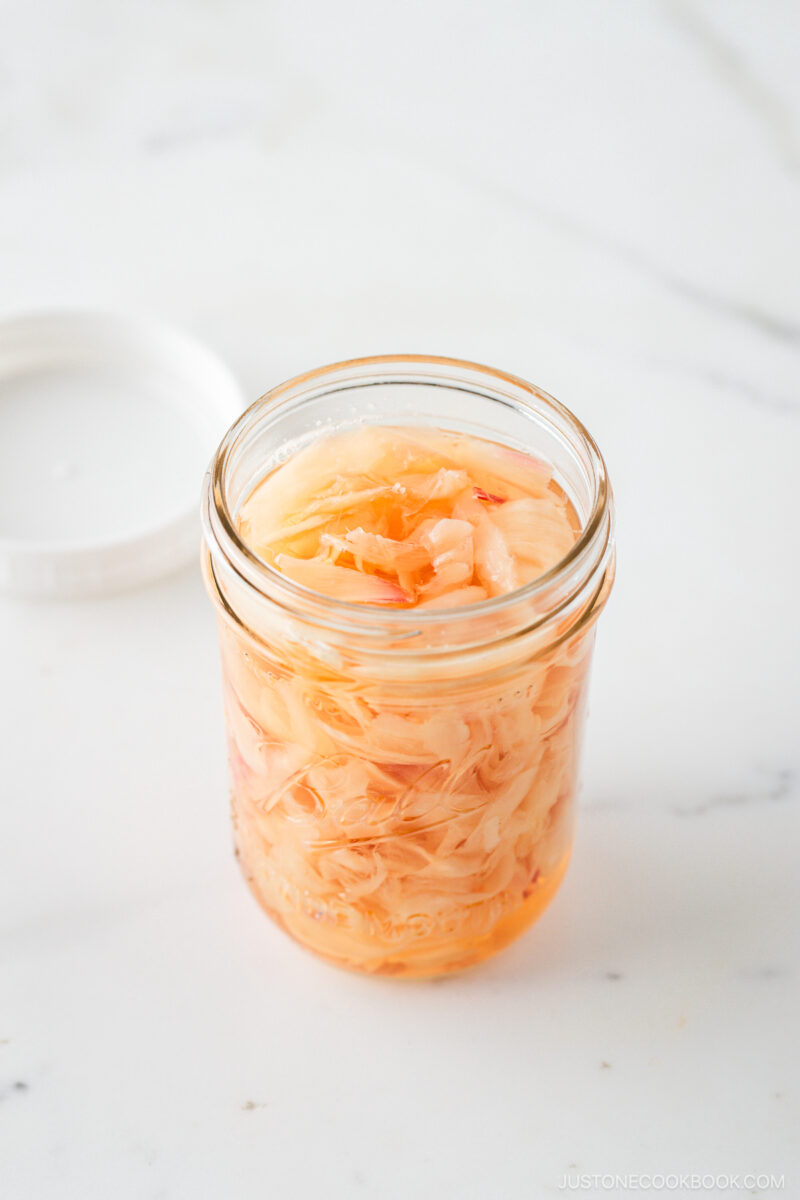
If you use white granulated sugar, the pickling solution will be lighter in color and showcase the pink more visibly (see the image below).
How to Make Pickled Sushi Ginger
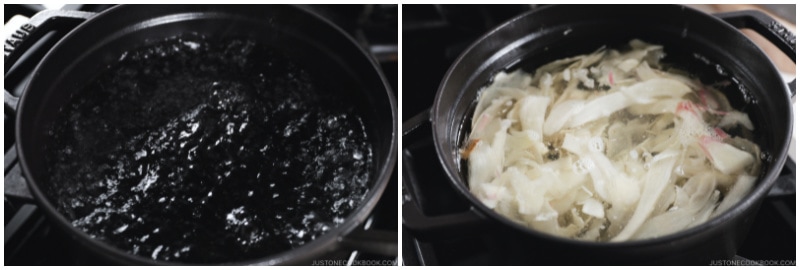
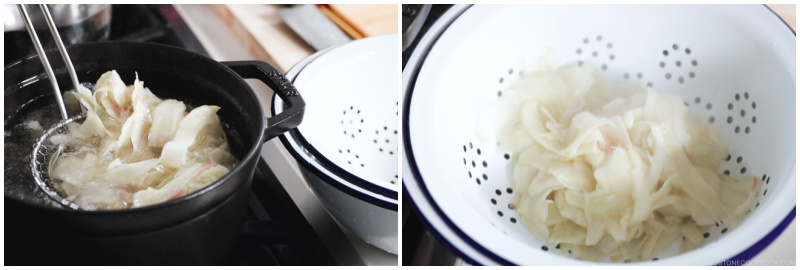
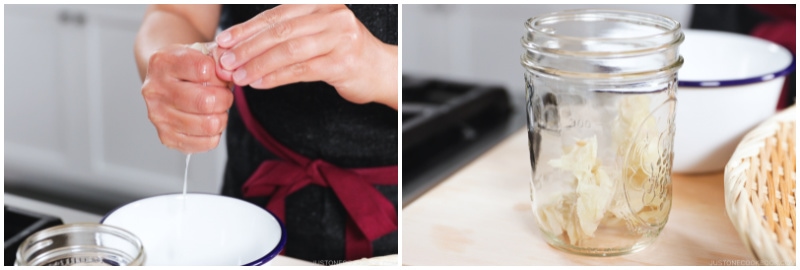
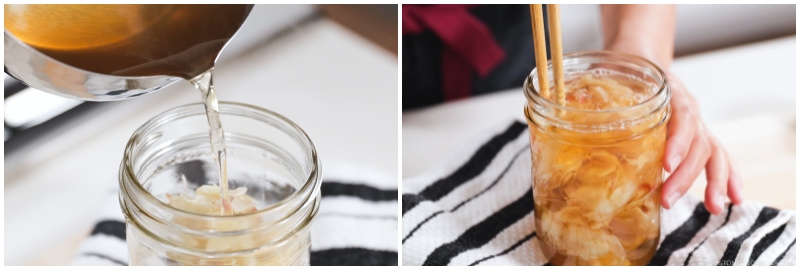
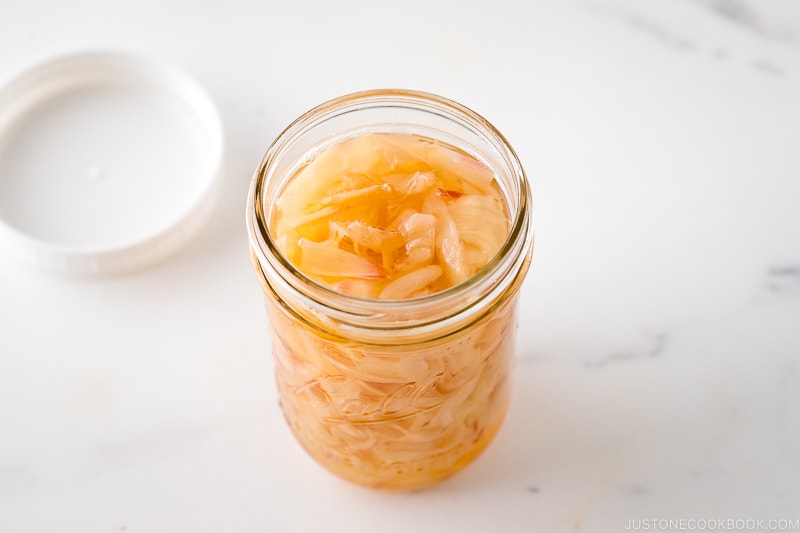
This recipe takes just 20 minutes of prep and cook time and a minimum 4 hours of pickling. Here’s an overview, but see my recipe below for full instructions: It’s easy to make, and lasts up to a year! If you can get young ginger, make a big batch and keep it for future sushi meals.
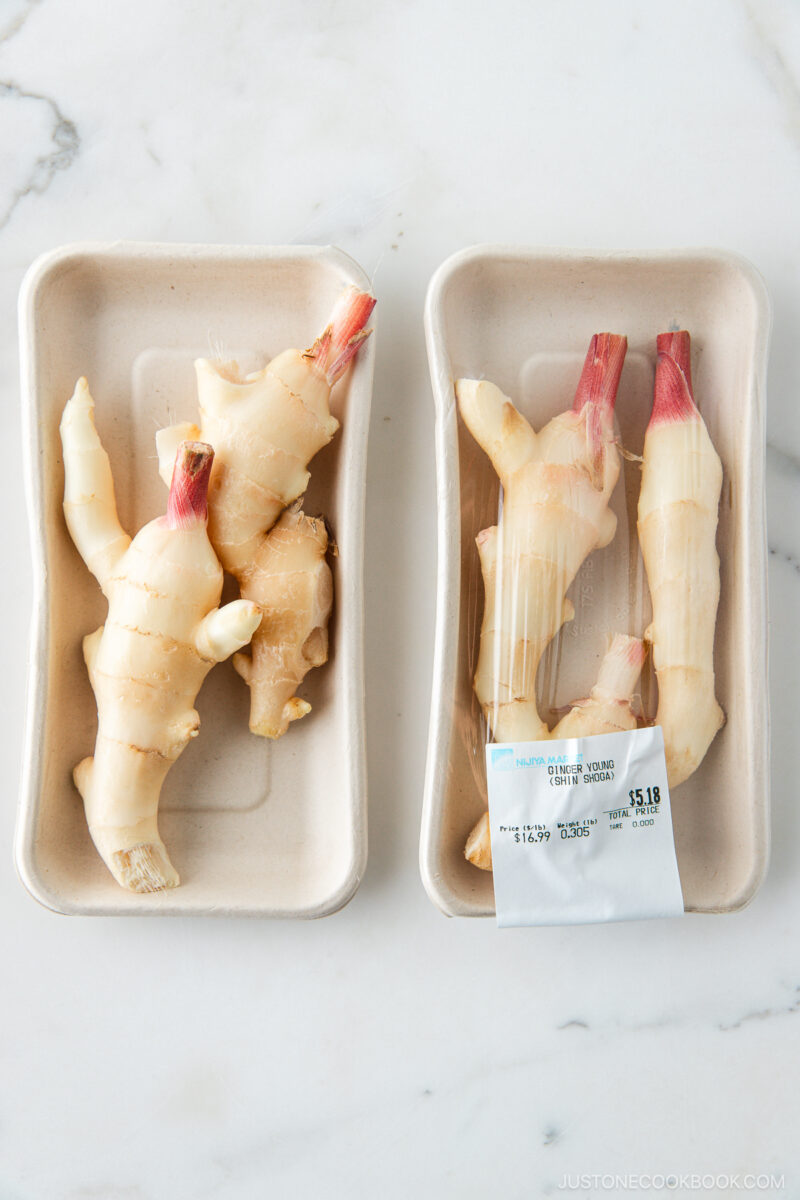
Why Use Young Ginger?
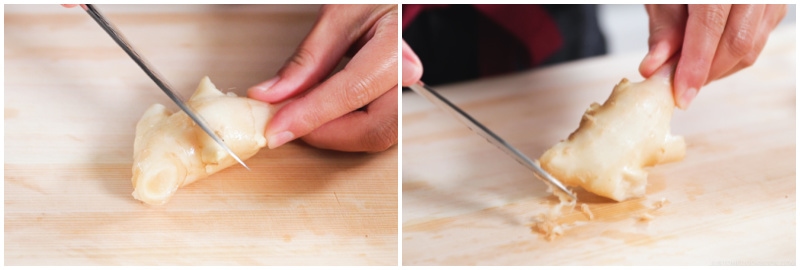
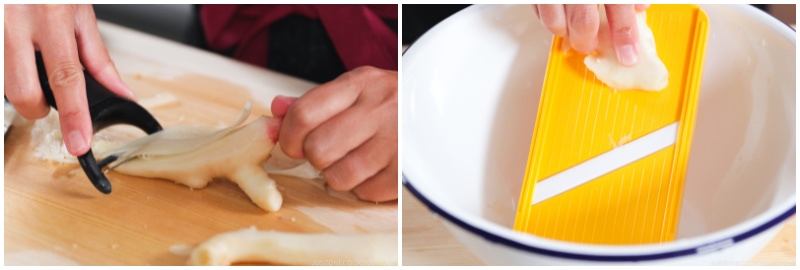
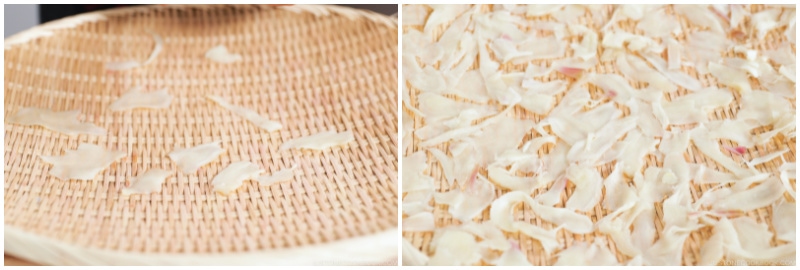
Young ginger has a mild, zesty flavor and a fine fleshy texture. It’s tender and perfect for sushi ginger. Unlike matured ginger, the young ginger’s skin is very thin and easy to peel with your fingers or a spoon. Sliced young ginger will naturally become light pink from the tips of the young ginger (see the photo below). Many commercial producers artificially dye the pickled ginger pink. If you purchase pickled sushi ginger, you can find some brands that avoid artificial coloring. Young ginger is harvested and sold in early summer around May or June. You can find it in Asian grocery stores, but sometimes the pink tips are already cut off. You can still make pickled ginger with these, but they won’t be naturally pink.
Where to Find Young Ginger
Japanese/Asian grocery stores Farmers markets Etsy (I’ve purchased young ginger from Hawaii before) Good Eggs
Can I use less sugar? No. The ginger will not preserve well if you use less sugar. The least you can use is ½ cup of sugar for one batch of this recipe, and it is still quite tangy. If you prefer the taste of store-bought sushi ginger, use the higher amount of sugar indicated. Can I substitute a different vinegar? You can, but you’ll have to add more sugar if you use another type. By comparison, unseasoned rice vinegar is more mild, so it requires less sugar. As I mentioned earlier, use rice vinegar for an authentic Japanese flavor. Can I use regular, mature ginger? If you use regular ginger, it will be very spicy. To reduce the extra spiciness of the ginger, you must boil it longer than young ginger. I recommend blanching it in a pot of water for 2-3 minutes.
What to Serve with Pickled Sushi Ginger
Temaki Sushi (Hand Roll Sushi) California Roll Spicy Tuna Roll Dragon Roll Inari Sushi
When you find young ginger in the grocery store, you know what to do now! I hope you enjoy this homemade pickled ginger recipe. Editor’s Note: This post was originally published on August 11, 2015. The images and content have been updated and a new video is added in June 2021.