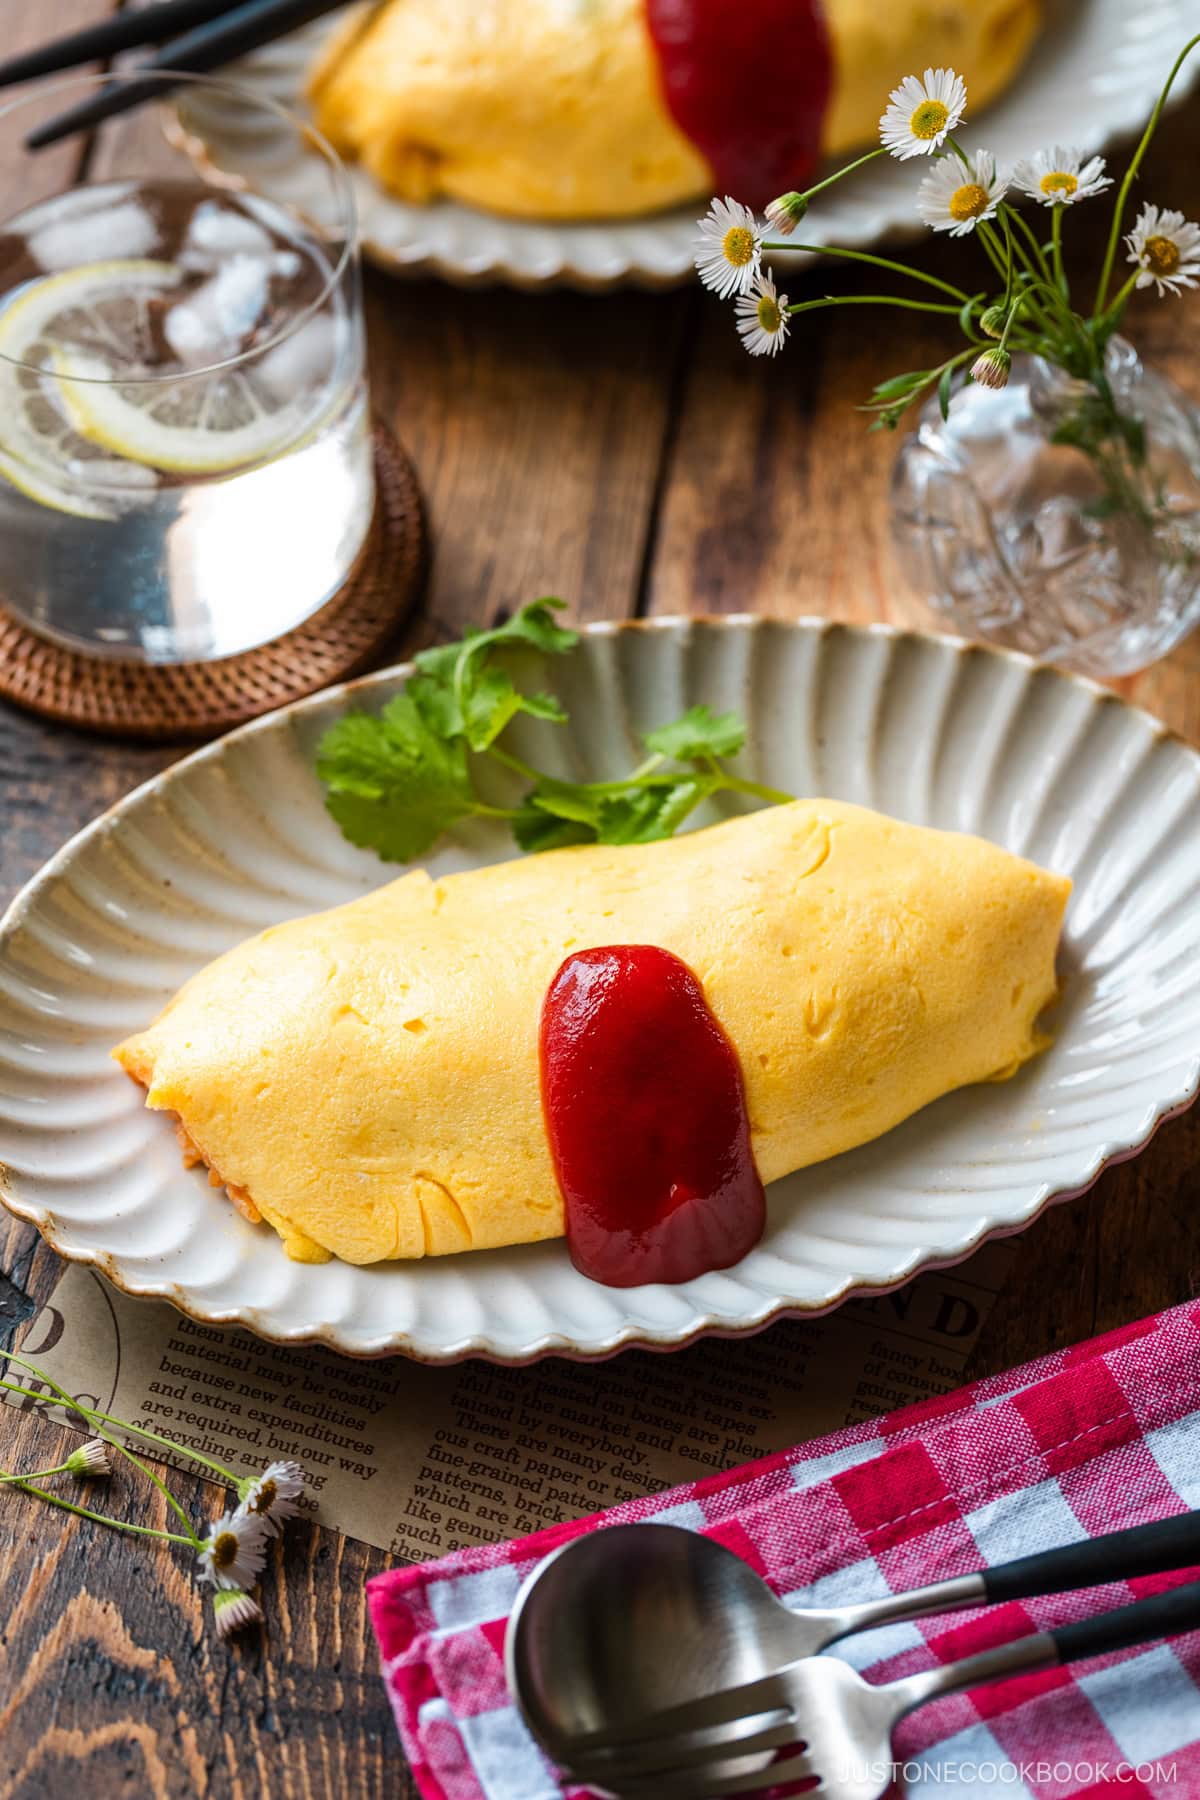
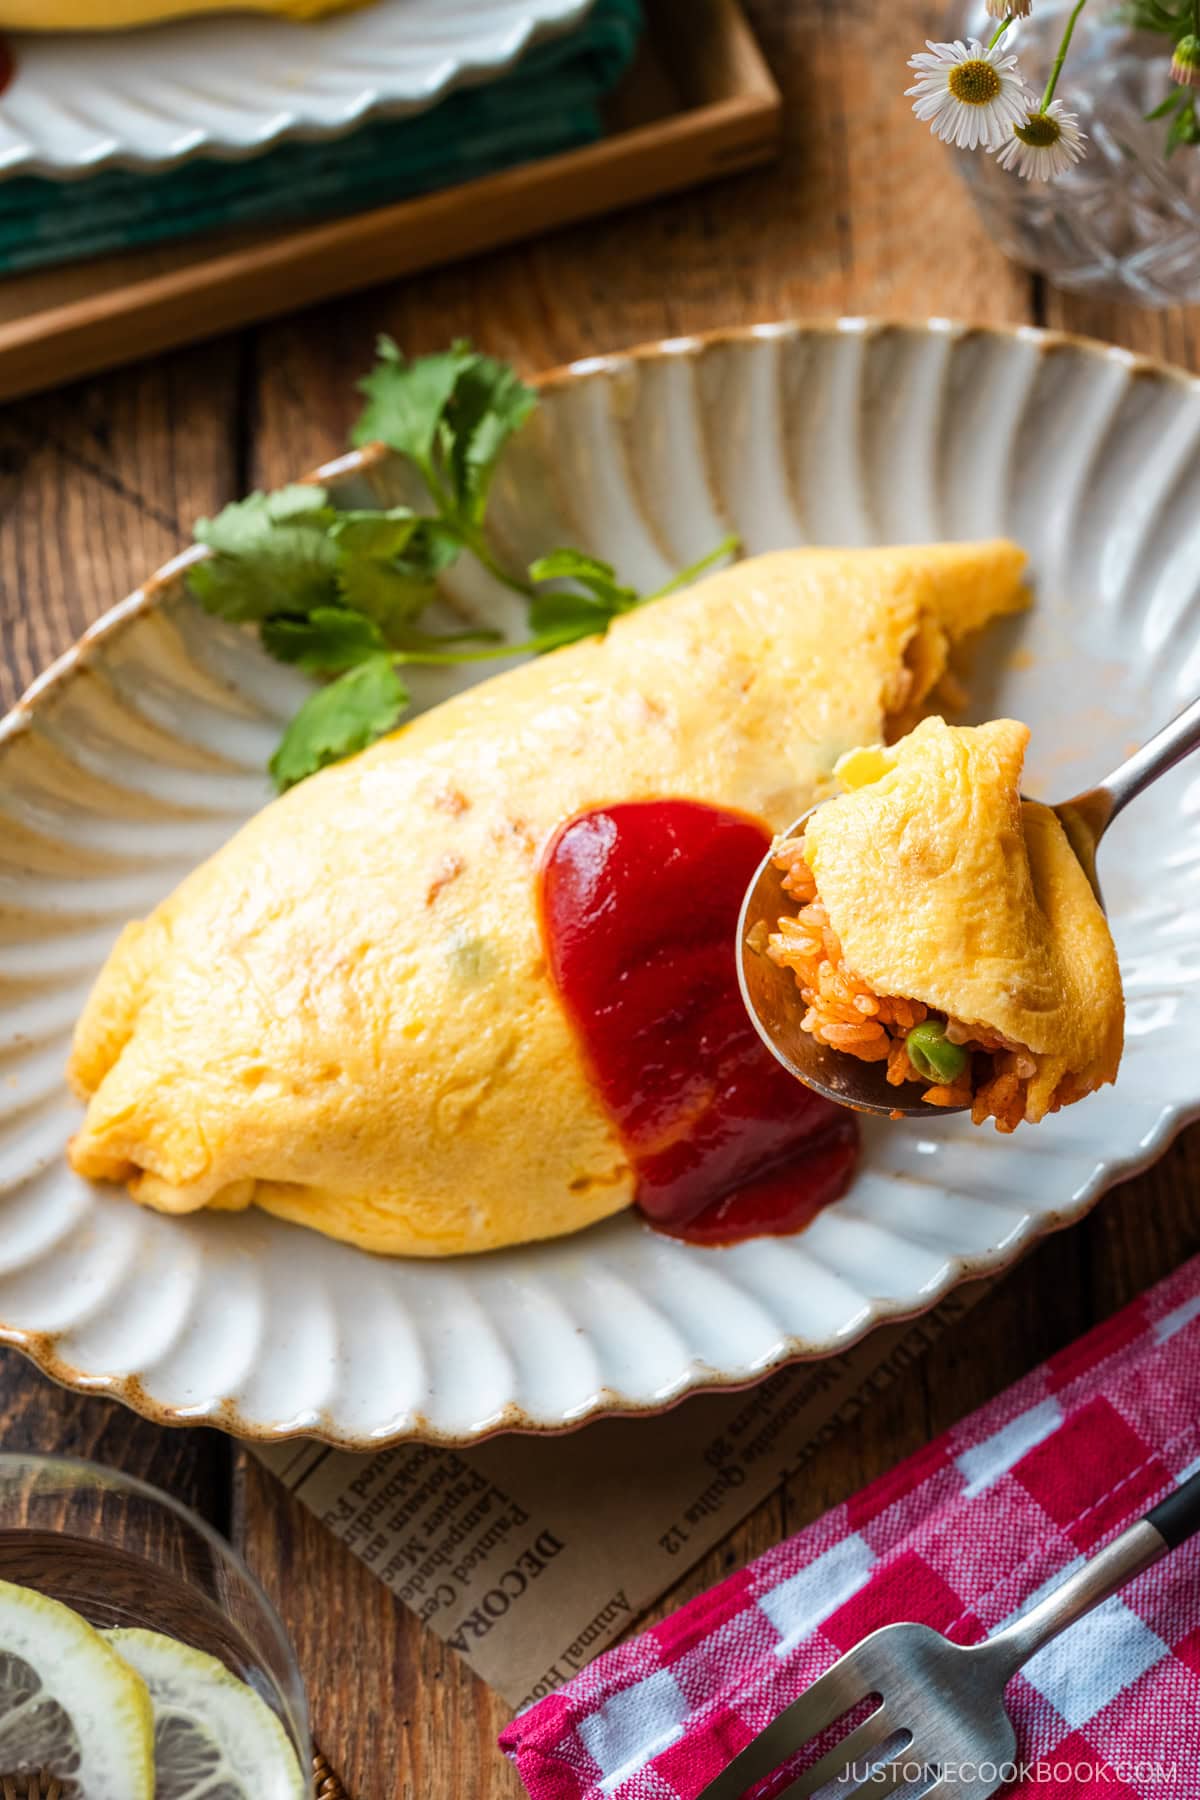
Today, I’m sharing my recipe for the classic-style Japanese rice omelette called omurice (オムライス). My children absolutely loved eating this delicious dish when they were little…and they still do! Young and old alike in Japan feel the same way. Sitting down to a plate of omurice feels like a warm hug; it’s a familiar, everyday meal that brings back childhood memories of mom’s cooking. All across Japan, you can find this popular yōshoku (Western-style Japanese cuisine) dish in family restaurants, diners, and home kitchens. I’ll teach you my tips and techniques to make restaurant-quality omurice at home that’s tender, full of flavor, and oh-so-comforting!
What is Omurice?
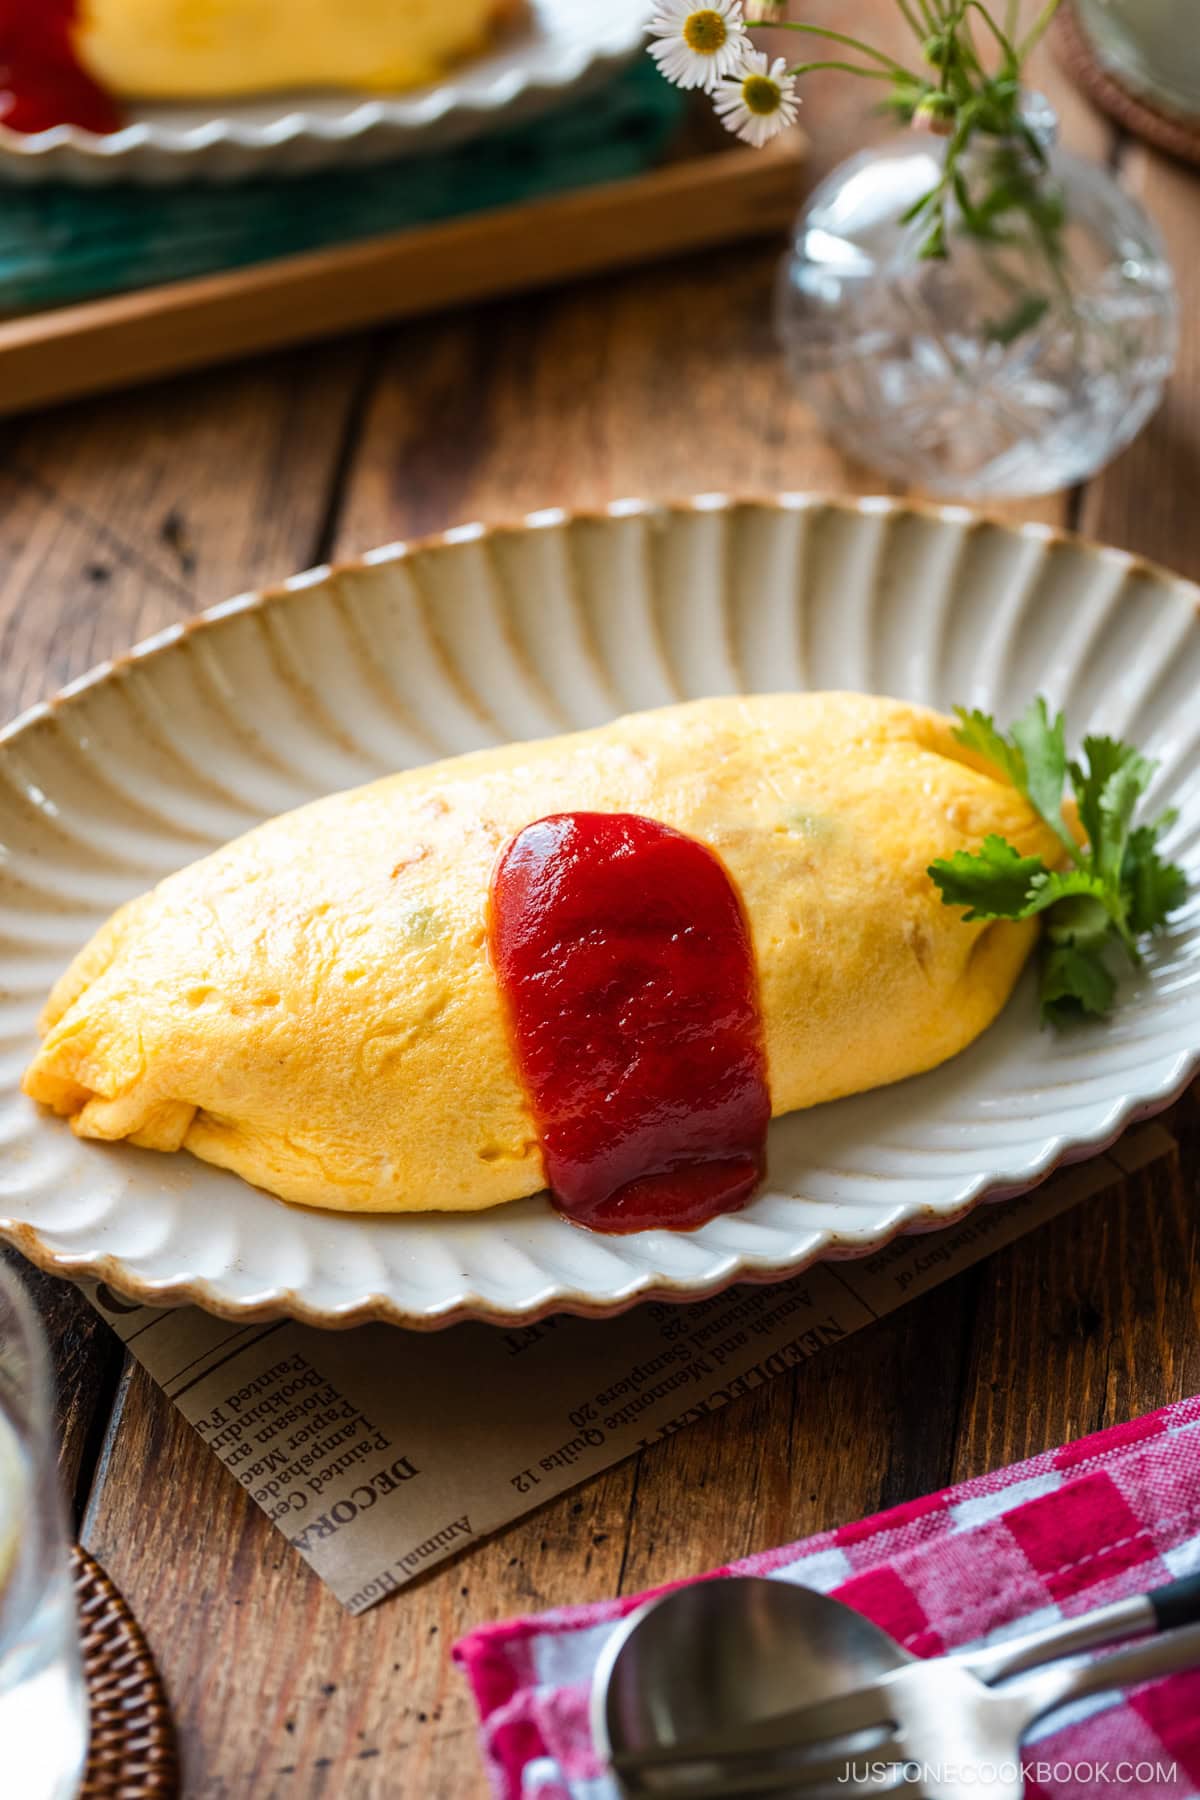
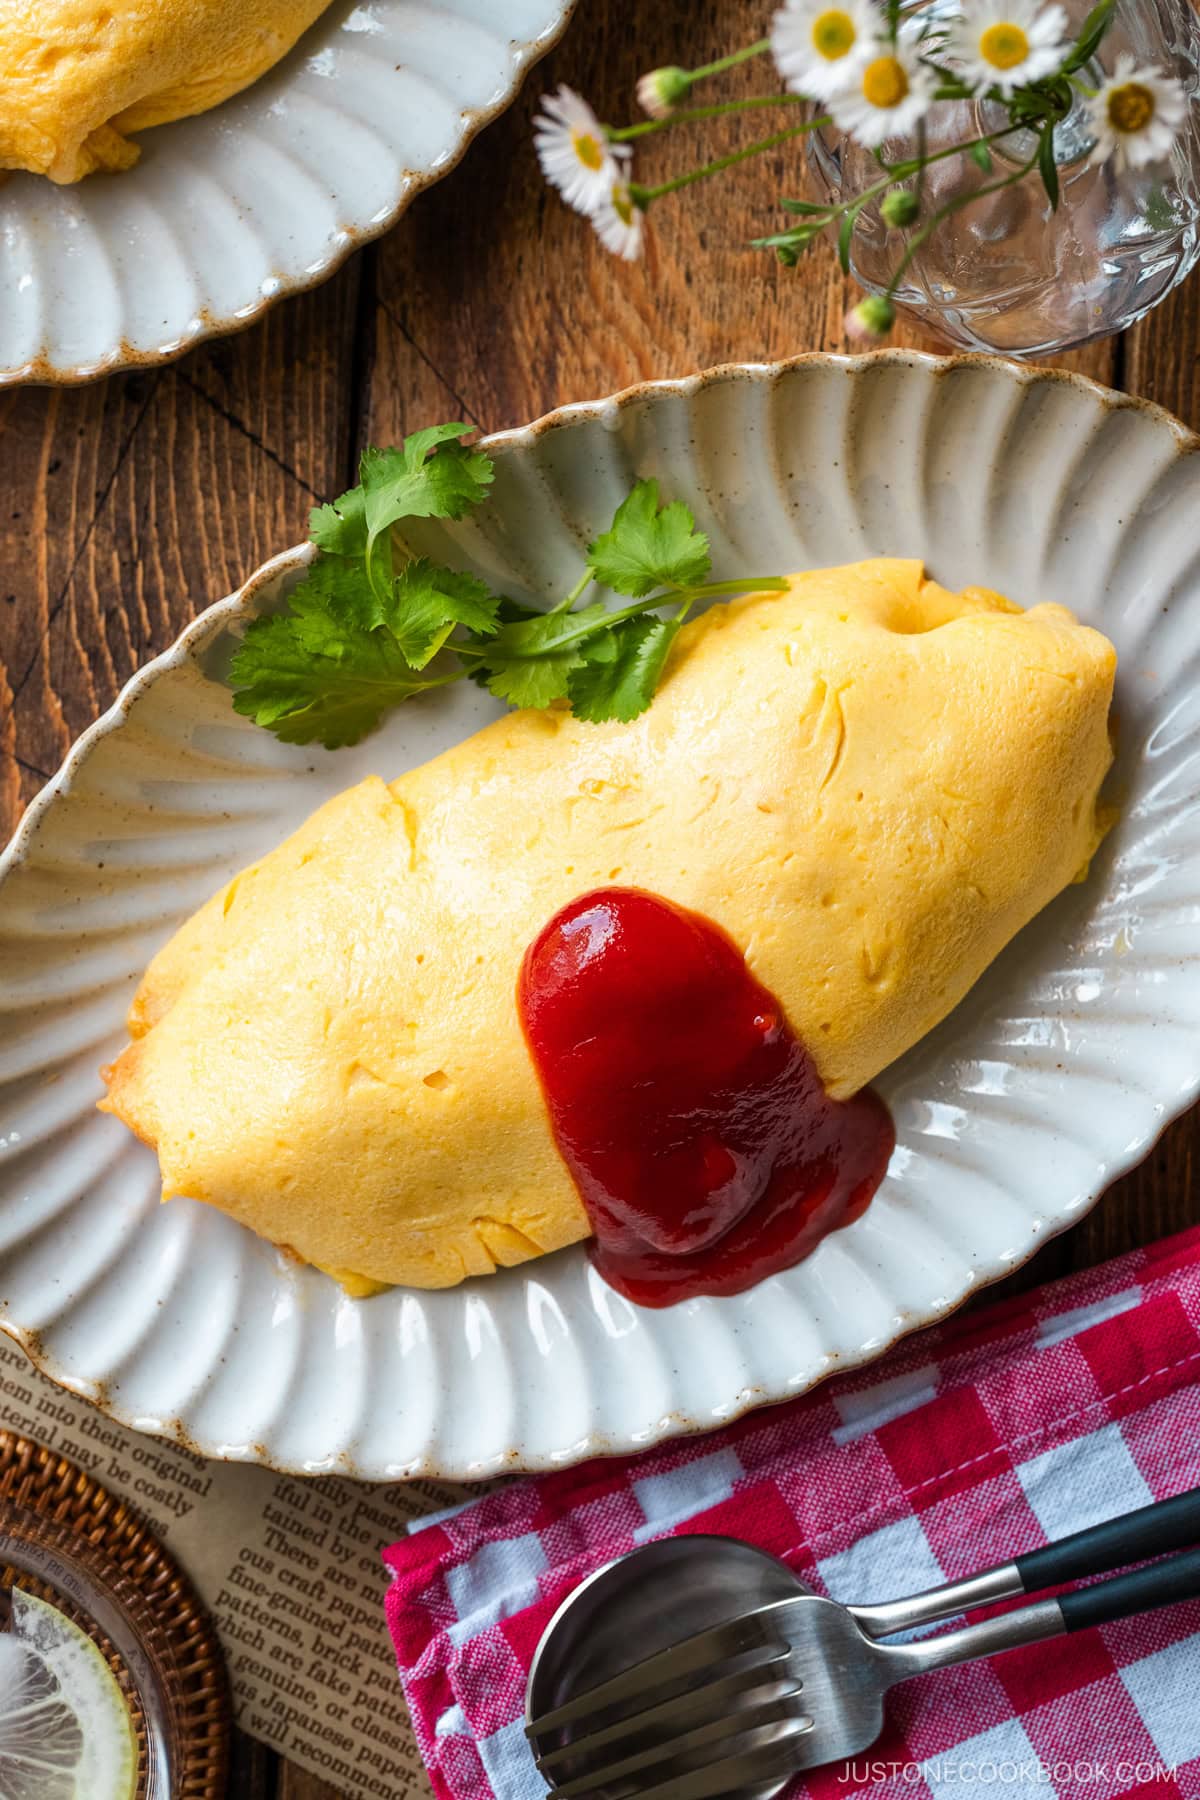
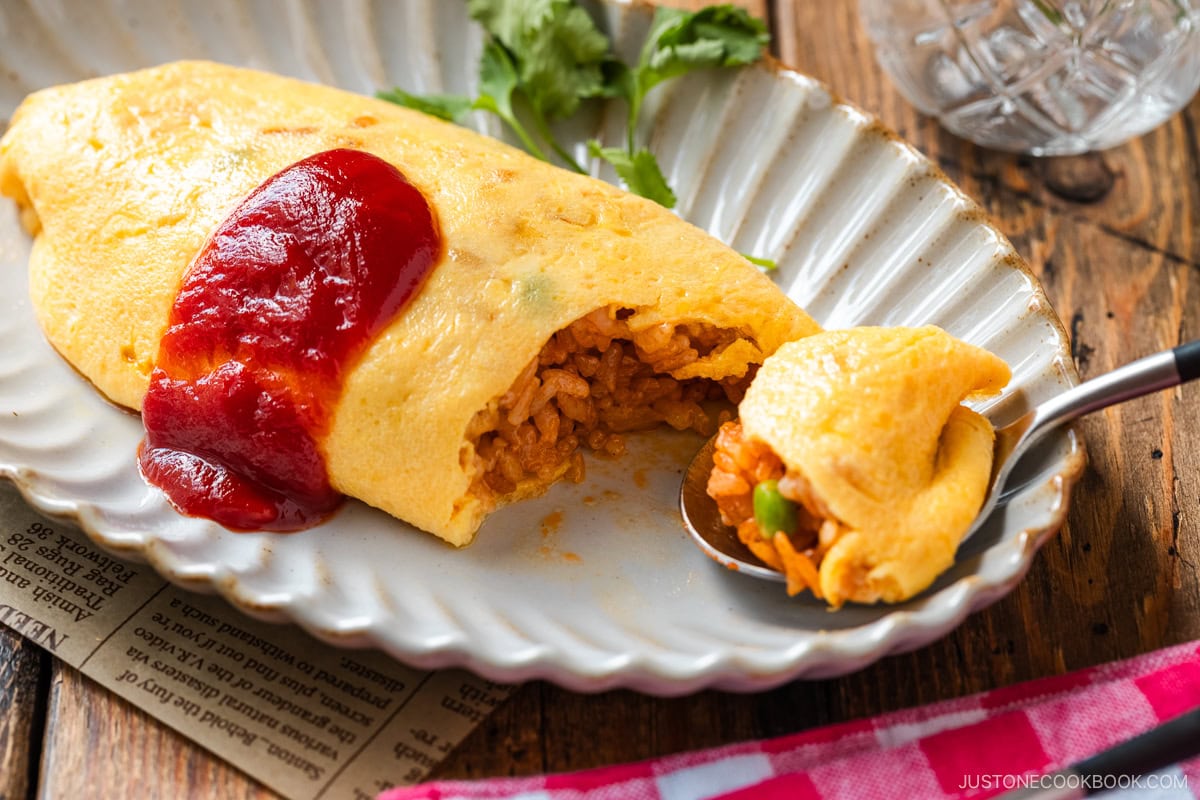
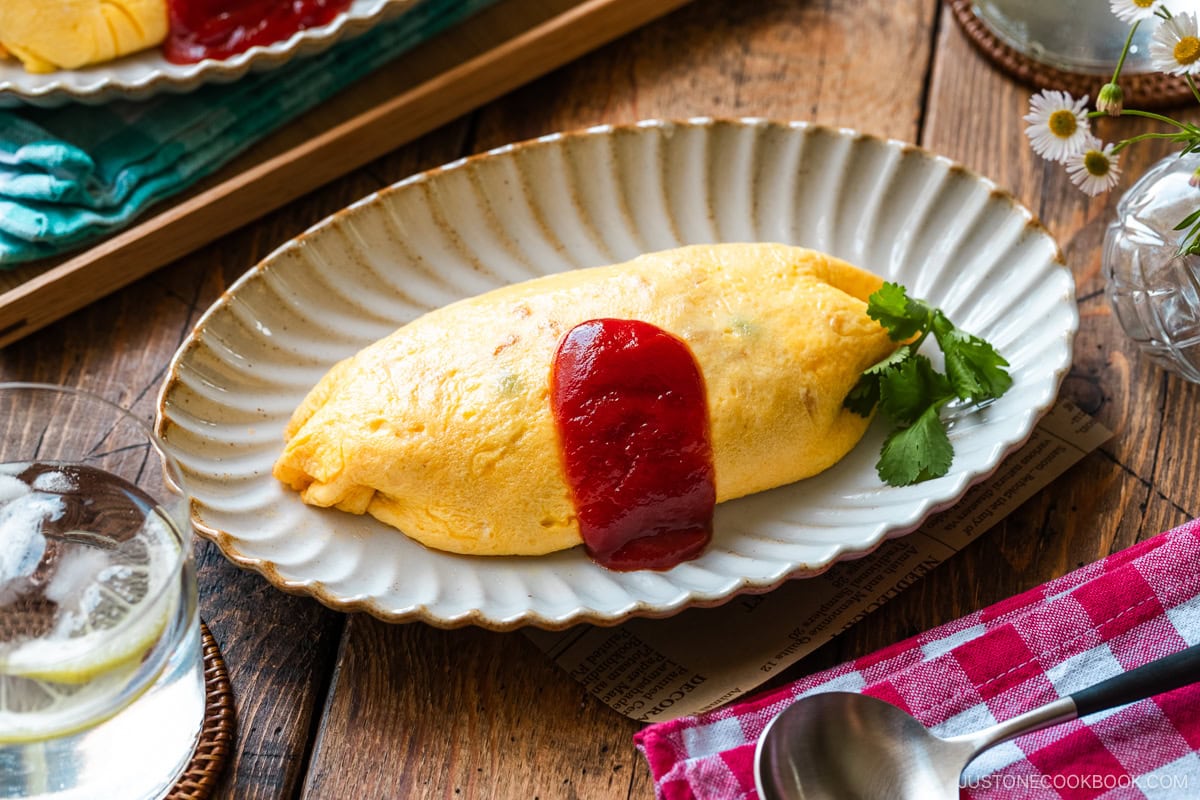
Japanese omurice (オムライス) is a thin, soft-cooked omelette wrapped around seasoned Japanese ketchup rice (ケチャップライス) or chicken rice (チキンライス). The name itself is a catchy Japanese loanword that blends “omelette” and “rice.” This Western-style dish is unique to Japan, as it doesn’t exist in American or European cuisine. Several restaurants in Japan claim to have created omurice in the early 1900s. However, it was in 1925 that a chef in Osaka at a Western-style diner called Hokkyokusei created a dish very similar to the omurice that we know and love today.
Why You’ll Love This Recipe
Creamy texture — Omurice is all about the soft-scrambled and tender omelette. I’ll teach you how to fry the eggs evenly so they’re creamy and custardy, just like a classic French omelette. Quick to make — You can cook it from start to finish in less than 30 minutes. Affordable and practical — It uses common staple ingredients from your fridge, freezer, and pantry. Kid-friendly — Kids love the savory ketchup flavor of the rice and the soft omelette texture. Flexible — Substitute any protein and vegetables from your fridge in the seasoned rice (see below for ideas).
Ingredients for Omurice
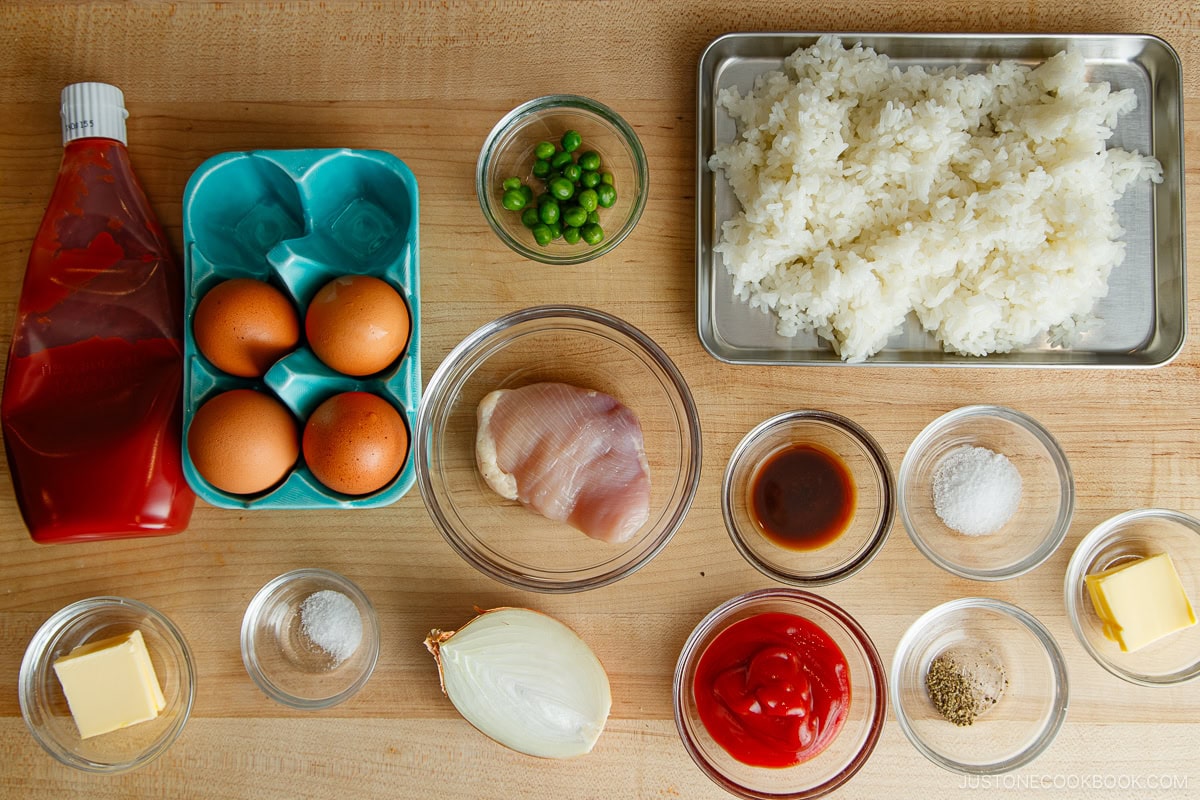
You‘ll need eggs, rice, and ketchup to make the classic version, but I‘ll suggest some creative substitutions later.
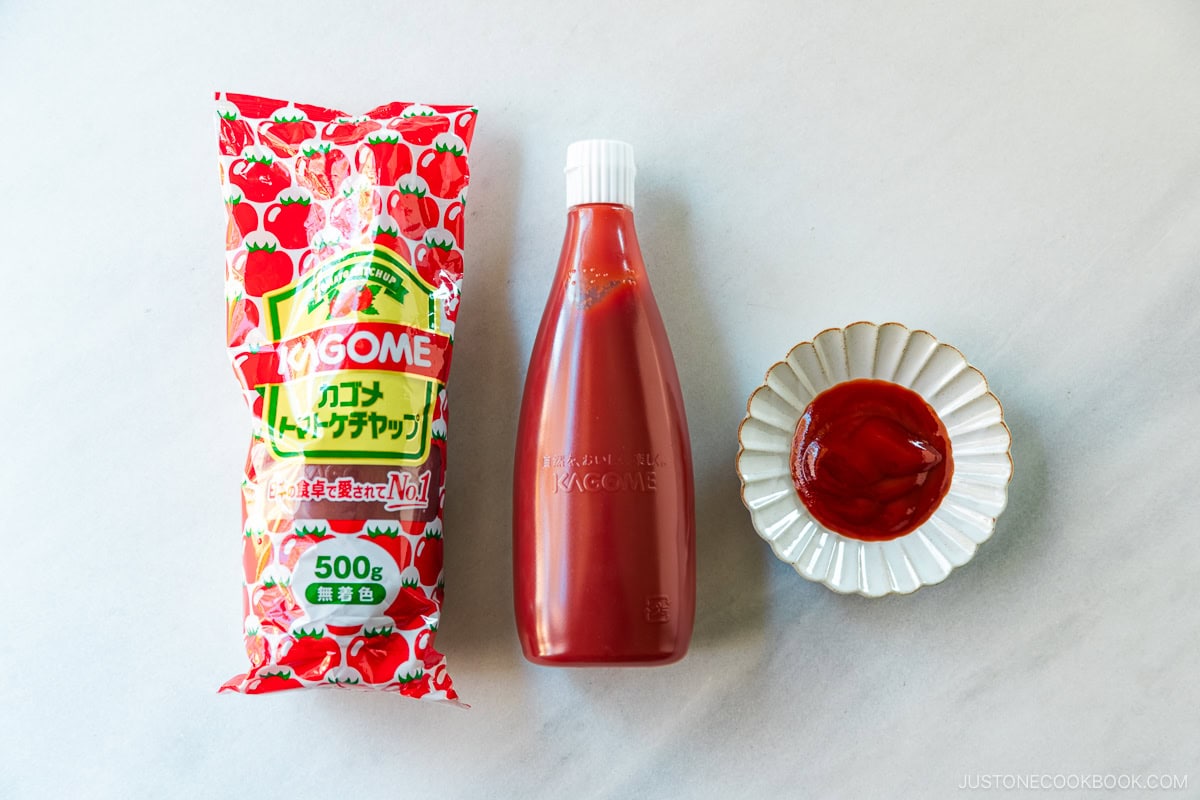
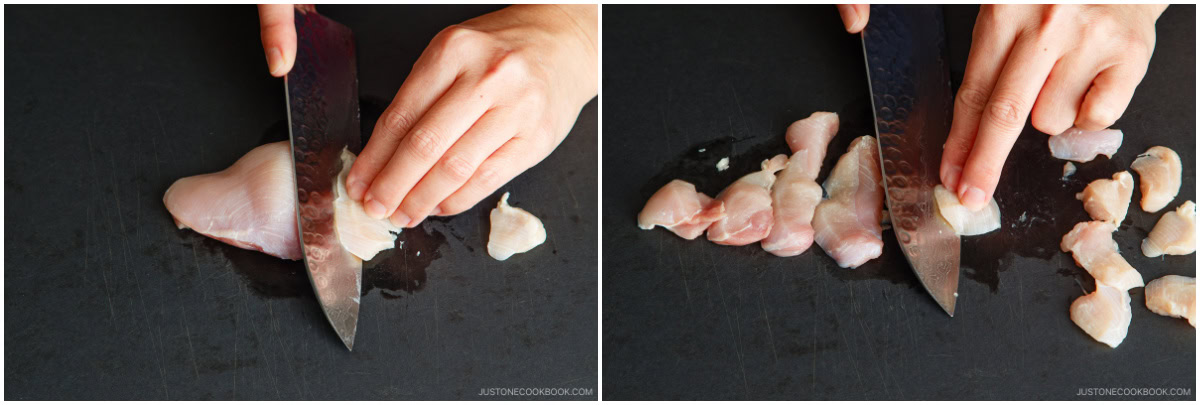
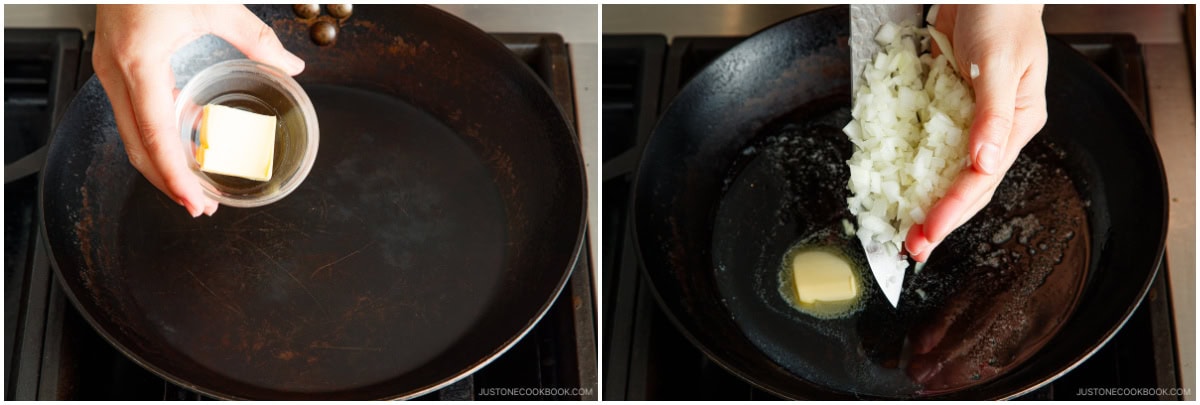
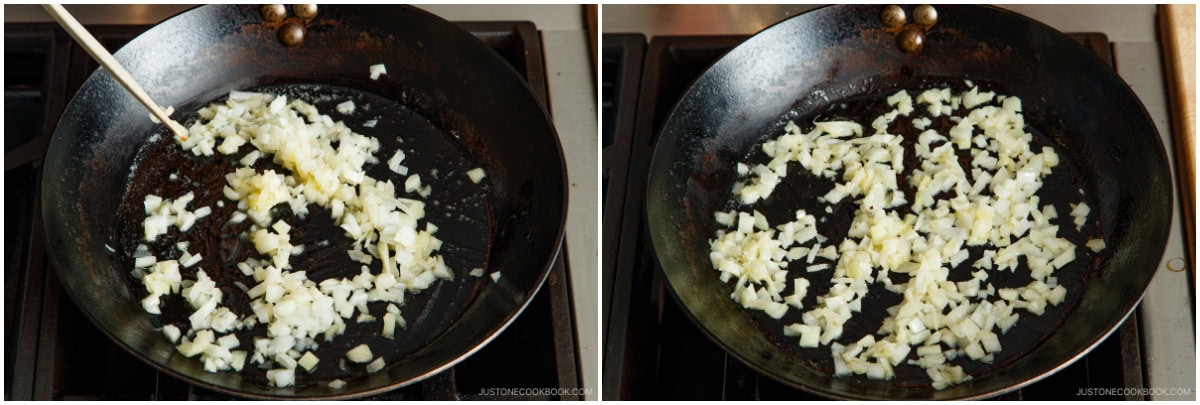
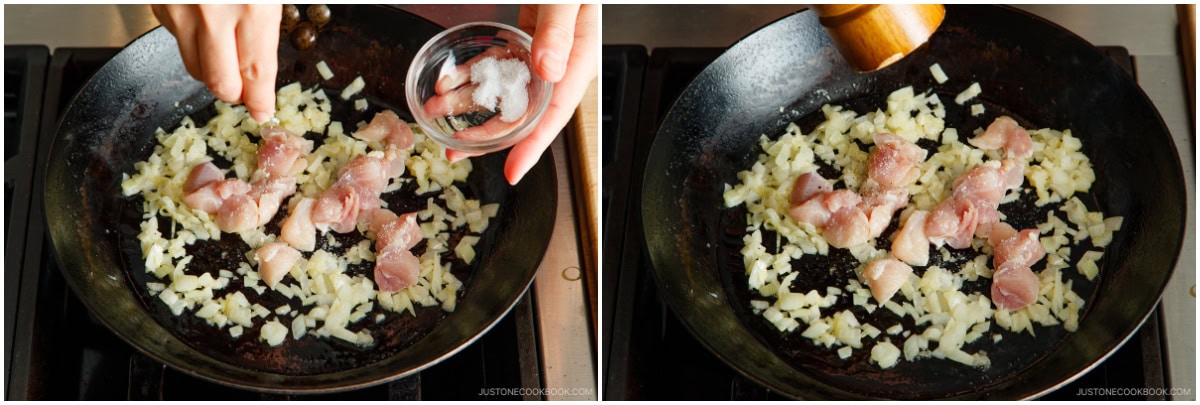
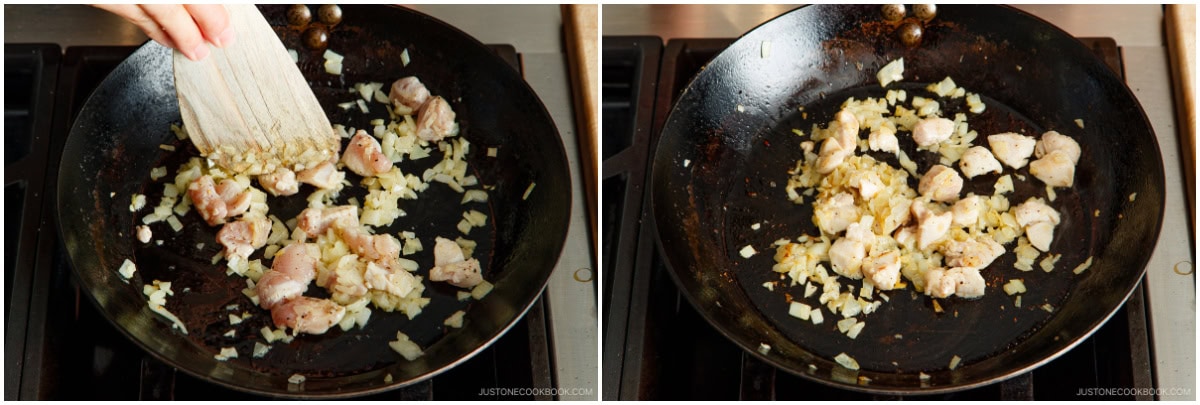
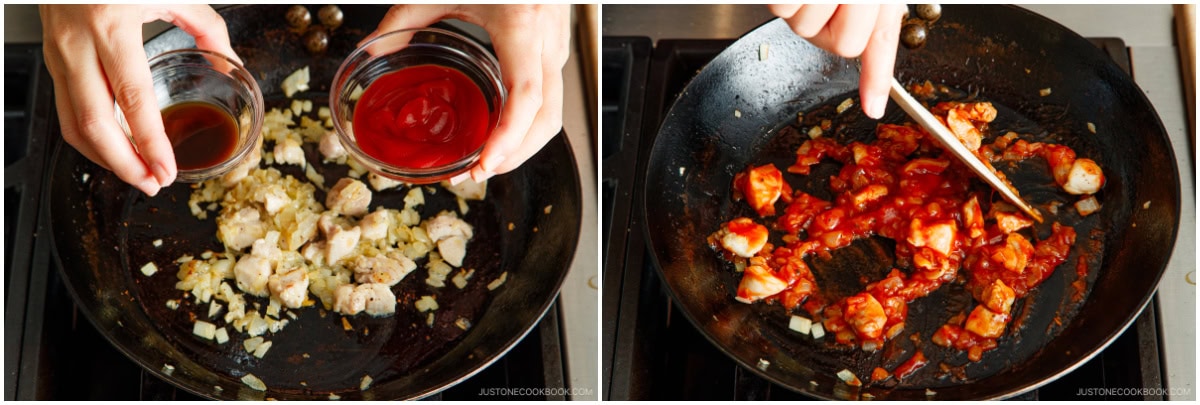
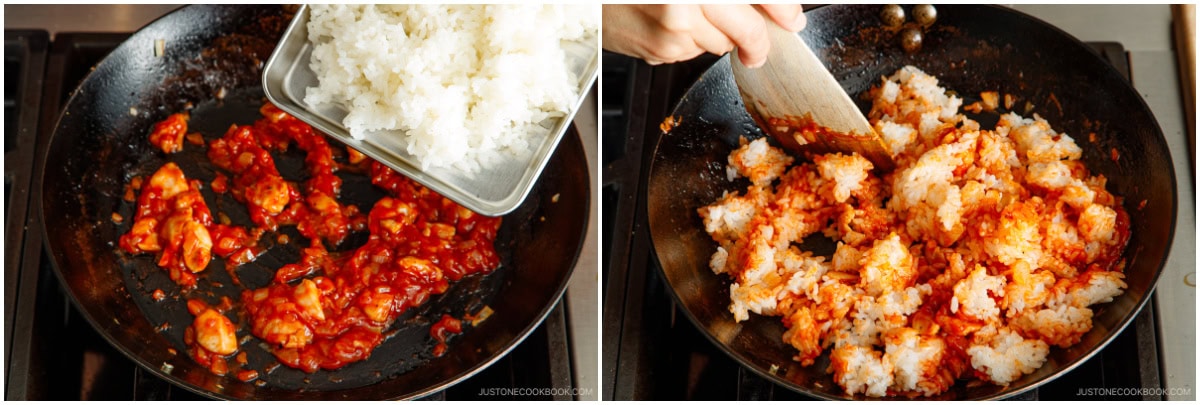
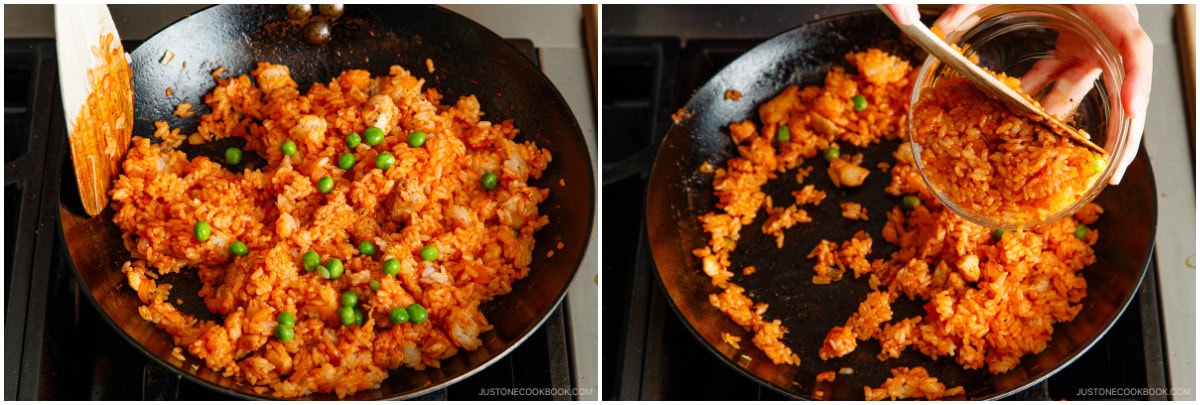
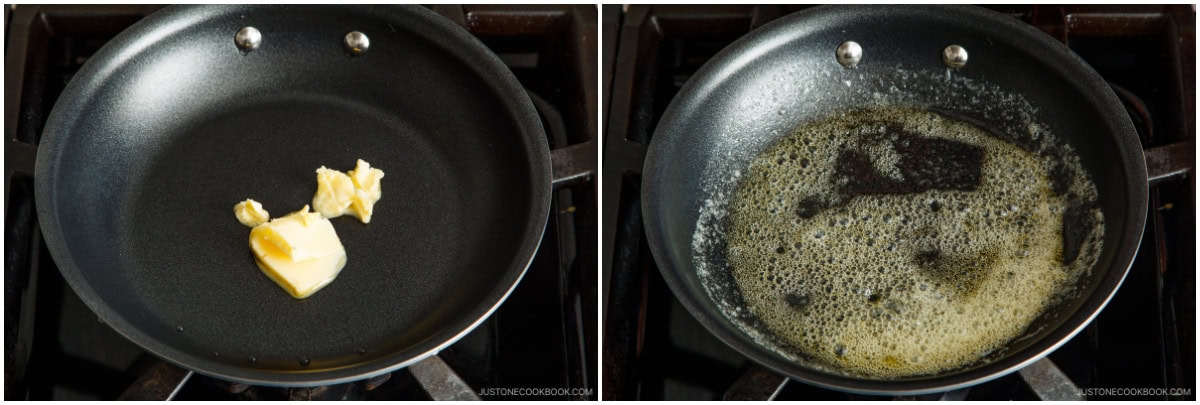
Large eggs Cooked Japanese short-grain rice — warm; you can reheat frozen rice if you have it Chicken thigh — stays juicier and more flavorful compared to chicken breast Onion Green peas Ketchup — the classic seasoning for chicken rice (ketchup rice); I highly recommend KAGOME brand Japanese ketchup Worcestershire sauce — adds complexity to the rice; you can substitute it with tonkatsu sauce or soy sauce Butter — adds a rich and creamy texture to the rice and omelette
Substitution Tips and Variations
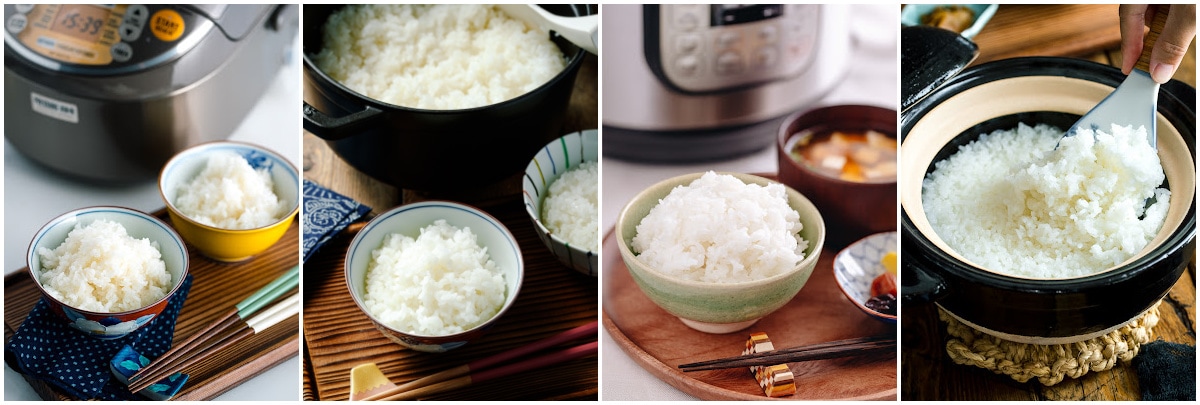
Swap out the protein in the chicken rice with bacon, chashu pork, ham, shrimp, baked or fried tofu, and edamame—or skip it all together. While ketchup-flavored rice is classic, you can change up the seasoning any way you like. Try using soy sauce, simple salt and pepper, curry powder, or garlic. Instead of a pan, you can use your electric rice cooker to make my Rice Cooker Chicken Rice or seasoned mixed rice in the style of takikomi gohan with great results. Try a different sauce. Japanese love demi-glace omurice topped with demi-glace sauce, hambagu omurice with Japanese hamburger steak and sauce, hayashi omurice with hayashi rice sauce, curry omurice using Japanese curry, and cream omurice with a bechamel sauce. You could even drizzle oyster sauce on top.
How to Make the Best Omurice
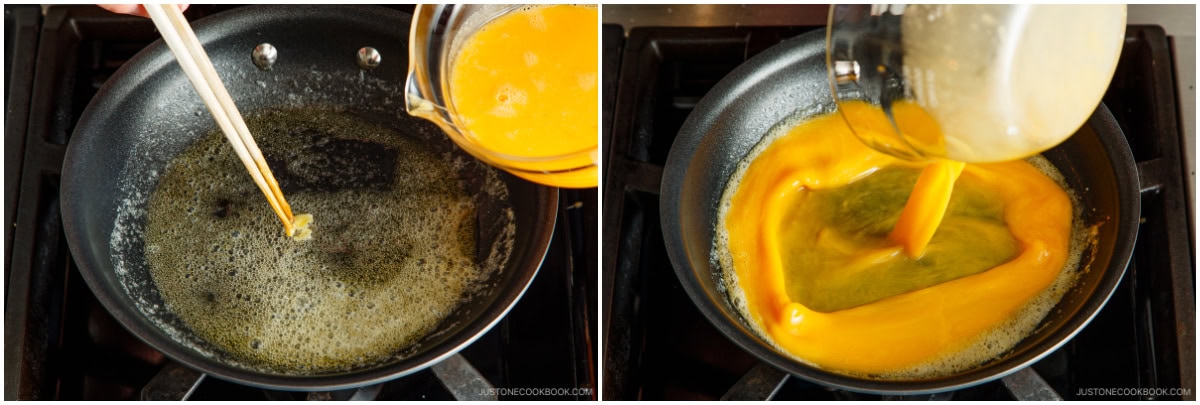
Cooking the egg goes very quickly. Be sure to follow my techniques in the next section for a creamy and soft-scrambled texture.
Recipe Tips and Techniques
Use a small-size, nonstick skillet. I recommend an 8-inch (20 cm) nonstick frying pan. If you use a large pan, the egg will spread thin and you’re more likely to crack or tear the omelette. It’s also extremely hard to fold and flip when making a large omurice. I’ve tried using my favorite carbon steel pan, but it was very challenging to make an omelette with a smooth surface.
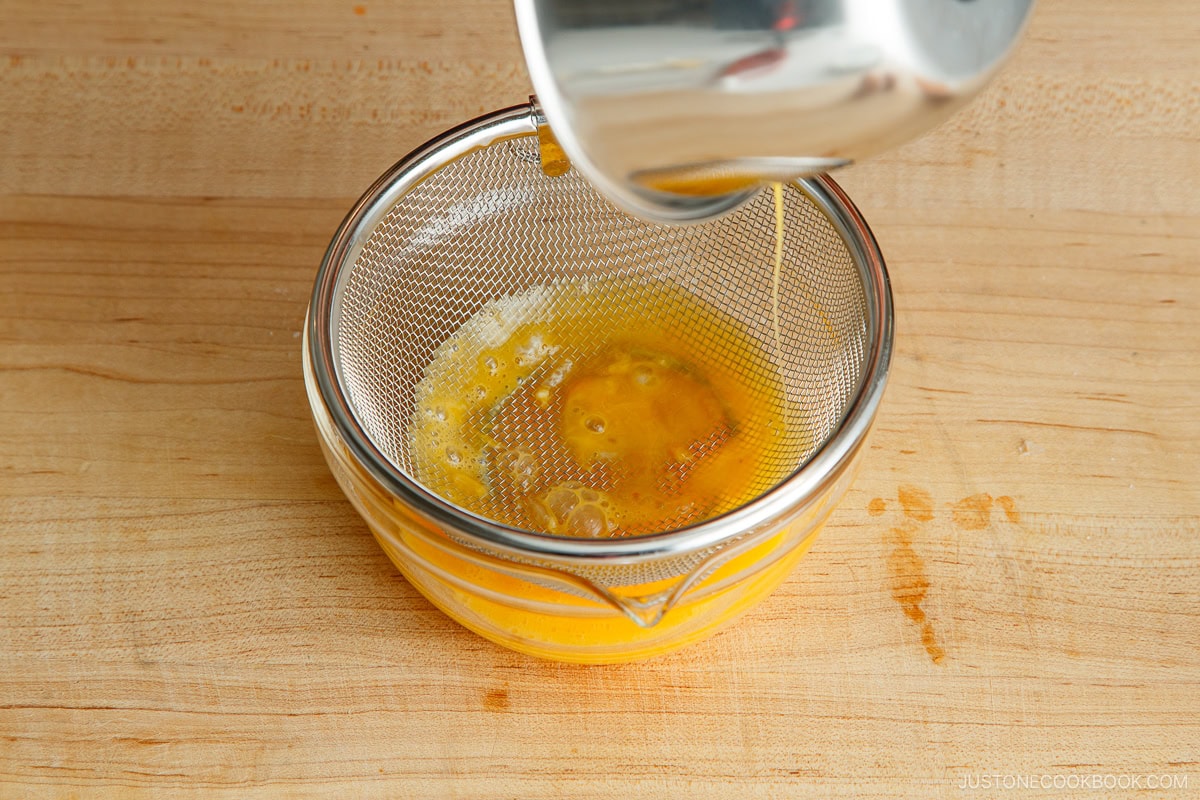
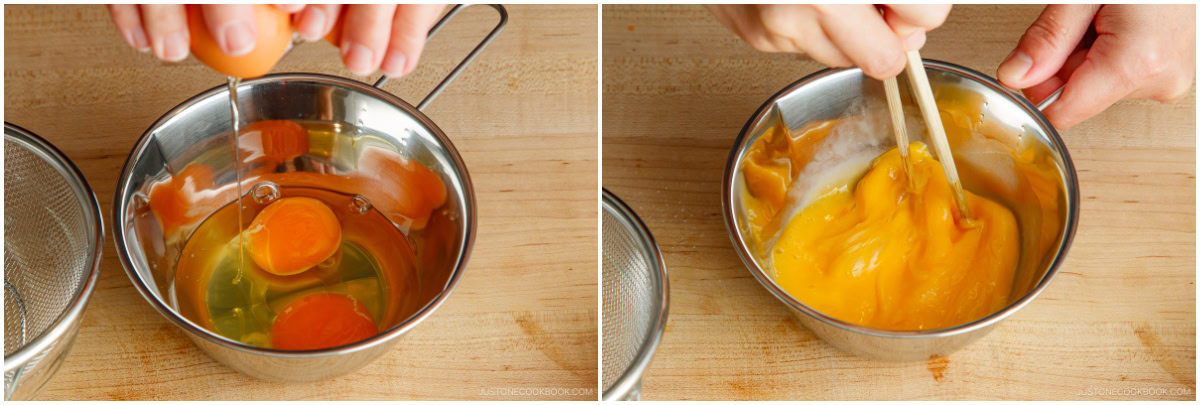
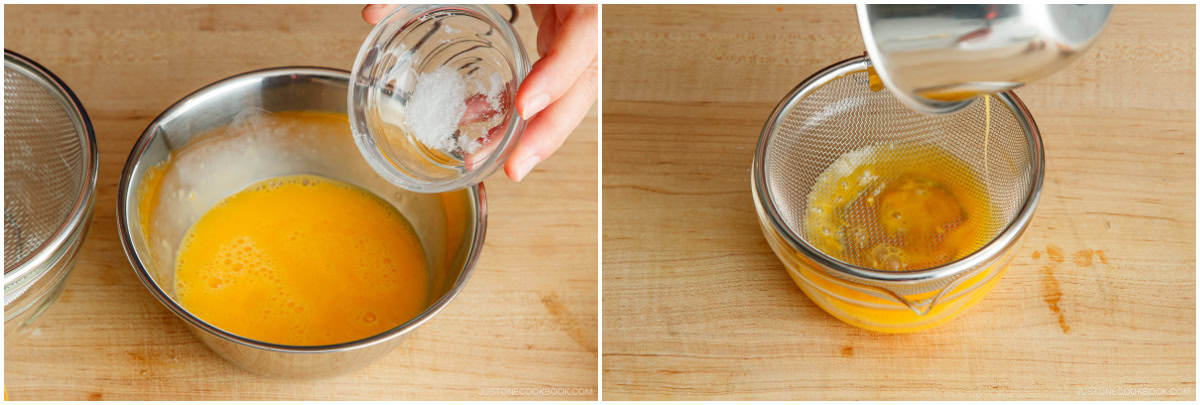
Strain the beaten eggs. For a silky-smooth omelette, use a fine-mesh strainer to remove the two stringy bands on the yolk called the chalaza. This helps to give the cooked eggs a uniform texture.
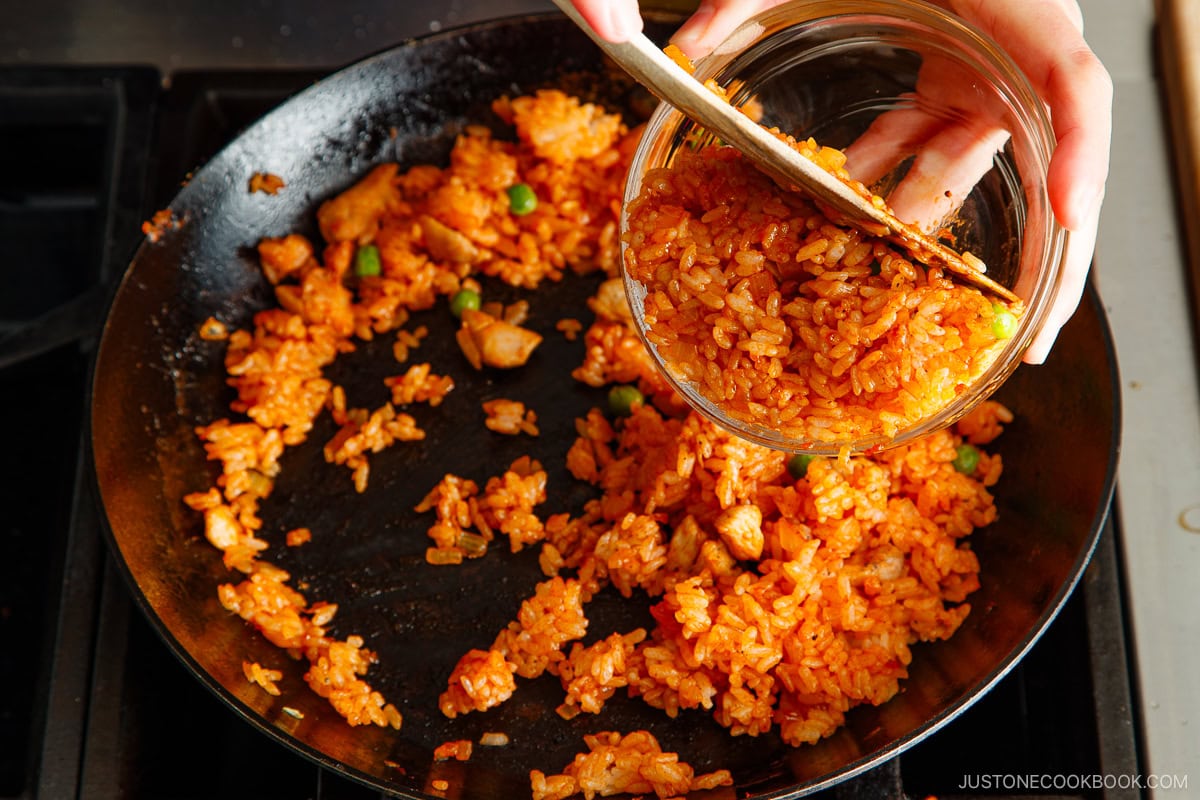
Shape the rice before you add it to the omelette using the side of a small bowl and a spatula. If you try to shape it into a half moon after adding it to the pan, you might tear the omelette. Proportioning also helps keep the omurice the same size. Gently spread the rice to the sides.
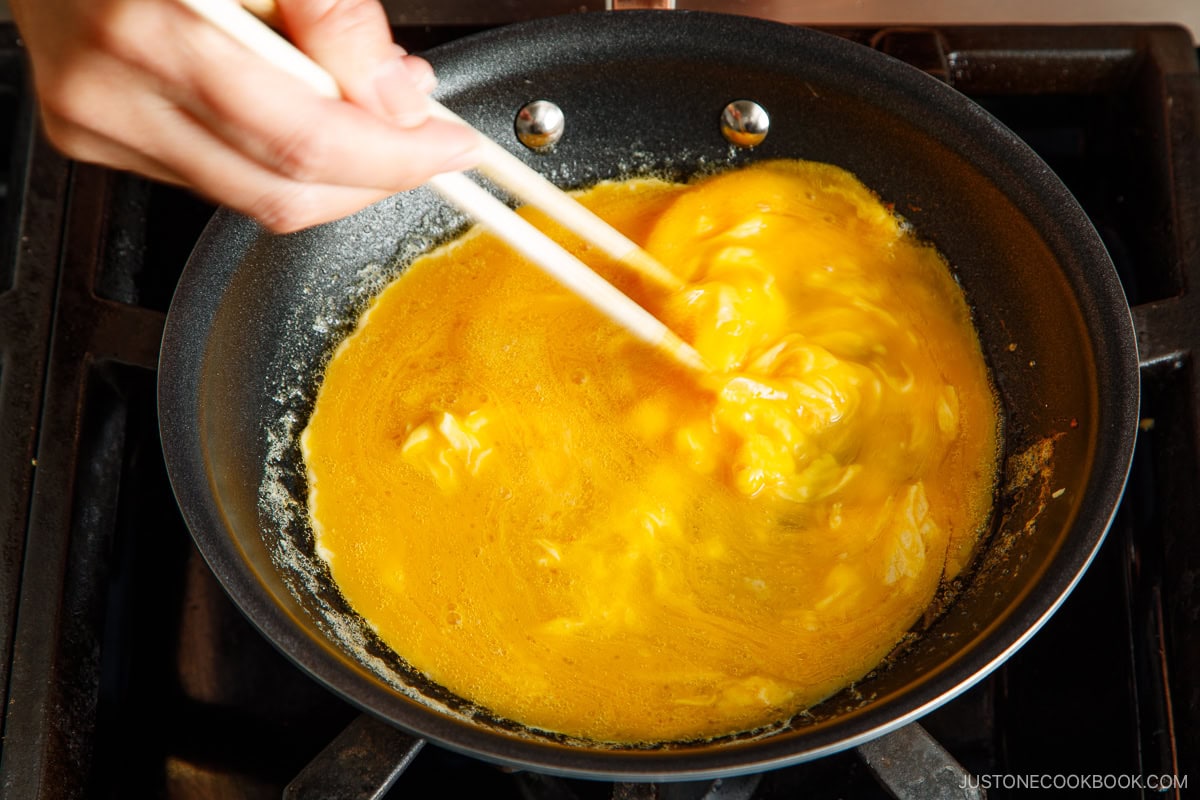
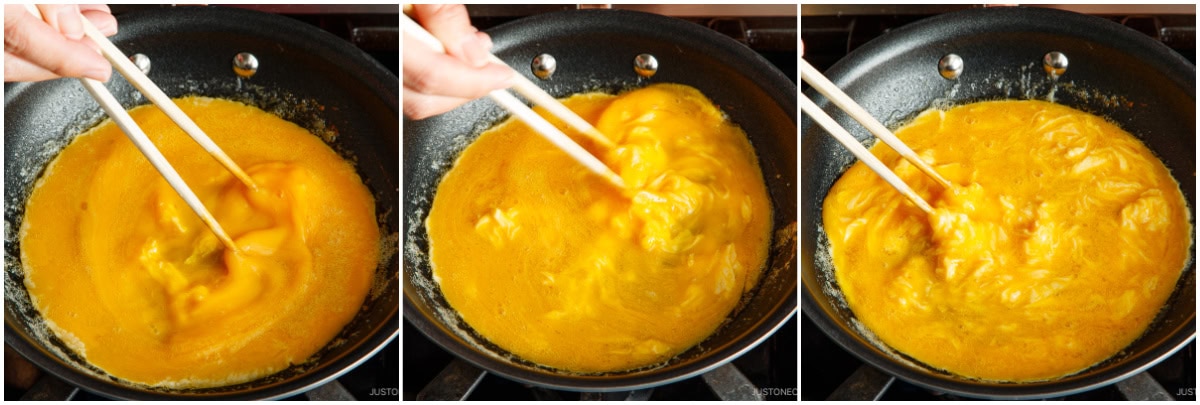
Stir the eggs quickly in a spiral motion with chopsticks while you shake the pan. Keep the eggs moving so you end up with soft, small curds and an even exterior surface. I found that chopsticks can create really nice small curds better than a silicone spatula.
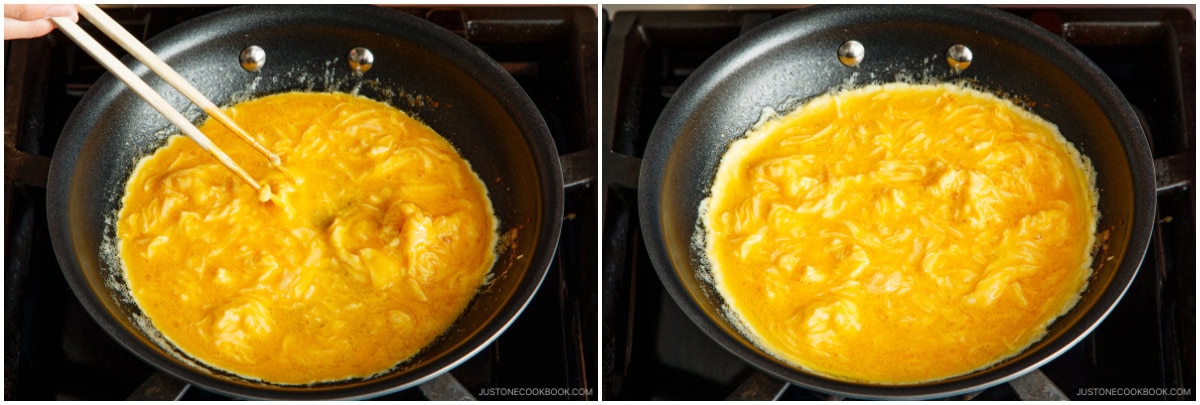
Stop stirring when the eggs are half-cooked. You want to see a smooth omelette surface, not the chopsticks’ stirring marks. Therefore, stop stirring while the eggs are still rather runny. Tilt the frying pan to spread out the remaining uncooked egg mixture. The egg curds should look creamy, soft-scrambled, and custardy at this stage. You don’t want to overcook them, as they’ll continue to cook a little with the residual heat. Make sure to level the egg curds.
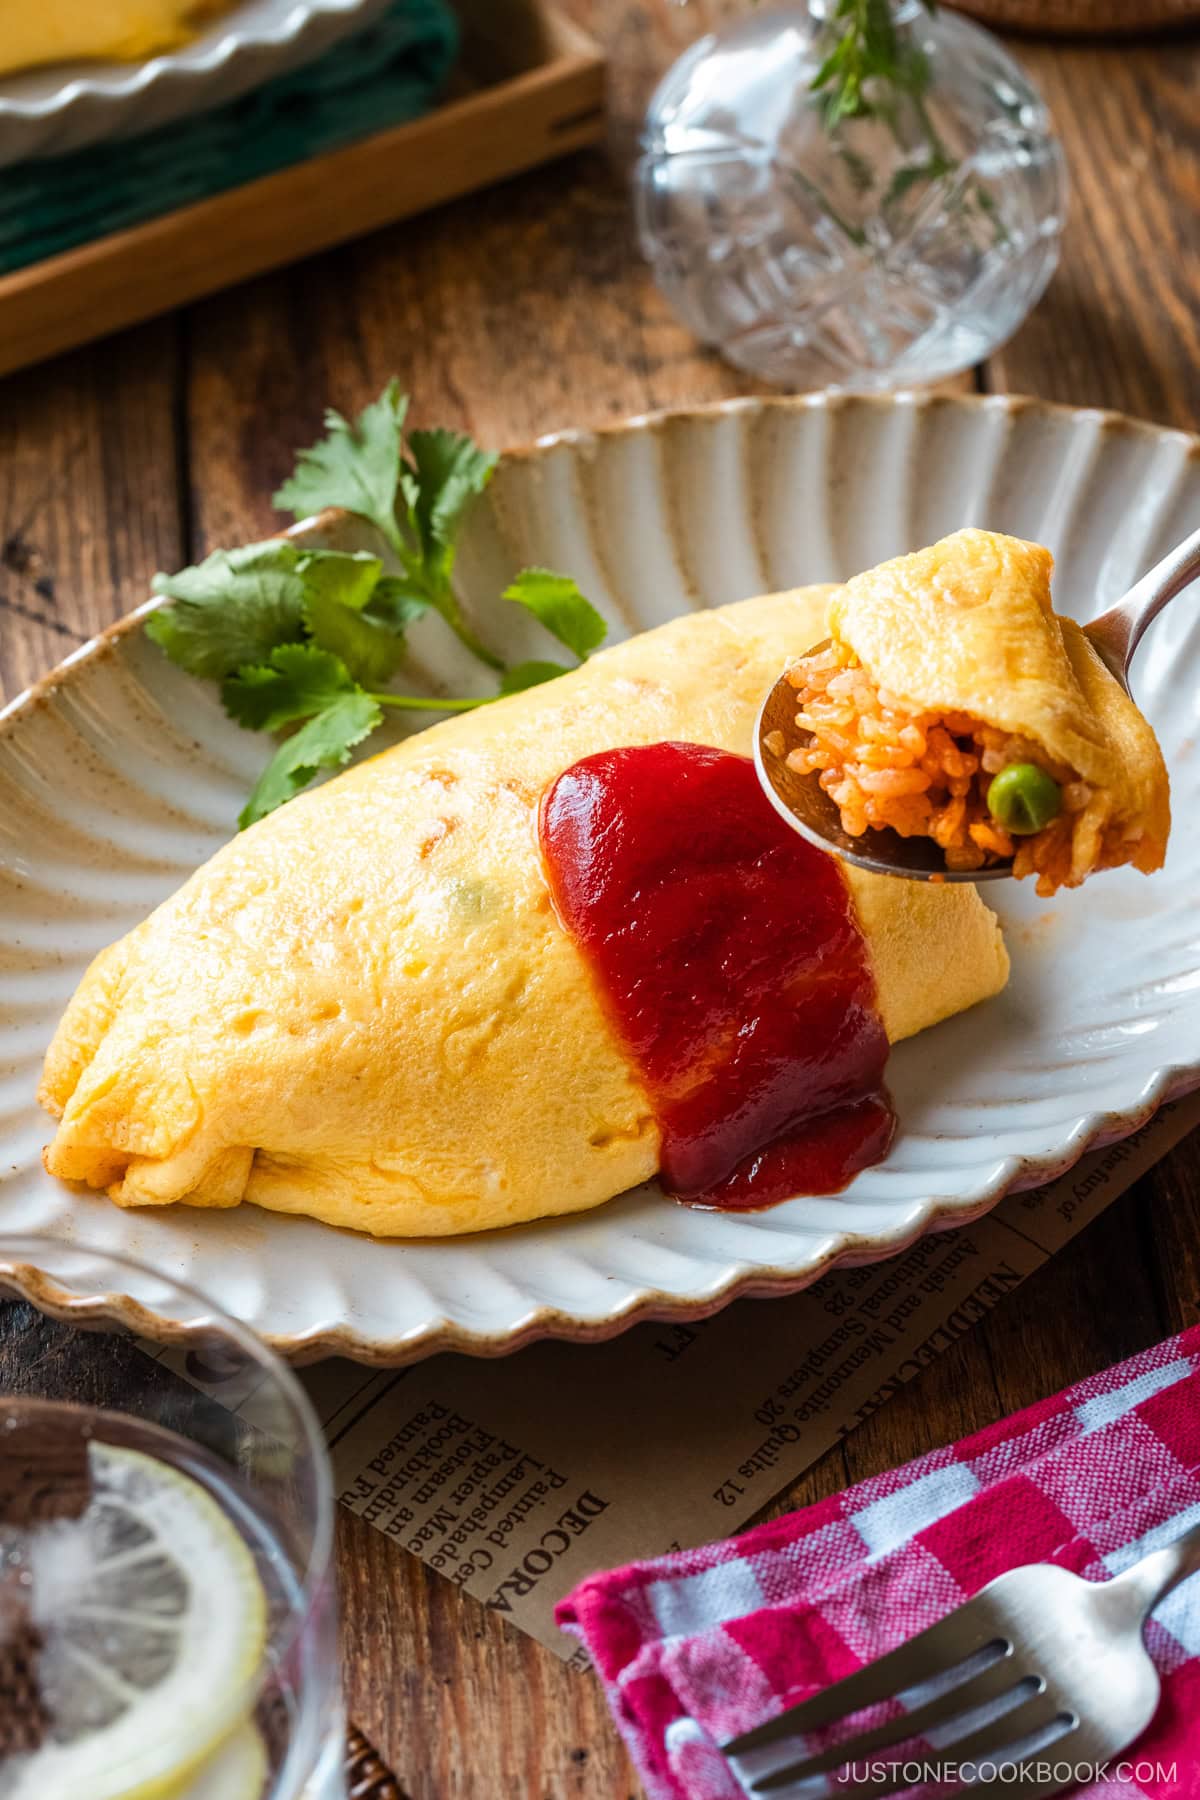
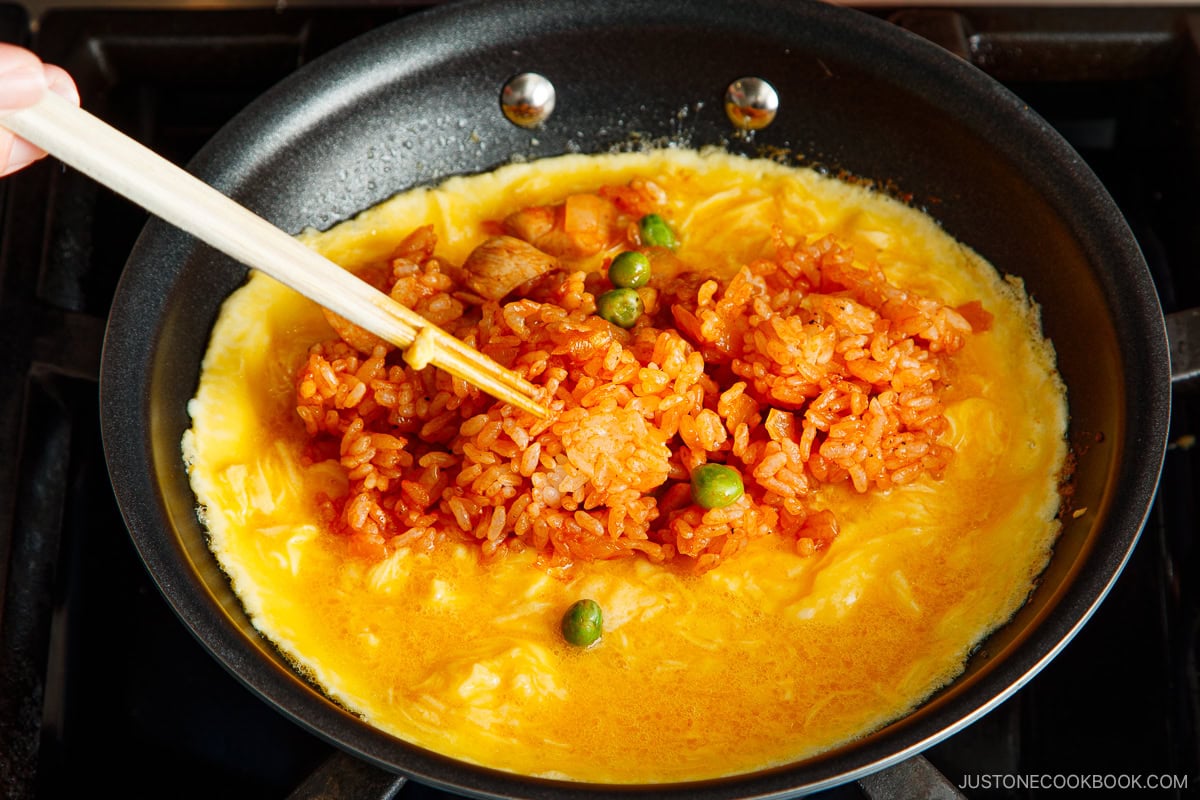
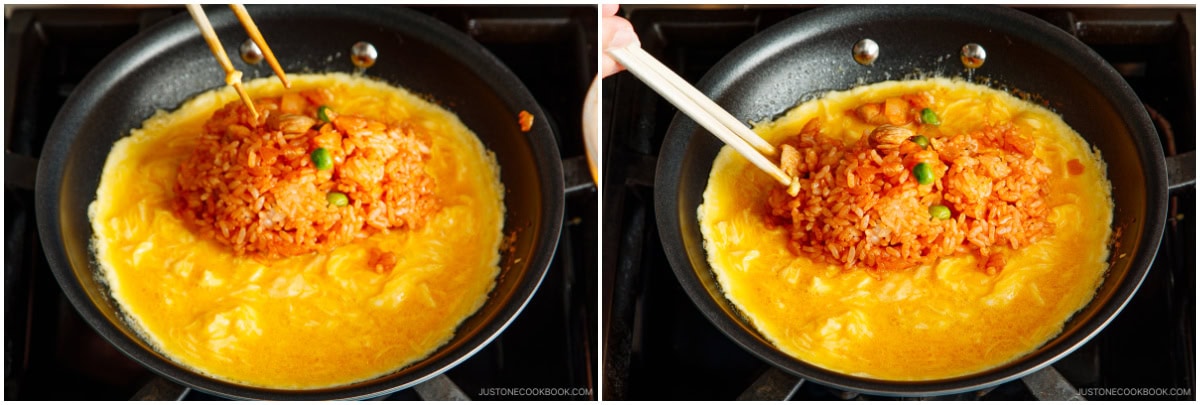
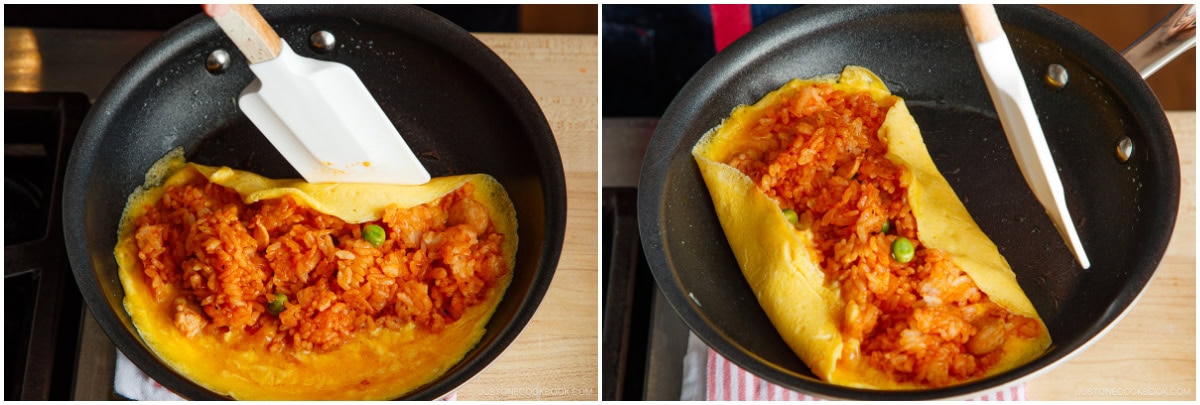
When the eggs are half-cooked, place the chicken rice in the center of the omelette. Spread it out to the sides a little. Create a rough football shape without moving and touching the omelette.
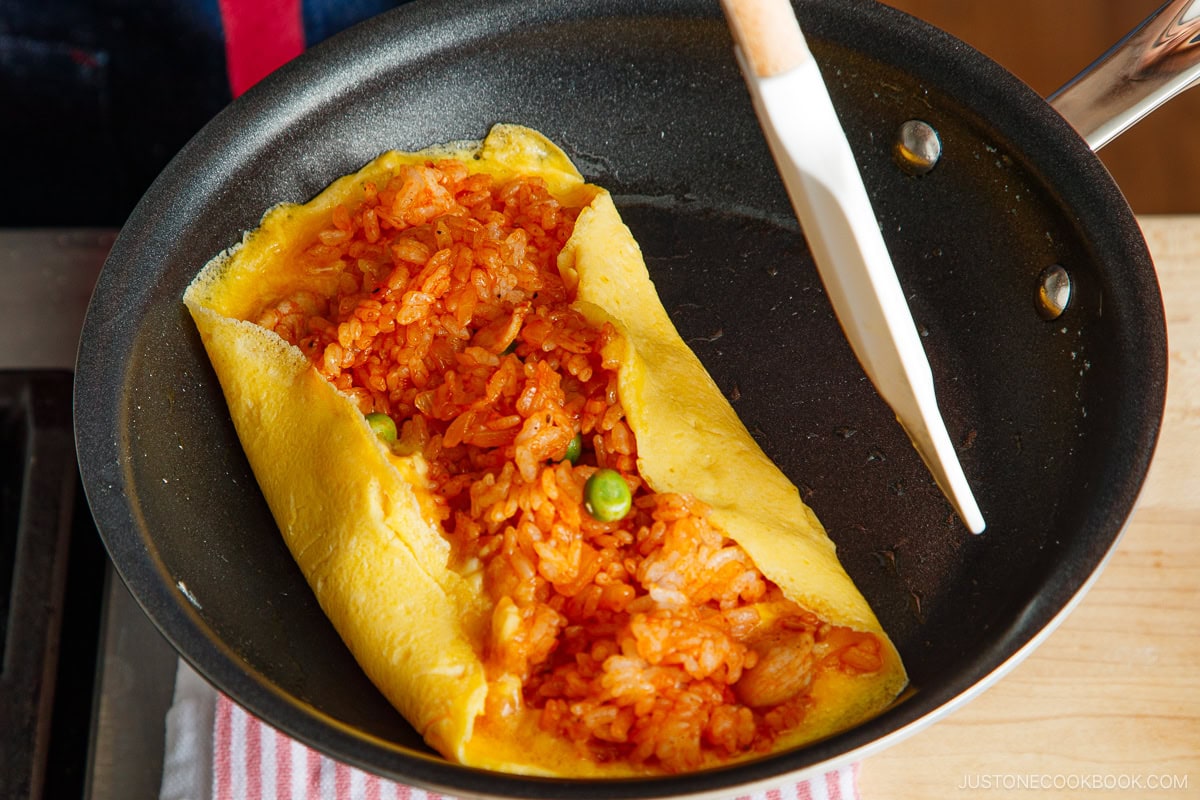
Move the pan to a wet folded cloth to cool it. This prevents the omelette from browning, ensuring that your omurice is an even pale yellow color. Then, slide the omelette to the far edge from the handle and wrap the rice with omelette from both sides.
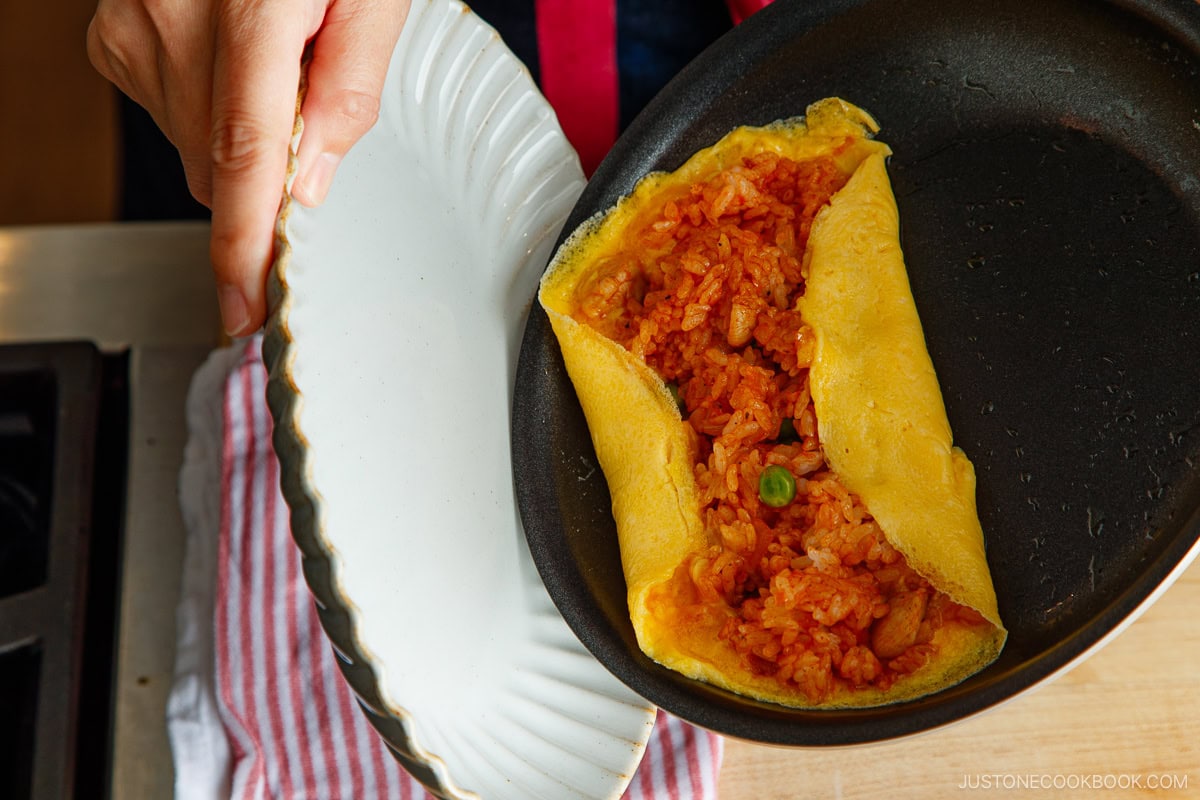
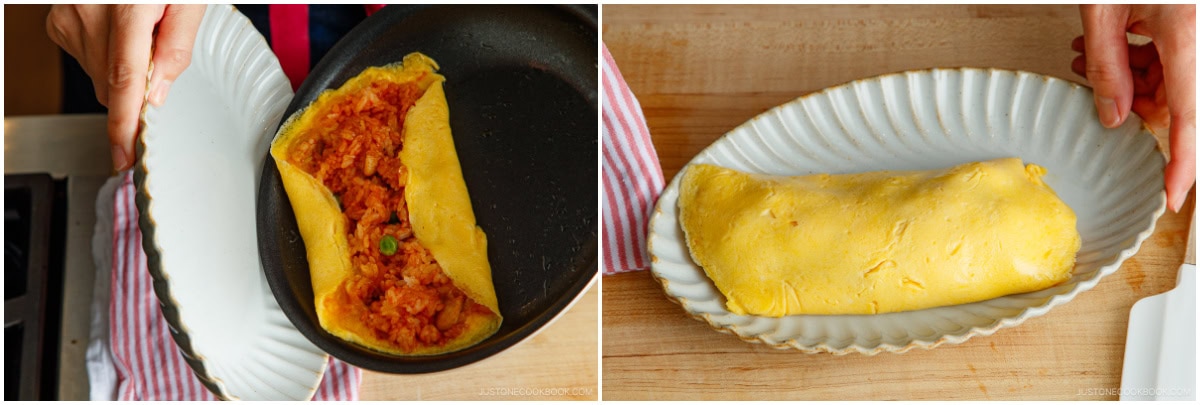
Tilt a plate and hold the frying pan upside down at an angle to flip the omurice onto the plate.
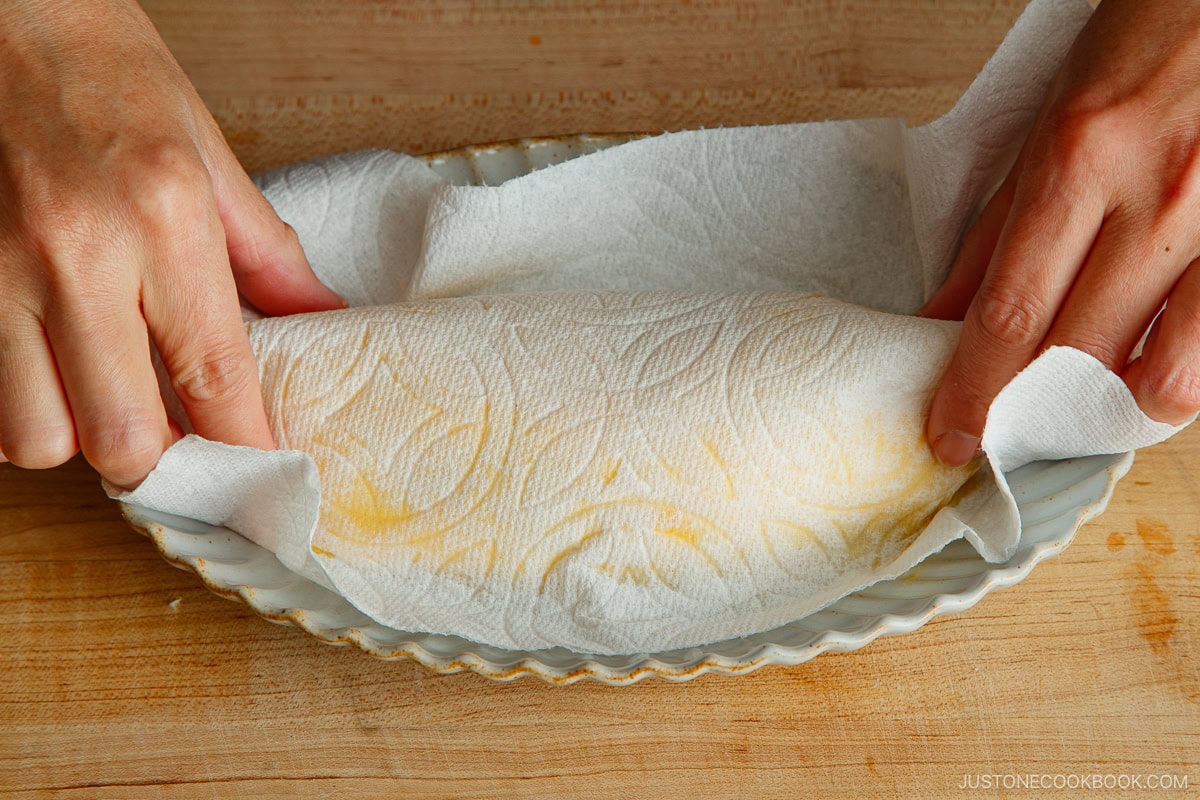
Use a paper towel to shape the omurice. Once you invert it onto a plate, place a paper towel on top and gently mold it with your hands into the shape of a rugby ball.
Do You Need an Omurice Pan?
An omurice pan is a small, deep frying pan that’s specifically designed to cook Japanese omelets. They’re meant to help with shaping your omurice and will usually have a nonstick surface. While they can be helpful with this recipe, I like to use my All-Clad D3 8-inch Fry Pan, which is made from tri-ply stainless steel and bonded for fast, even heating. It’s on the pricier side at around $130, but I think it’s definitely worth it since it’s compatible with any stovetop, has a top-quality nonstick coating, and is completely warp-resistant.
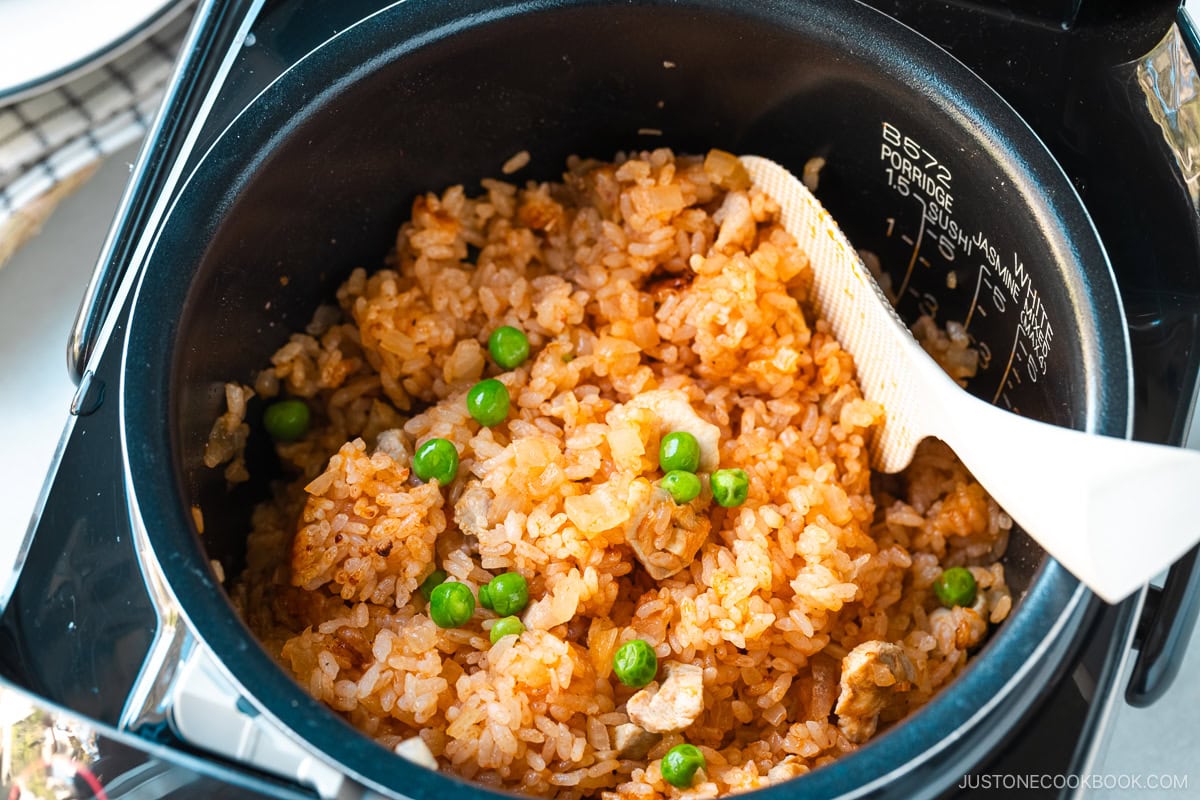
Making the Chicken Rice in a Rice Cooker
You can make the chicken rice in an electric rice cooker. The recipe is coming soon! Feel free to make this rice cooker chicken rice ahead and freeze individual portions, so you can make omurice whenever you want to eat it.
How to Store
To Store: You can keep the leftovers in an airtight container and store in the refrigerator for up to 3 days or in the freezer for a month. To Reheat: Microwave until warm.
What to Serve with Omurice
Soup – Bacon and Asparagus Miso Soup or Corn Potage Salad – Apple Walnut Salad or Japanese Kani (Crab) Salad Sides – Green Beans with Yuzu Vinaigrette or Miso Butter Mushrooms
Wish to learn more about Japanese cooking? Sign up for our free newsletter to receive cooking tips & recipe updates! And stay in touch with me on Facebook, Pinterest, YouTube, and Instagram. Editor’s Note: This post was originally published on August 14, 2012. It was updated with a revised recipe, more helpful content, and new images on May 7, 2024.