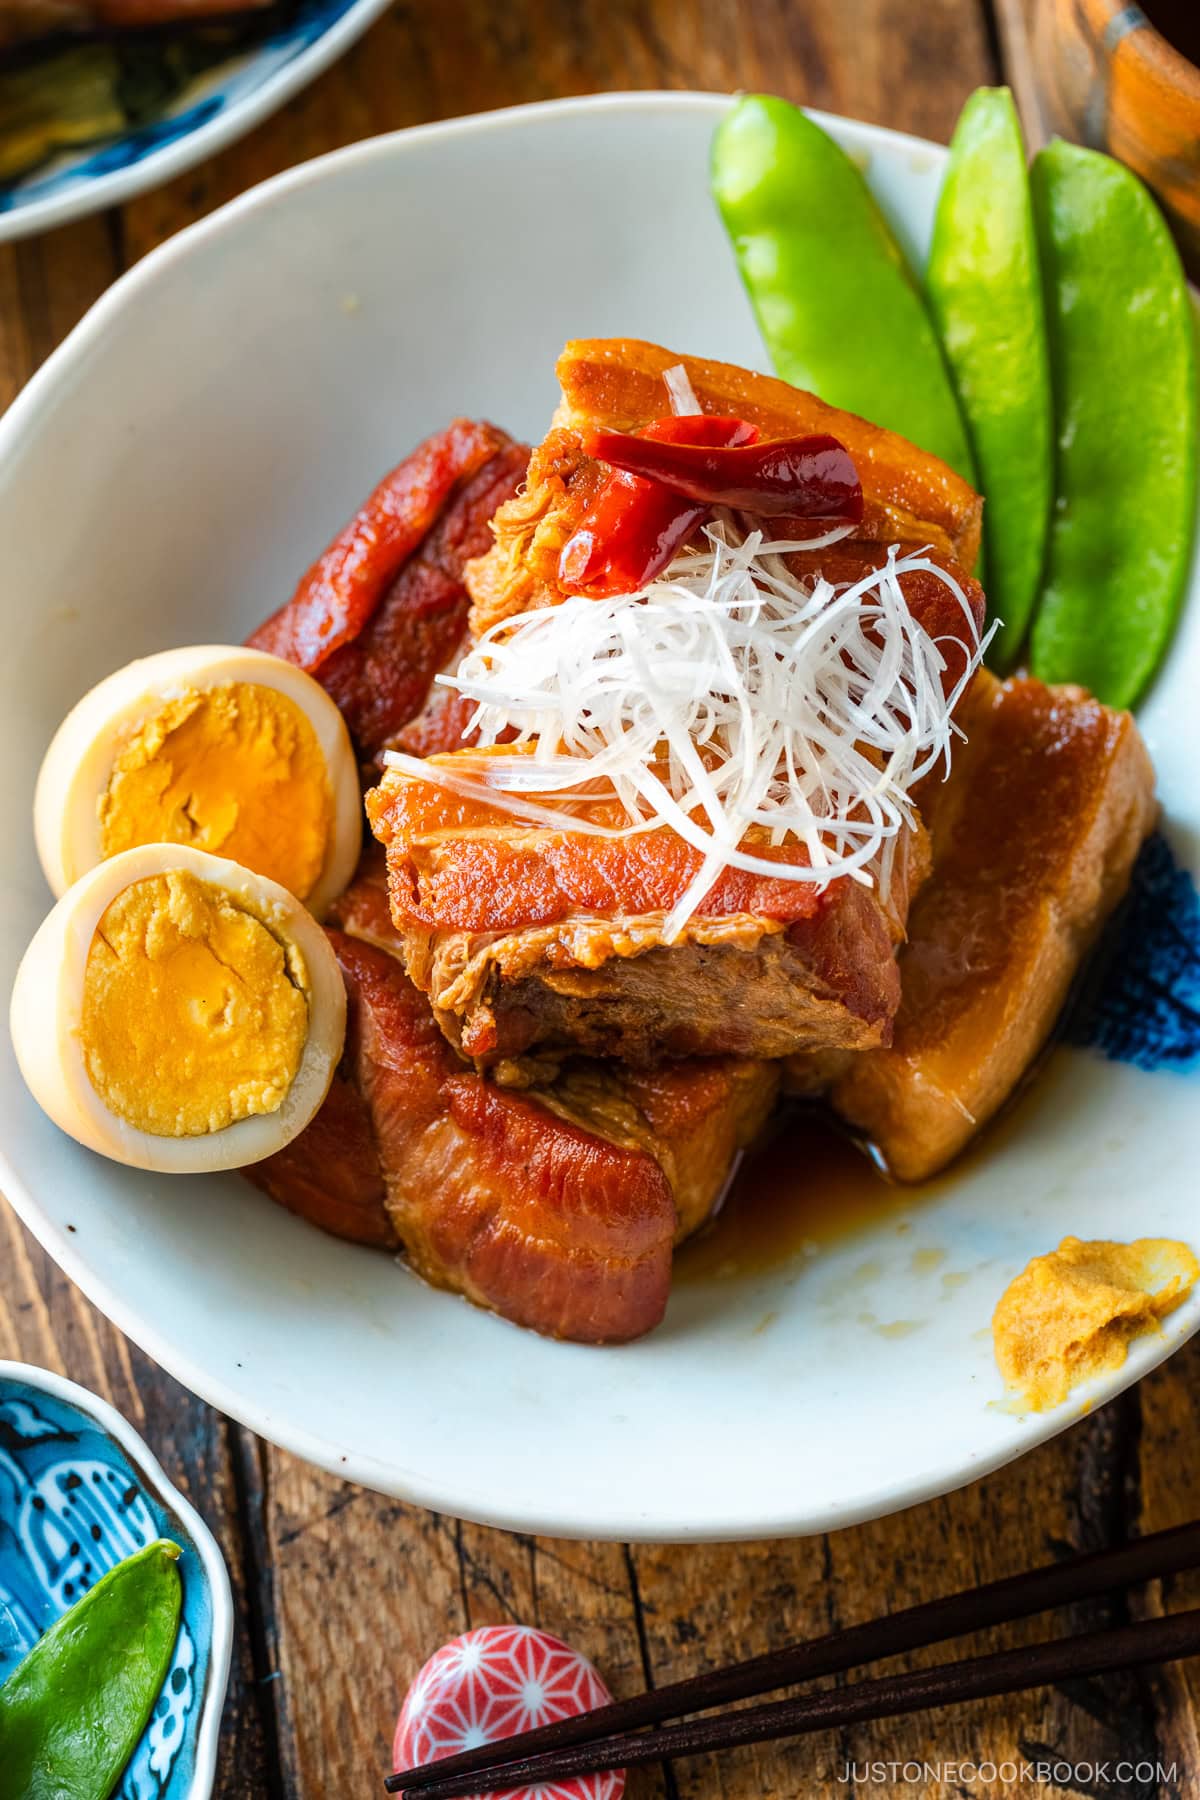
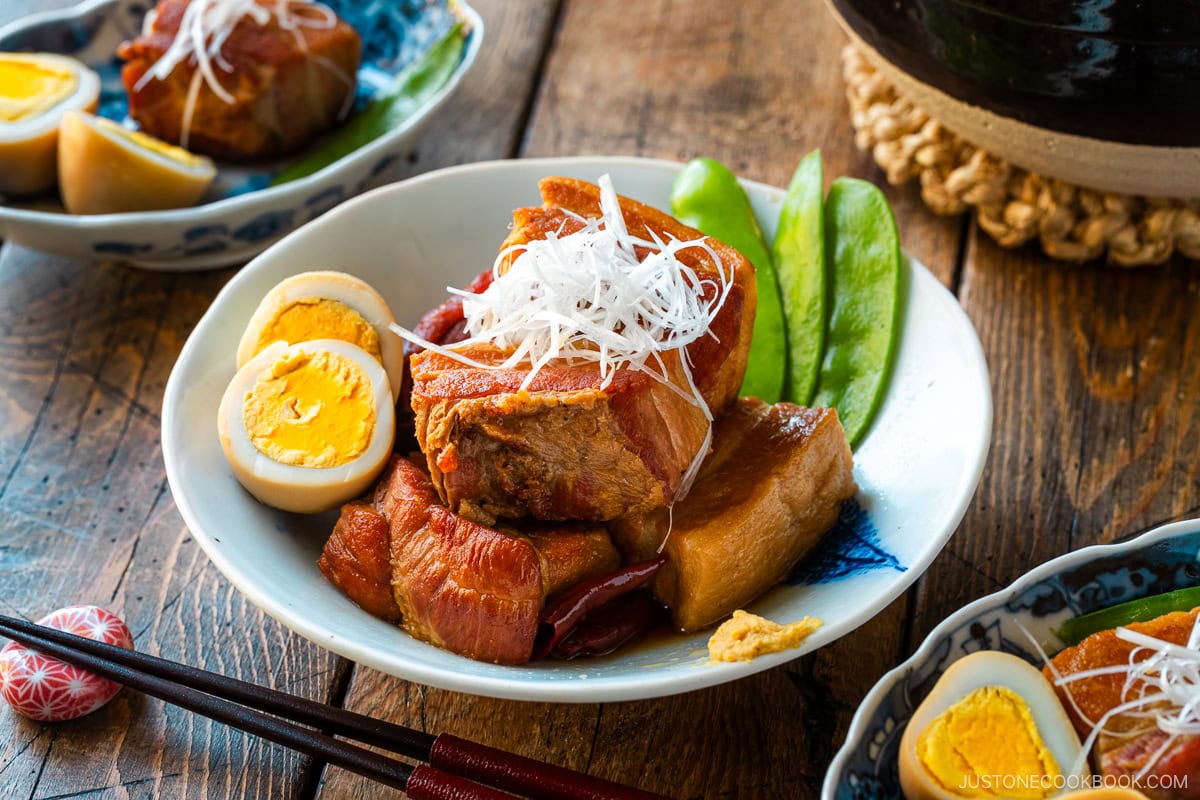
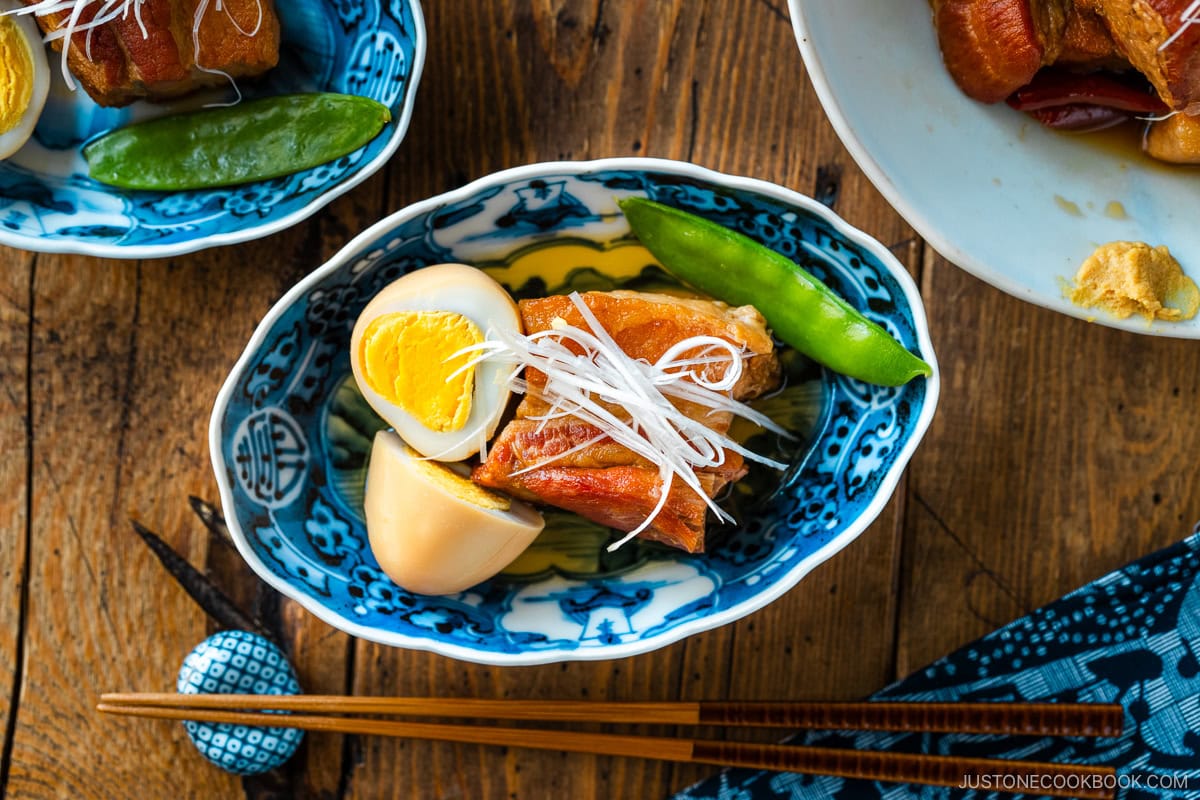
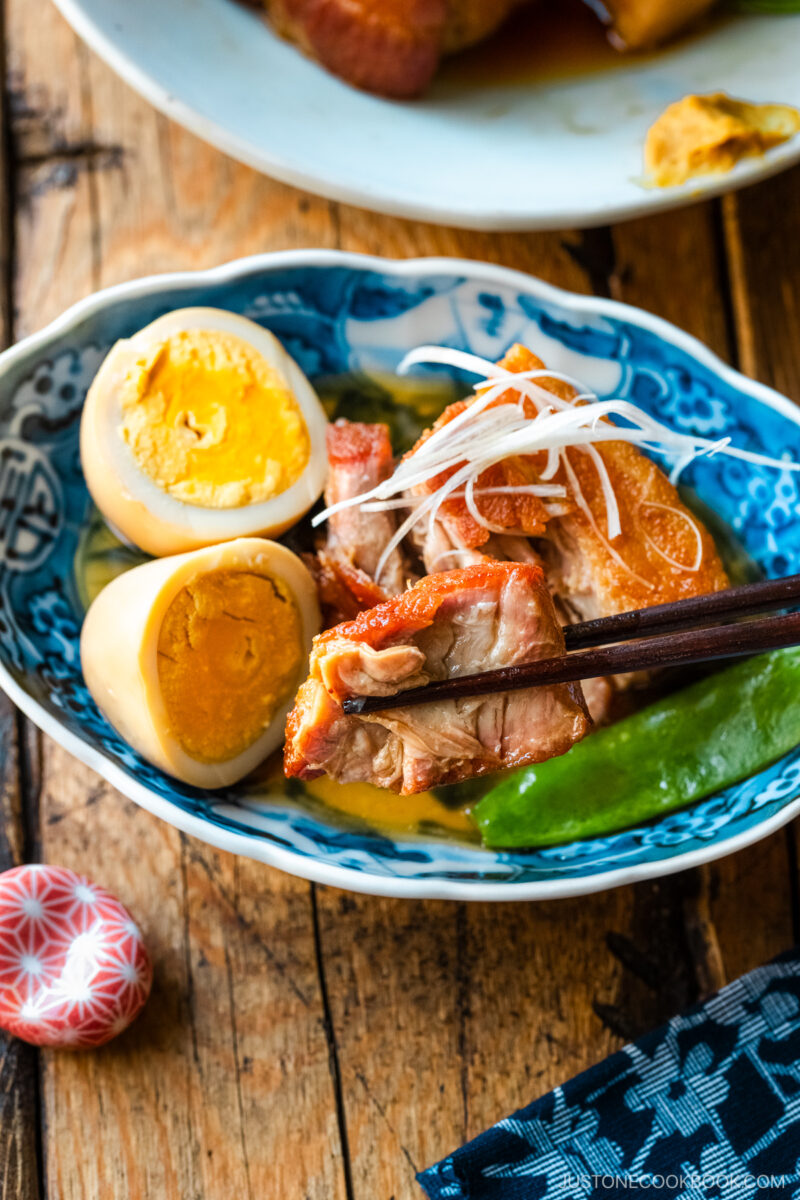
My family loves the super-tender and succulent texture of Japanese braised pork belly called Kakuni (角煮). I wholeheartedly agree with them. Even though this dish is quite rich, there is something about it that I cannot resist! In today’s Kakuni recipe, I’ll share the key to making the most fork-tender and delicious pork belly that you can imagine. While it takes a few hours of cooking time, it’s easy to do in any home kitchen with standard cookware and simple ingredients.
What is Kakuni?
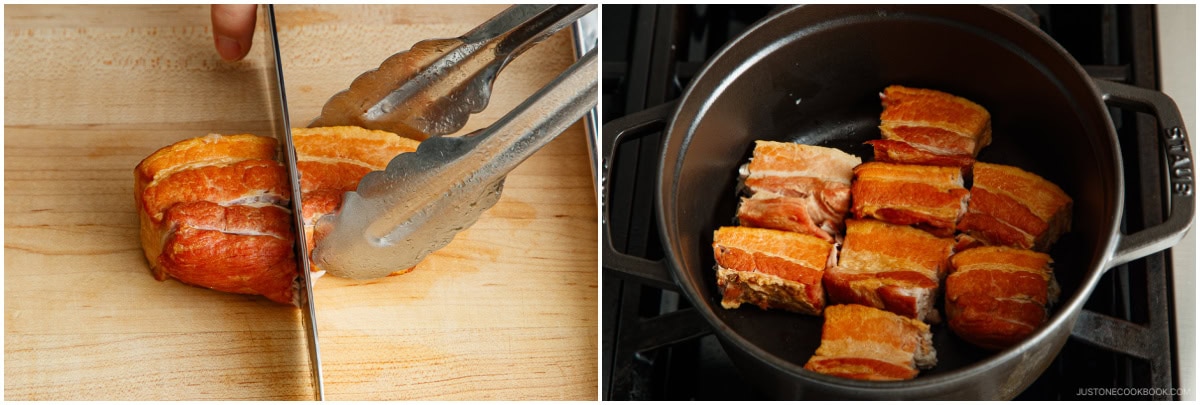
Kakuni (角煮) is skinless pork belly that’s slowly simmered (ni), cut into squares (kaku), and braised in a salty-sweet seasoning liquid. A local specialty of the southern island of Kyushu, Japanese all over the country enjoy this succulent and tender kakuni drizzled with its delicious savory sauce as a standalone dish, on a rice bowl, tucked into steamed buns, or on noodle soup. Japanese braised pork belly traces back to the Chinese dish dong po rou introduced to Okinawa and Nagasaki during Japan’s isolation period (1639–1853). Palace chefs of Okinawa’s Ryukyu Kingdom transformed it into the court dish rafute. In Nagasaki, it became the banquet dish toba-ni served in shippoku (卓袱, hybrid) cuisine. From these two foods, Kakuni eventually adapted into the delicious dish that we know today.
Why This Kakuni Recipe Works
While I’ve tried many ways to cook it, this method makes the best kakuni!
No pressure cooker required — My method uses standard cookware, so you don’t need any special equipment. Although the total time for this recipe is a bit long, the results are worth it! Simple ingredients — You just need pork belly and common Japanese seasonings and aromatics. Fork-tender texture — The secret? An initial slow-cook of 3 hours. Meal-prep friendly — Make two batches and freeze some for future meals. The flavor improves with several hours of resting, making it a perfect make-ahead dish!
Ingredients for This Recipe
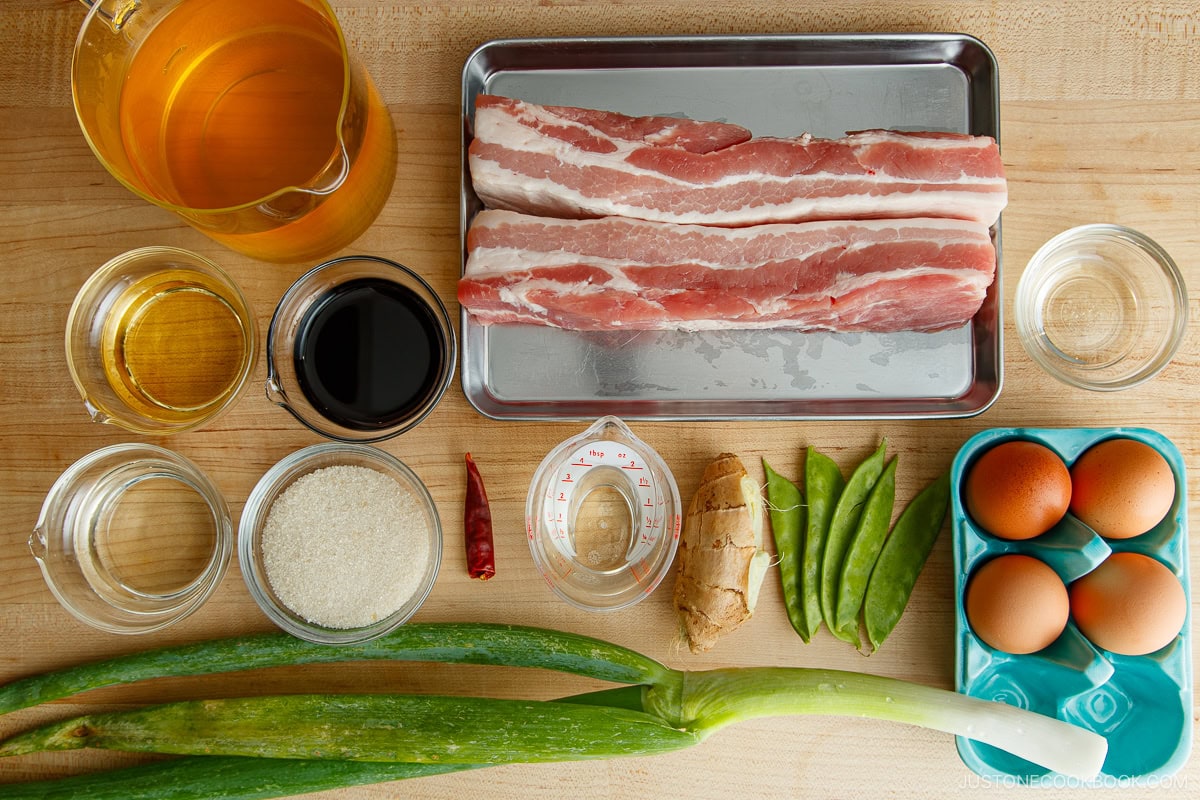
You’ll need just simple ingredients and common Japanese seasonings:
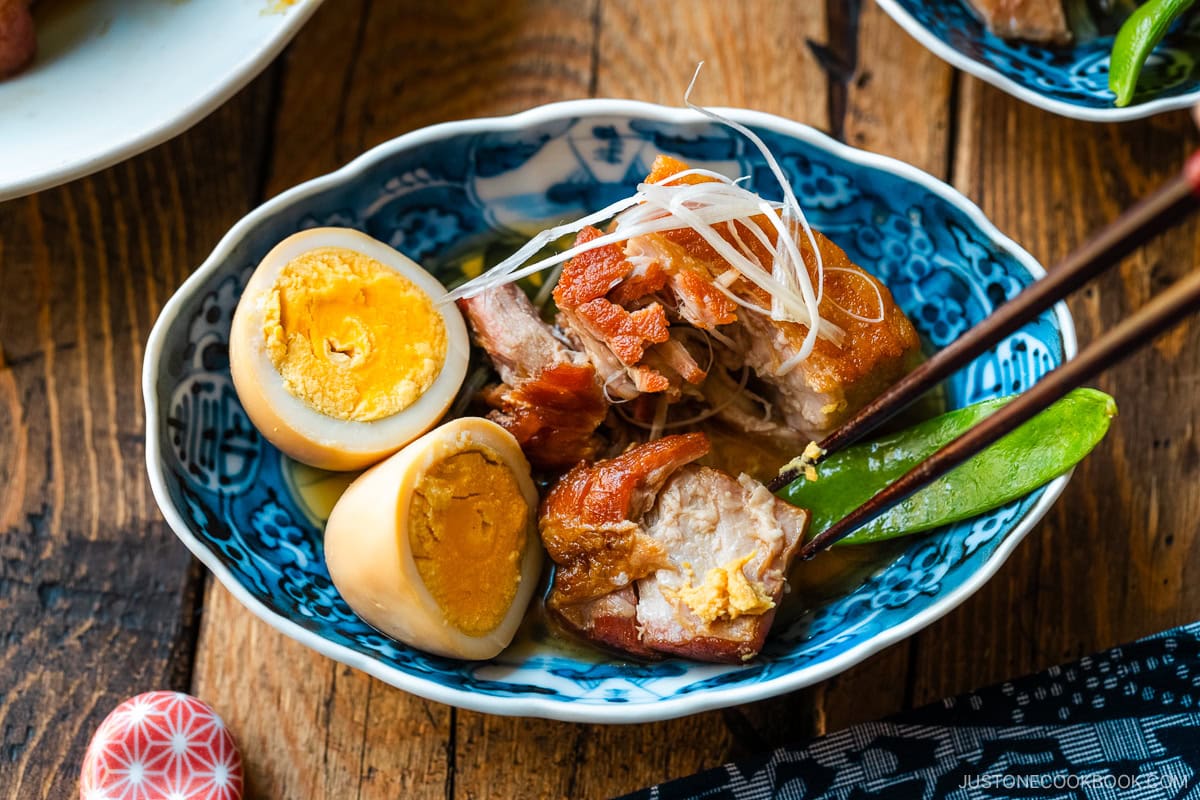
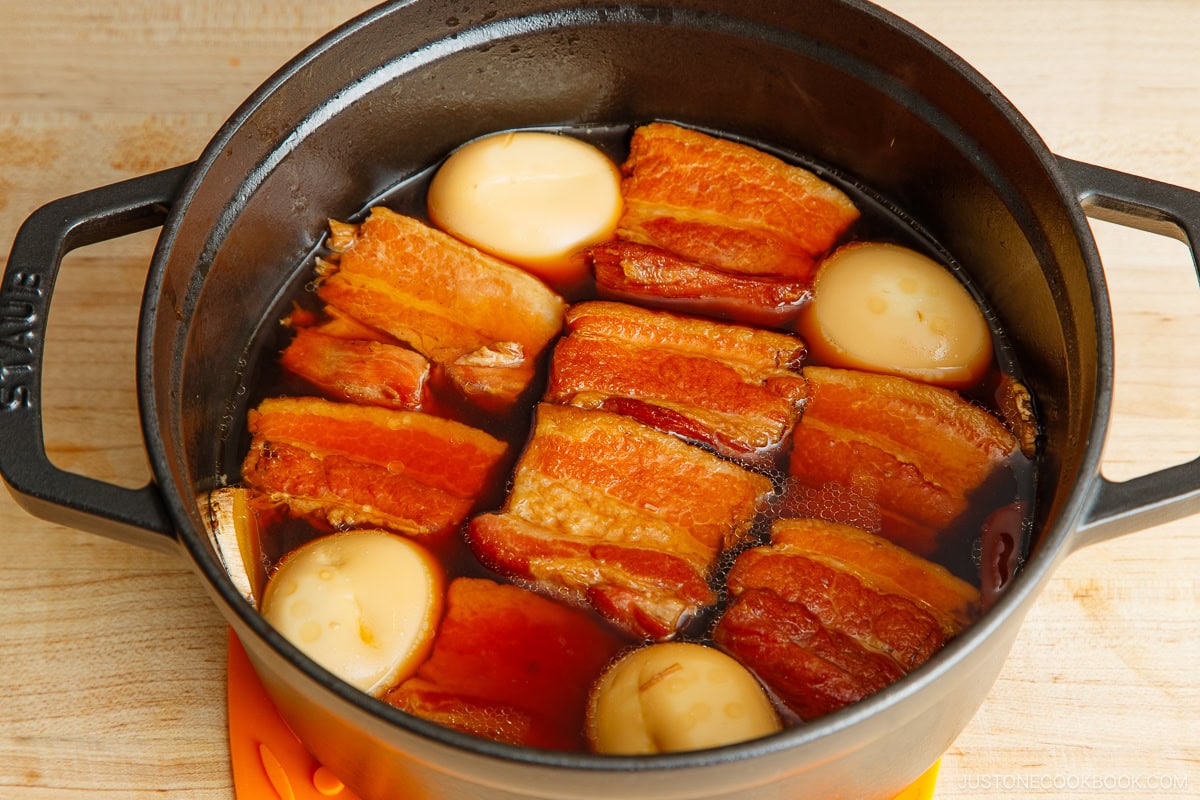
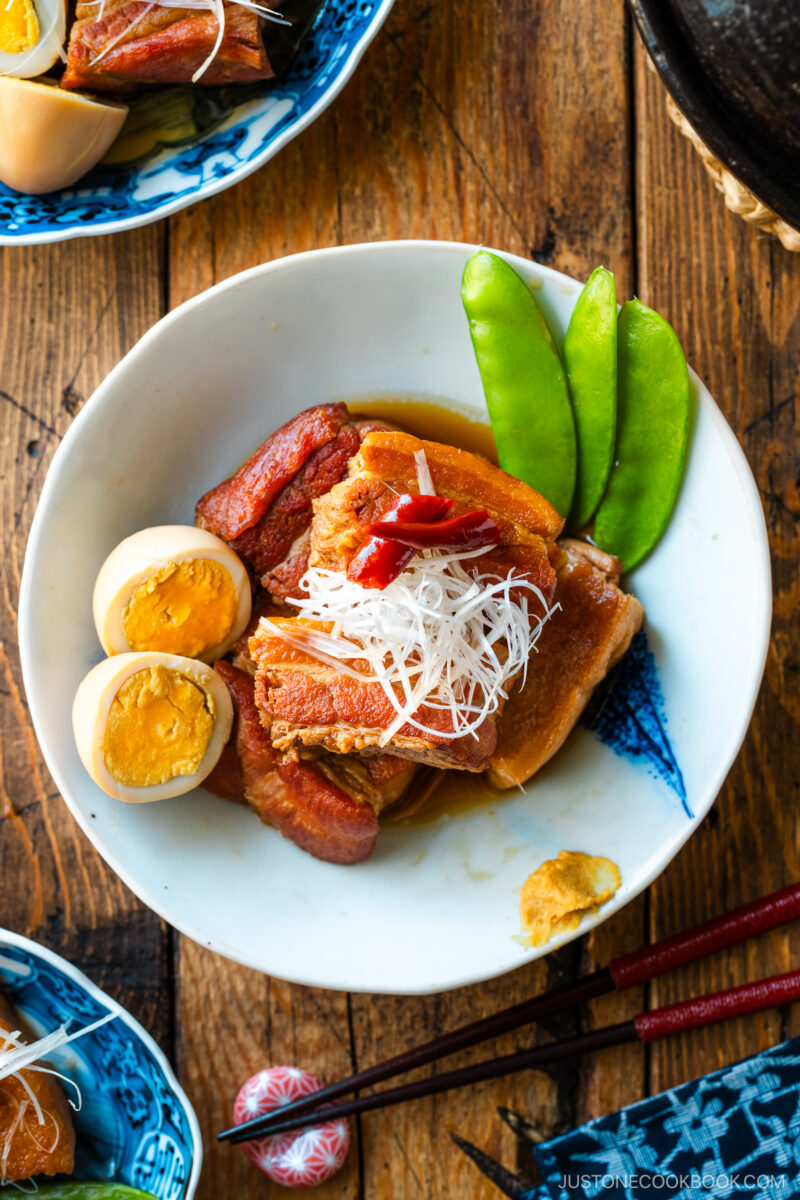
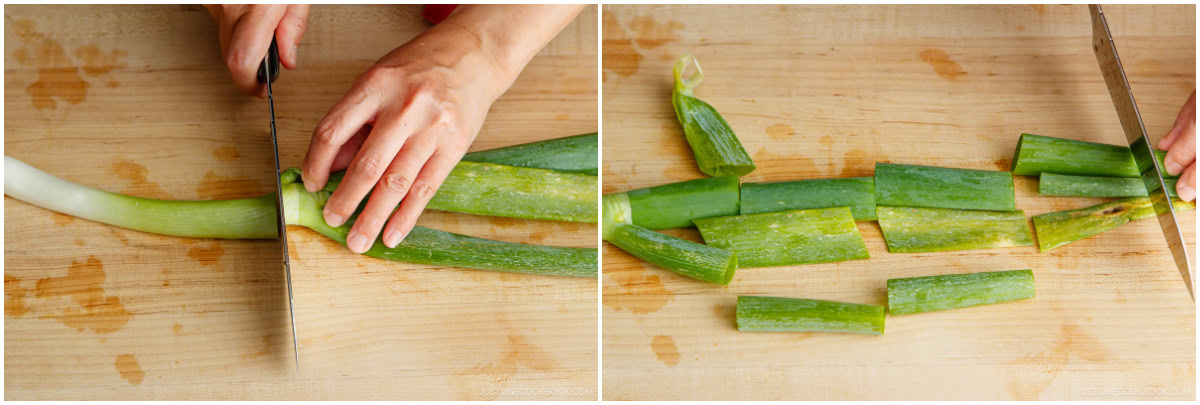
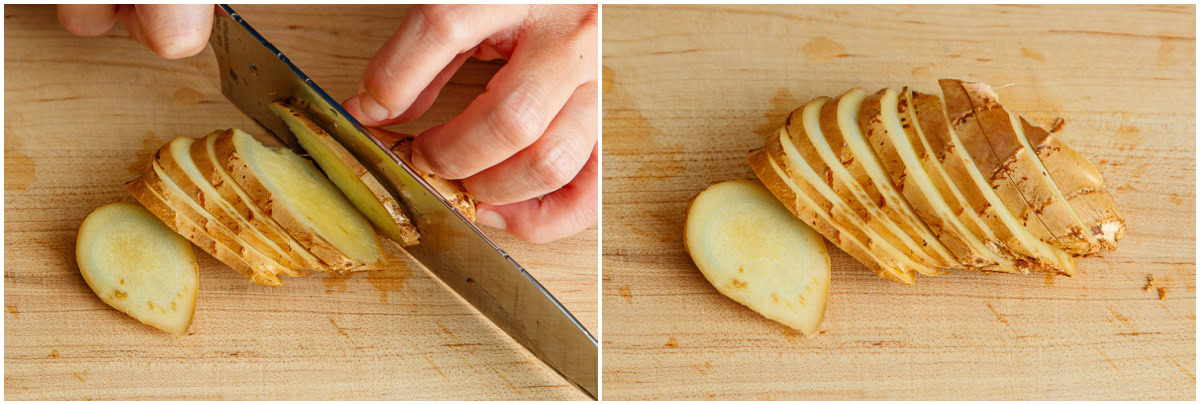
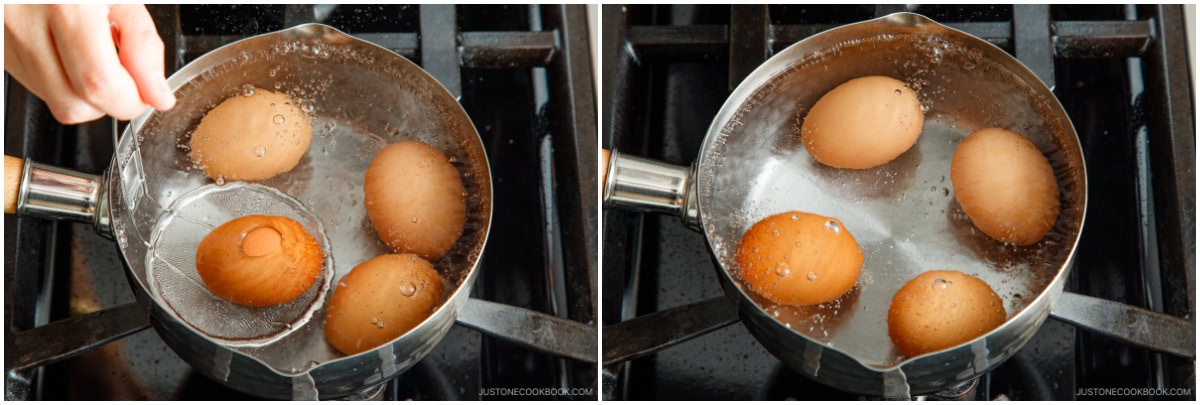
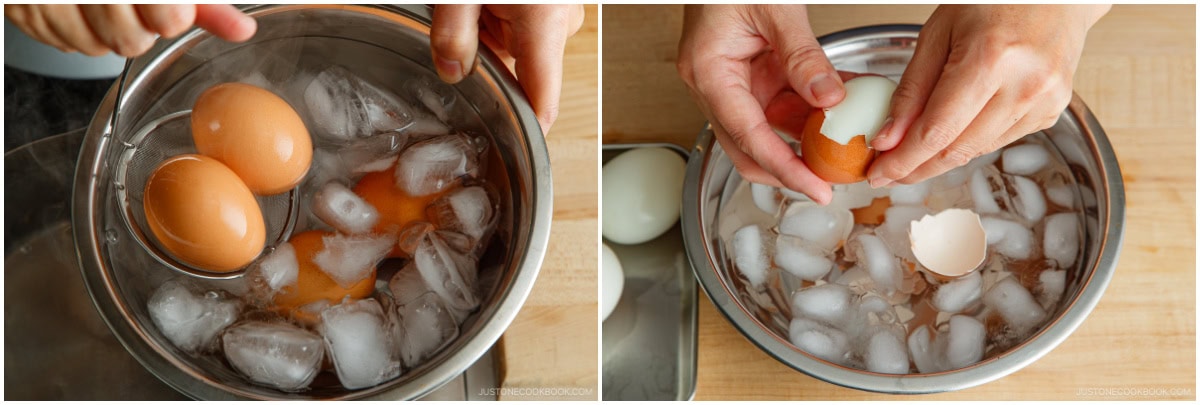
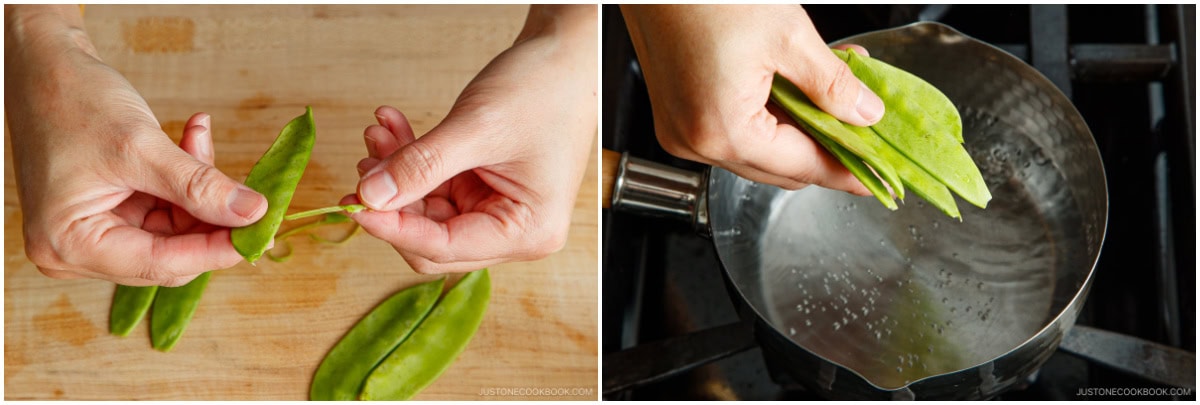
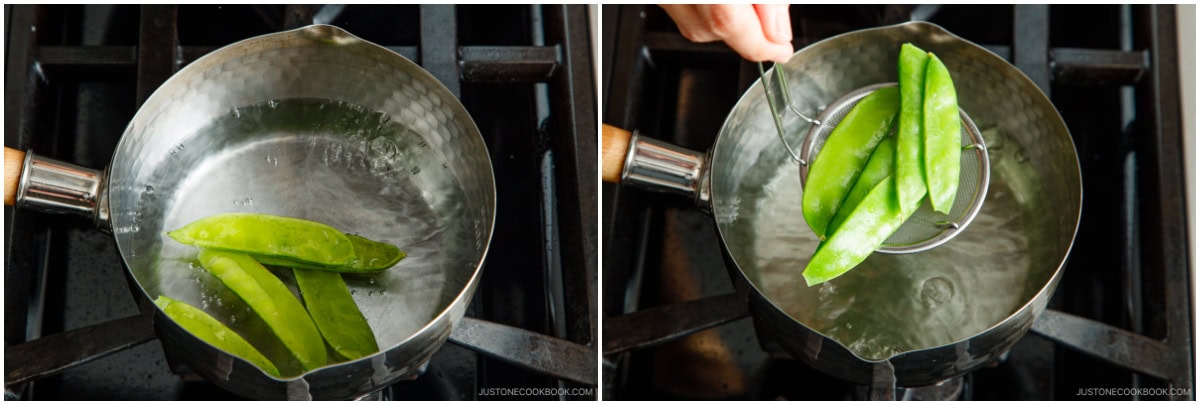
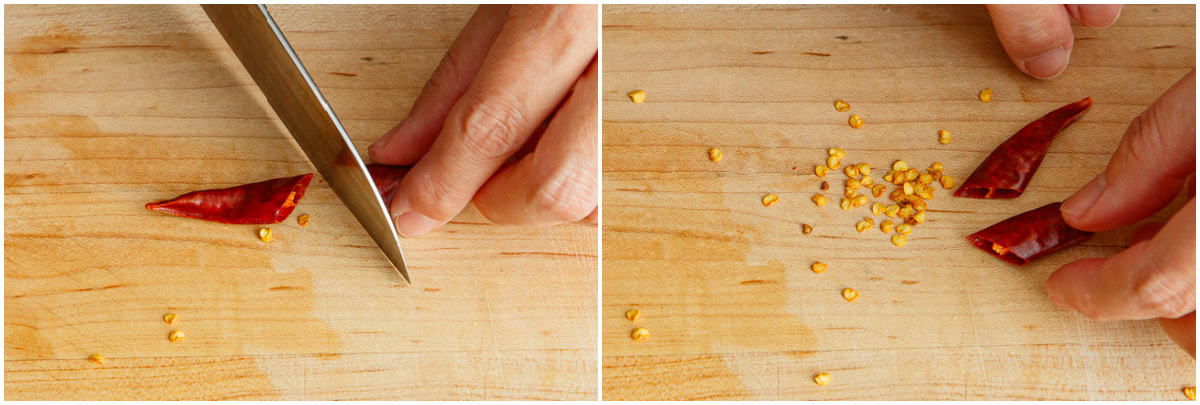
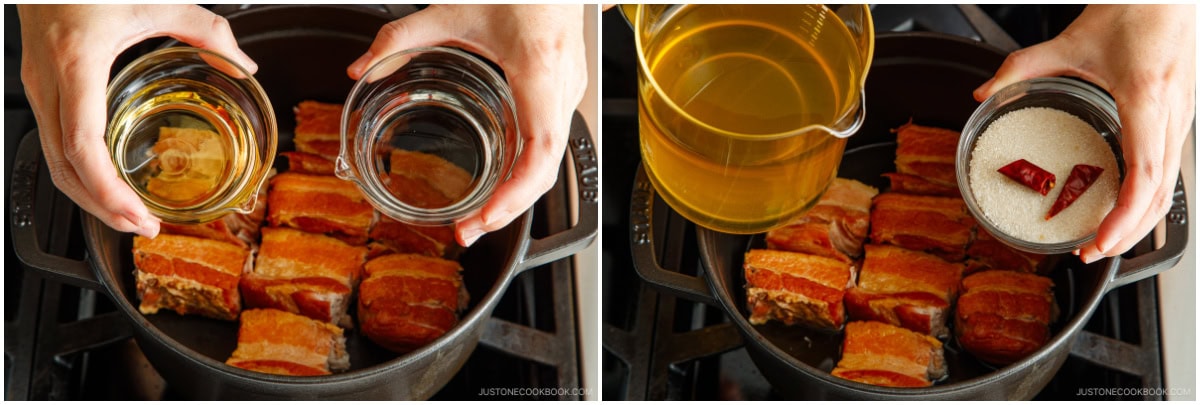
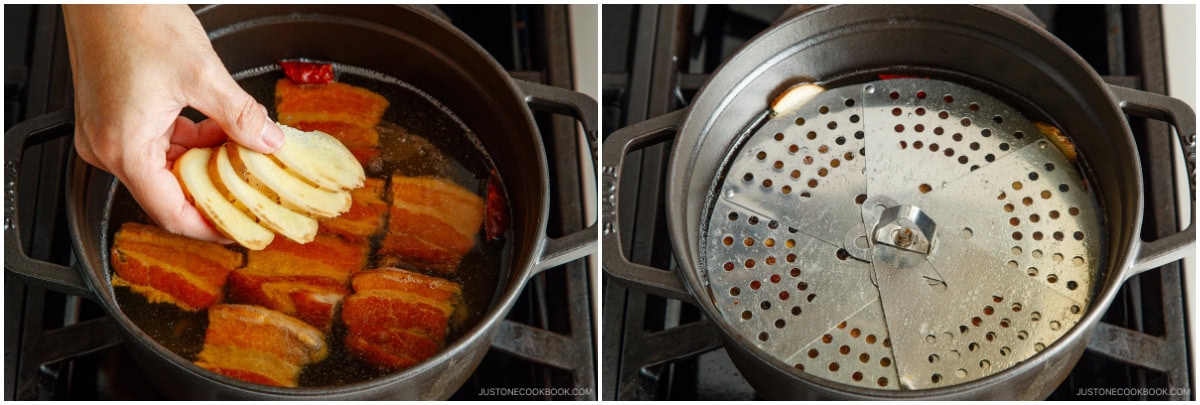
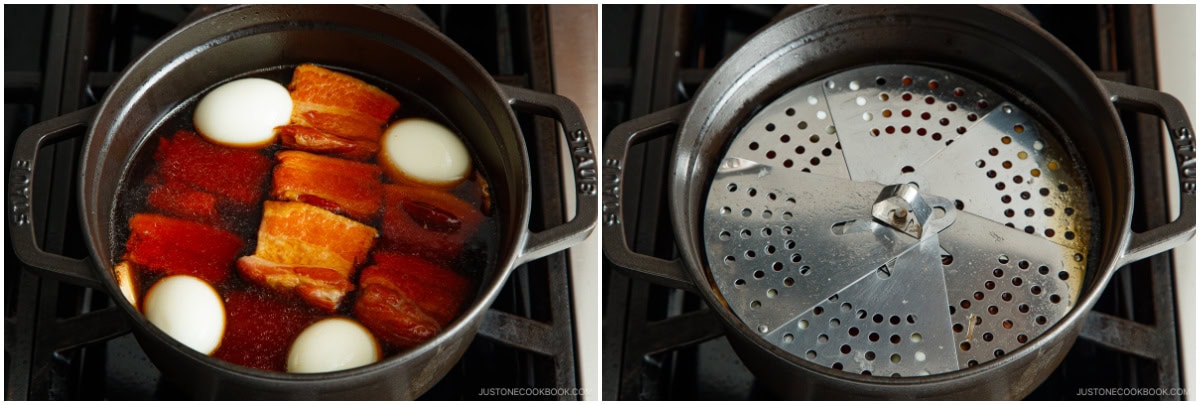
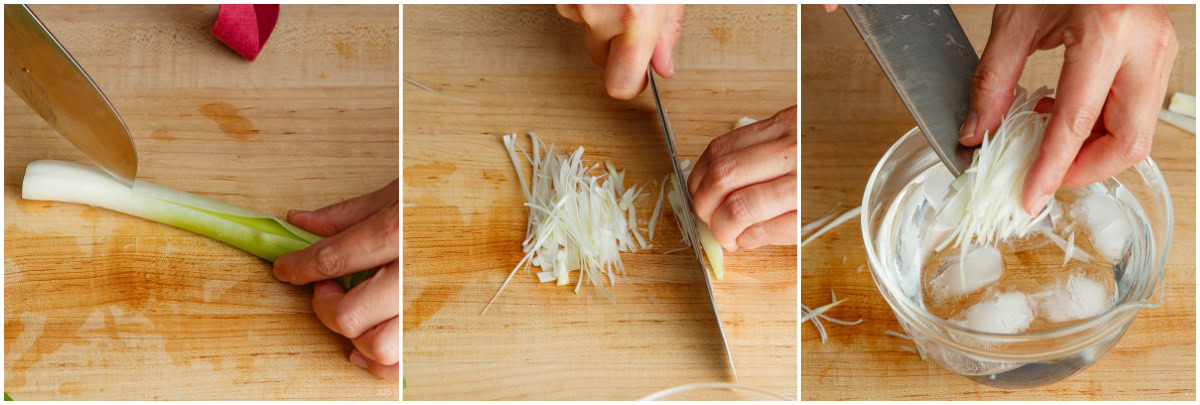
pork belly — skinless; ask your butcher to remove the skin Tokyo negi — for the initial simmering (the green part) and the garnish (the white part) knob of fresh ginger — for aroma and flavor sake — to get rid of the pork’s odor dashi, mirin, sugar, soy sauce, chili pepper — to season the sweet-savory braising liquid large eggs (optional) — soft-boiled and simmered in the seasoning liquid snap peas (optional) — for garnish and color; or use green beans or other vegetables
Substitution Tips and Variations
You can vary the ingredients and flavors in creative ways:
If you can’t find pork belly, try pork shoulder. You’ll need a fatty cut to keep the meat moist and tender. While shoulder has a lower fat content, it can produce a somewhat similar texture and flavor. Change the seasonings and aromatics any way you like. Try Chinese-inspired spices and aromatics like star anise, five-spice powder, and/or garlic in the braising liquid. For a lighter color and taste, reduce the soy sauce and add some salt instead. Replace the Japanese sake in the simmering liquid with Chinese rice wine. Experiment with different garnishes. Instead of snap peas, try green beans, spinach, bok choy, okra, or daikon. Substitute the slivered Tokyo negi with scallions or green onions, or try slivered fresh ginger or grated daikon instead. Serve with your favorite condiment. While I suggest shichimi togarashi (Japanese seven spice), you could also serve it with pungent and spicy karashi (Japanese hot mustard).
How to Make the Best Kakuni
Gentle, slow cooking is the key to a melt-in-your-mouth texture.
Recipe Tips and Techniques
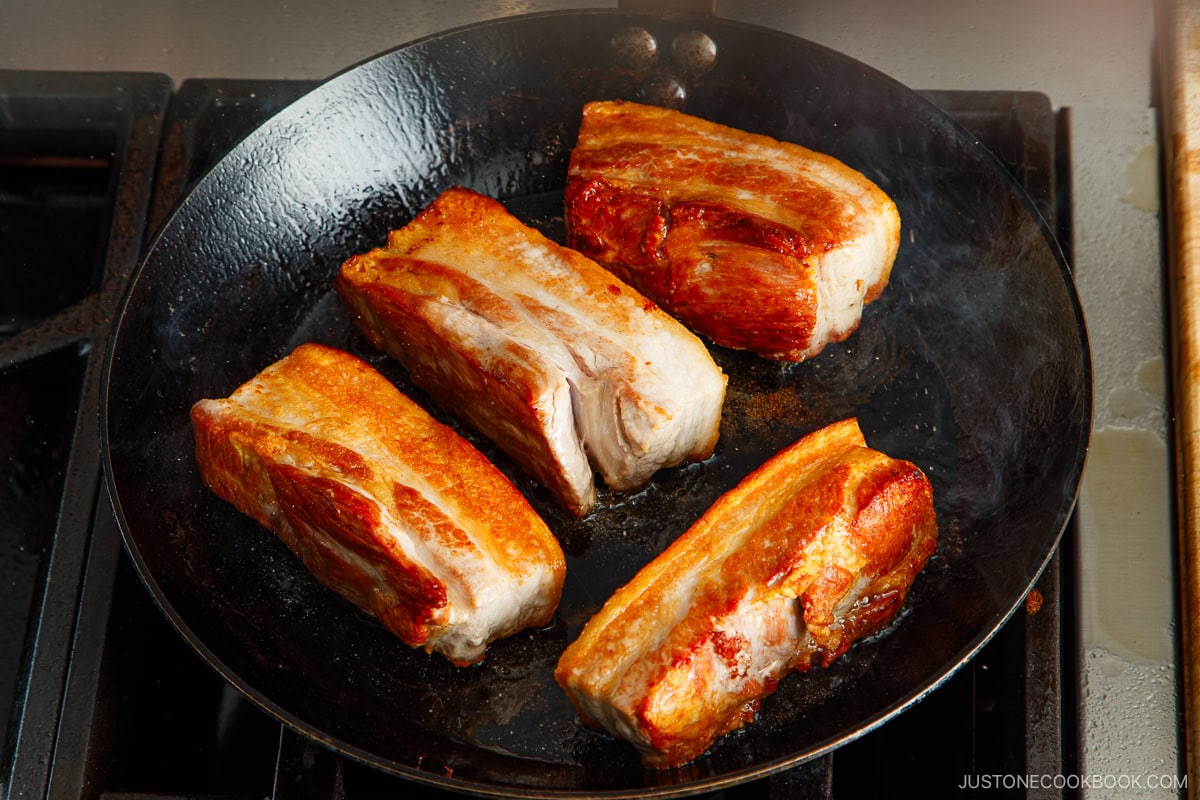
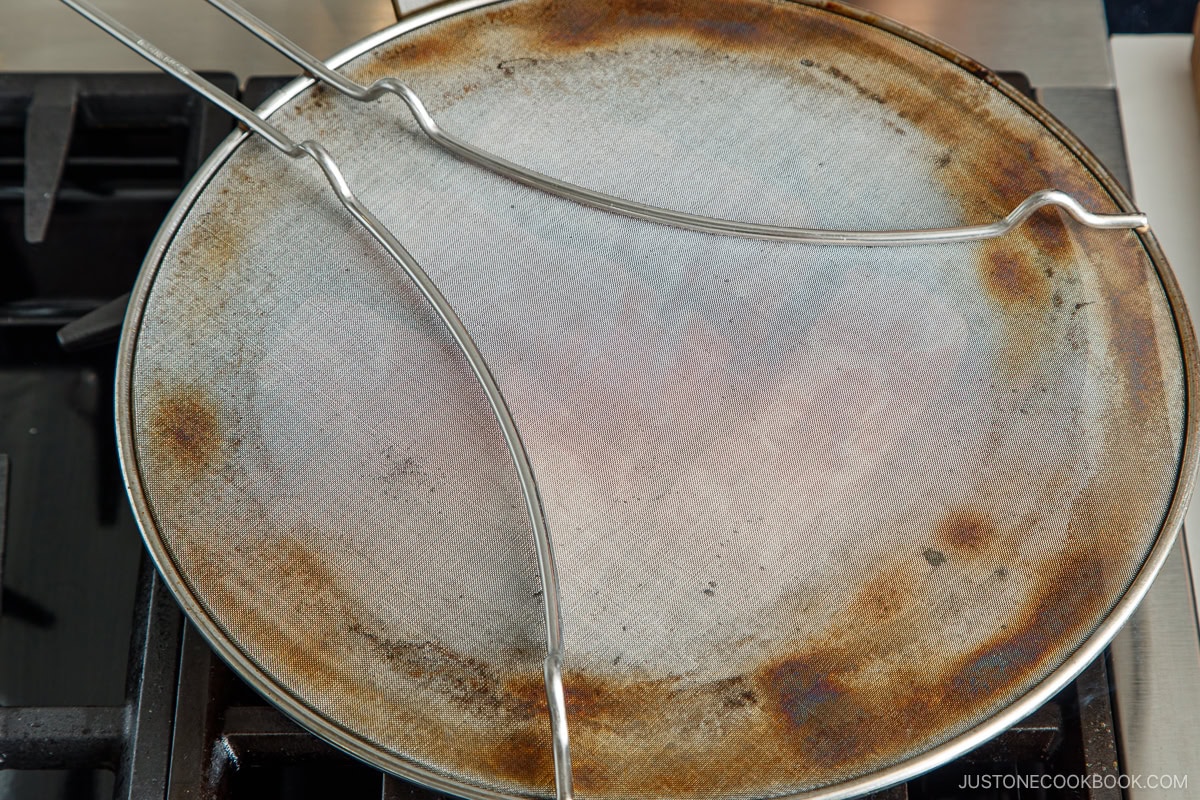
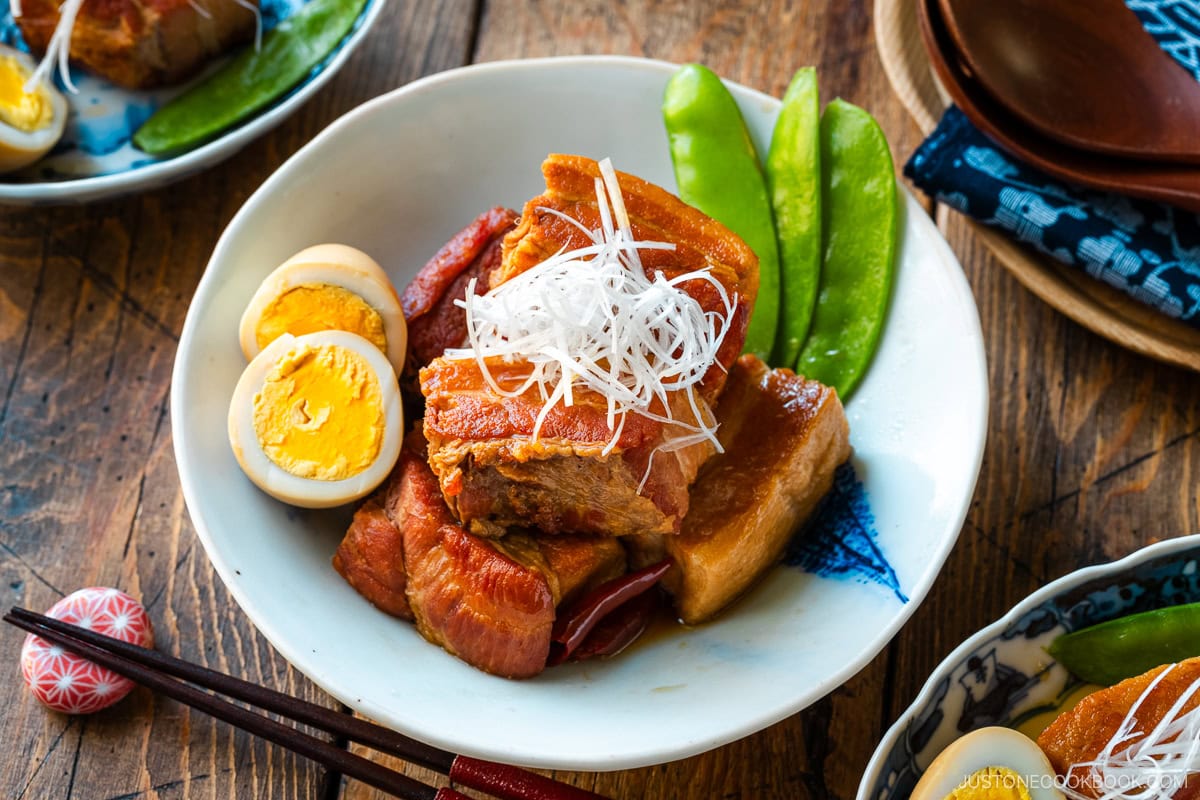
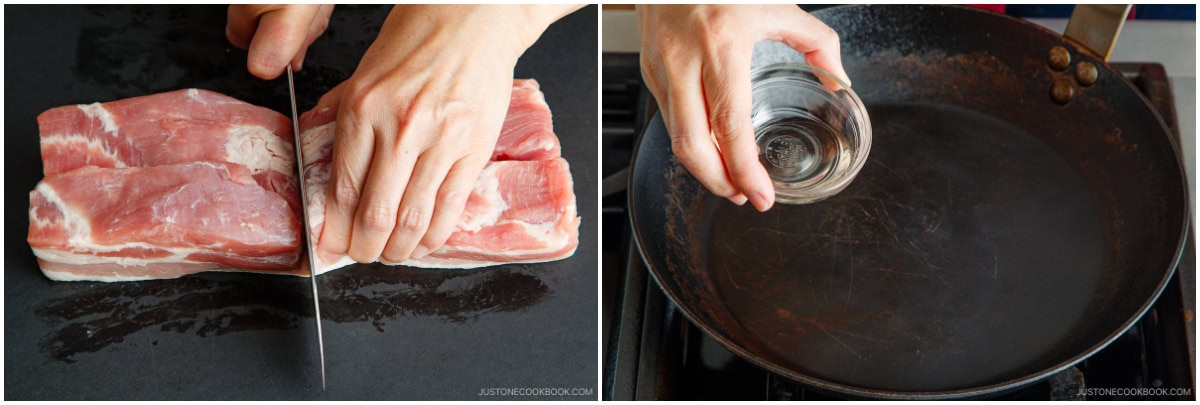
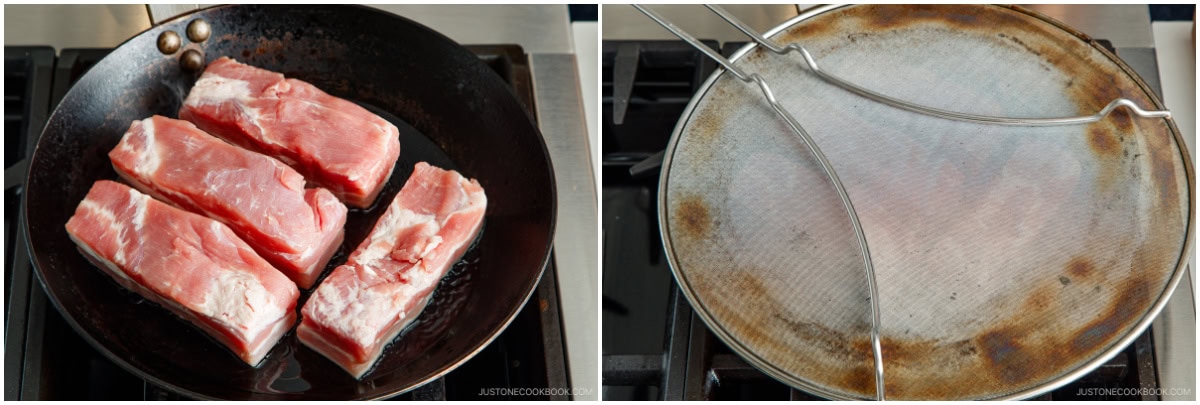
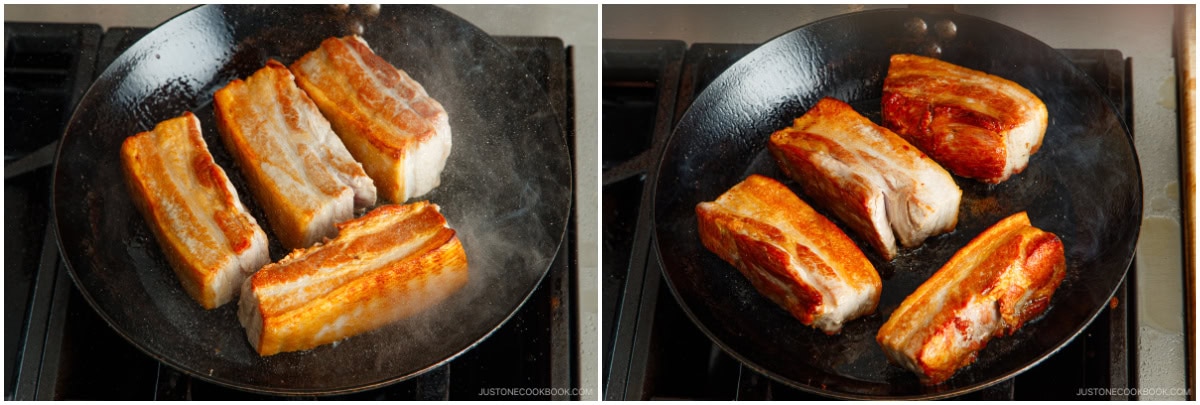
Sear the surface of the meat until golden brown before boiling to draw out excess fat and lock in the flavor. Add oil to the pan and sear it fat side down to help the fat render faster. Highly recommend getting this splatter shield to avoid the oily mess.
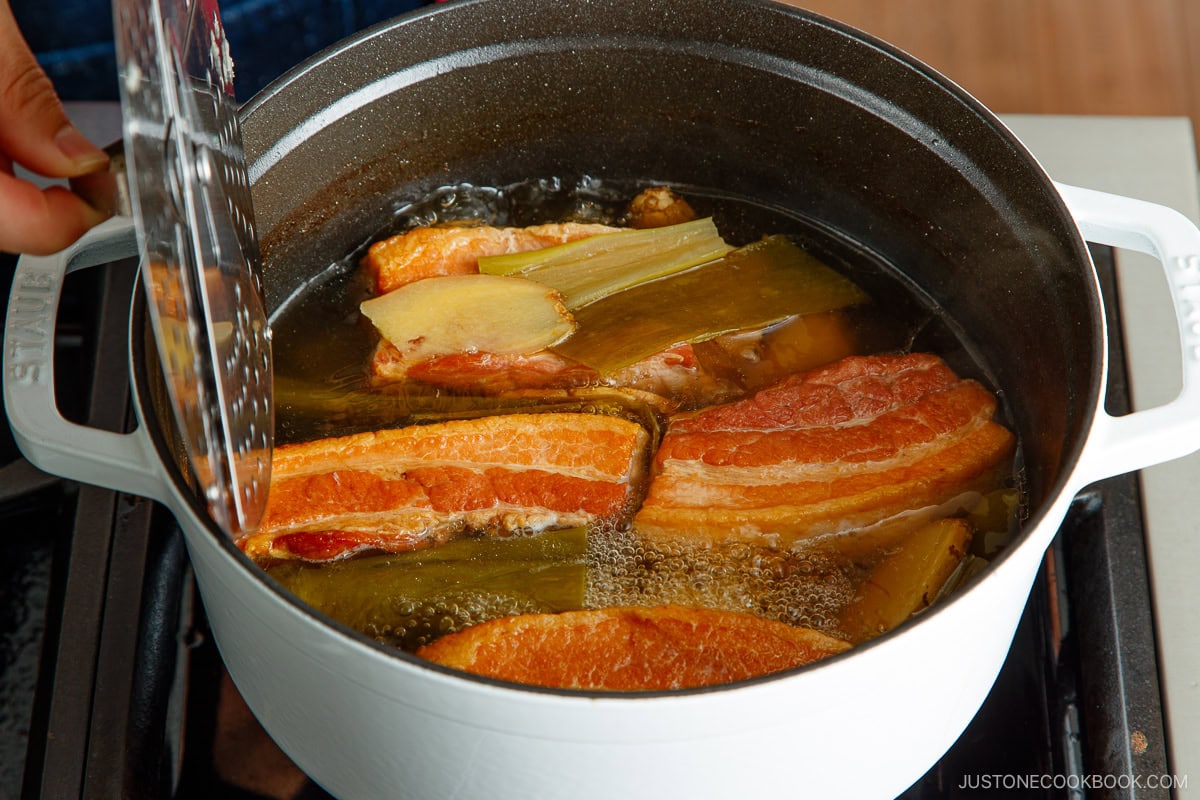
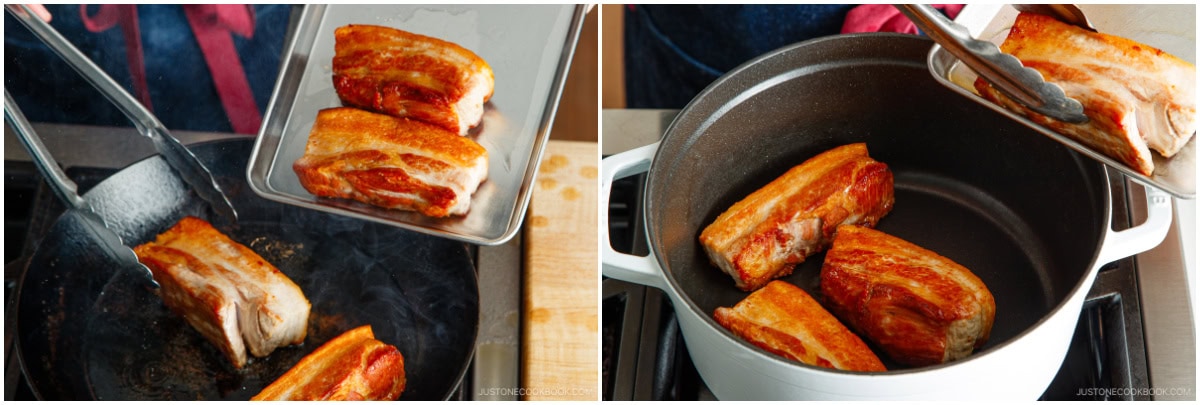
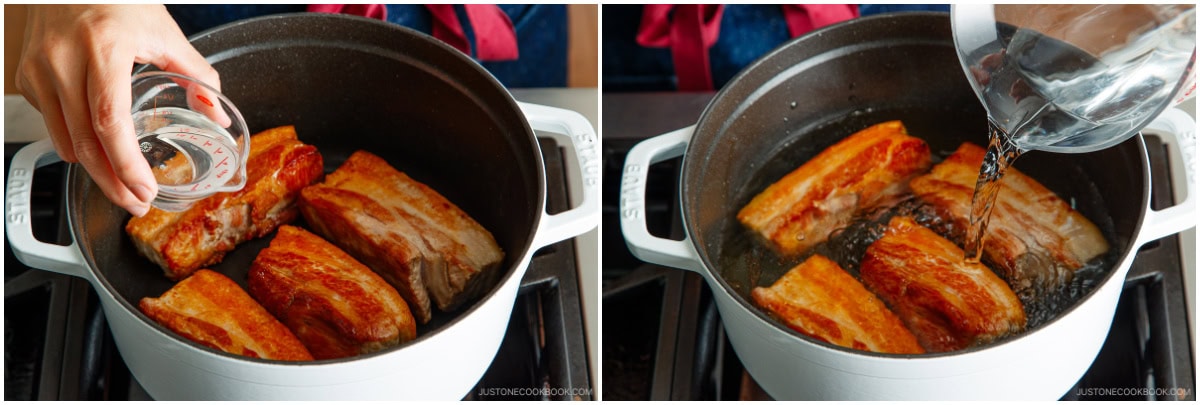
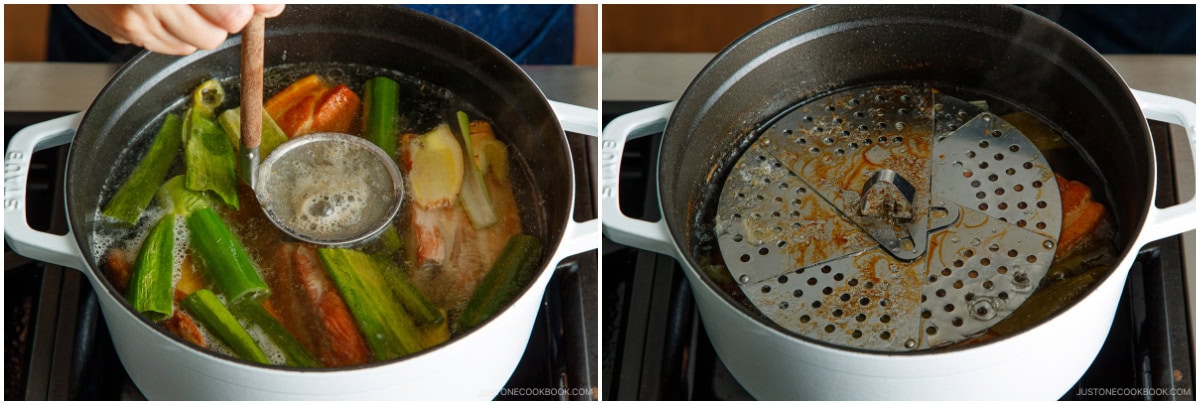
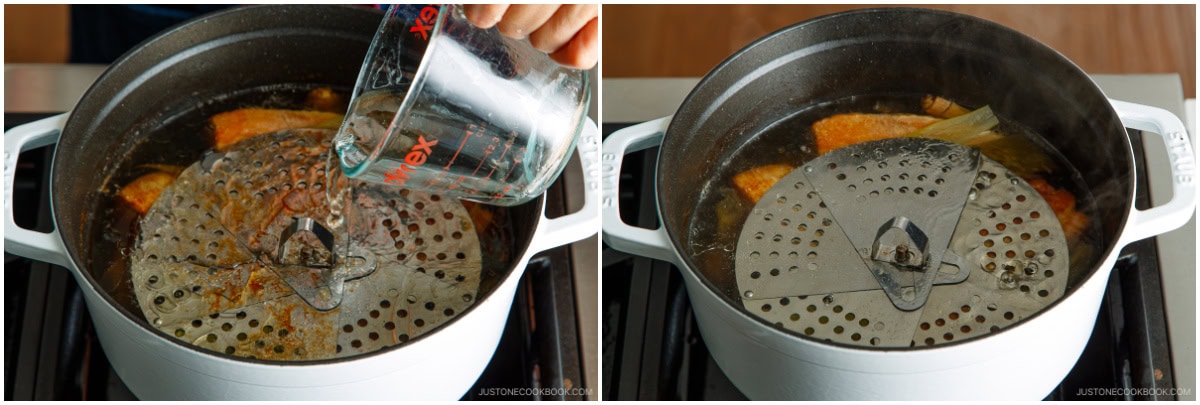
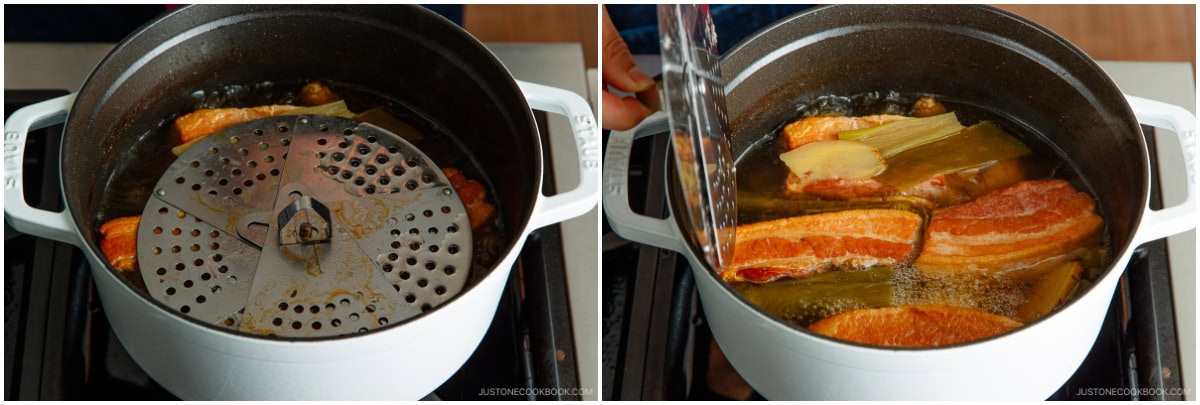
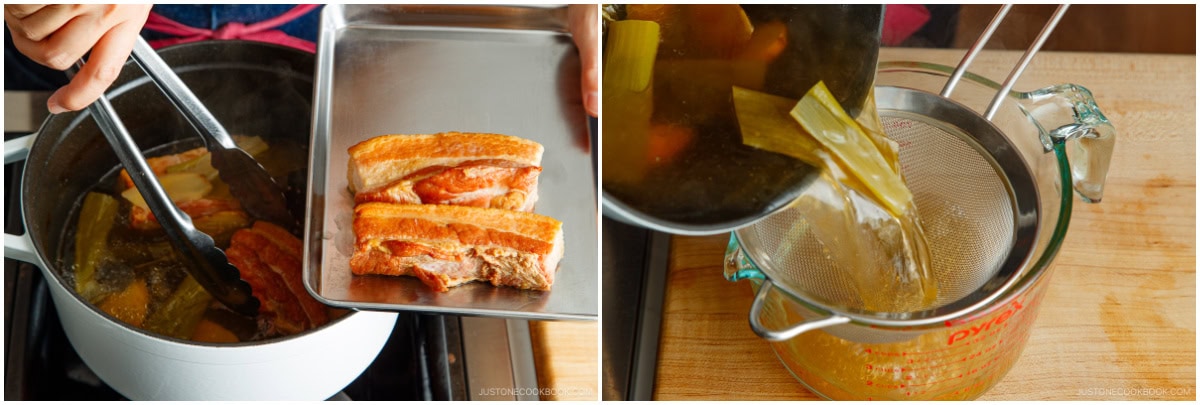
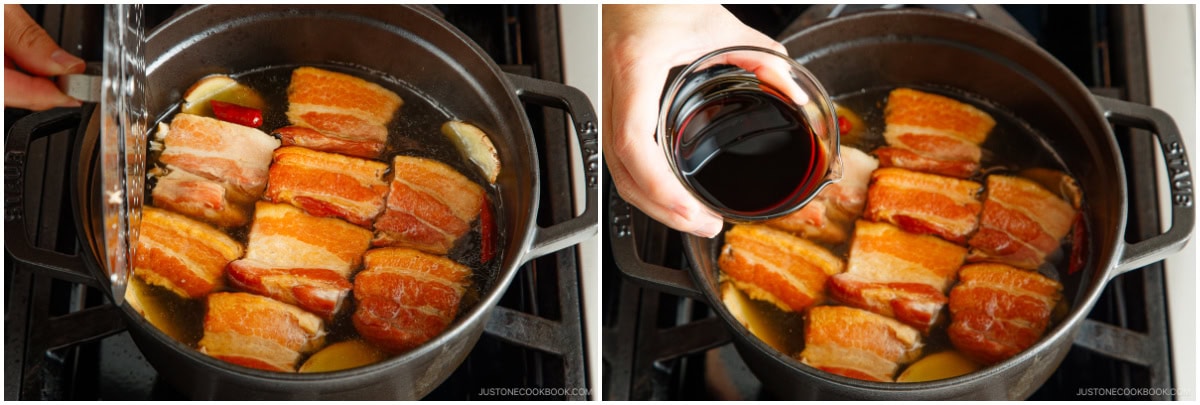
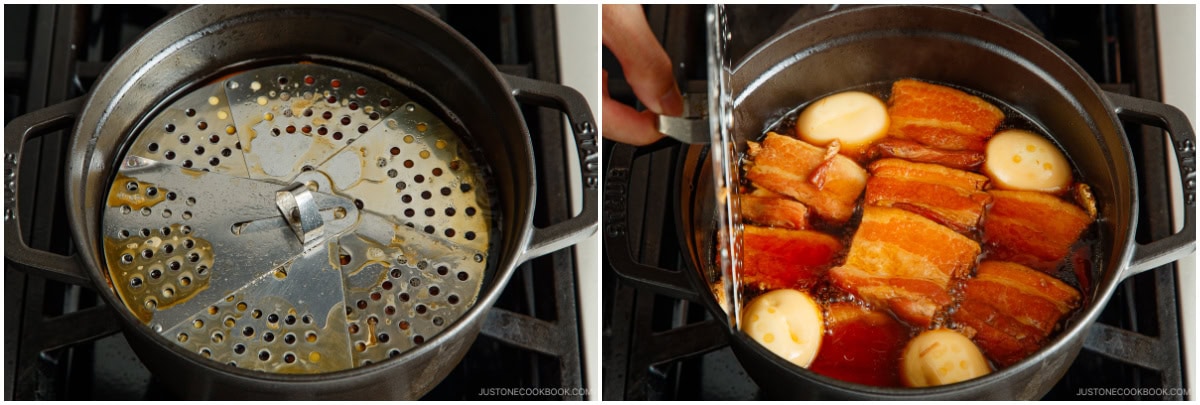
Boil the meat to keep it juicy and remove excess fat and scum. Fully submerge the meat in the cooking liquid using an otoshibuta (drop lid) so it doesn’t dry out. Add more water if necessary. Slow-cook over low heat for really tender pork belly, and cook it for at least 3 hours on a gentle simmer for the most succulent results. The meat will become tough if you use medium heat or medium-high heat.
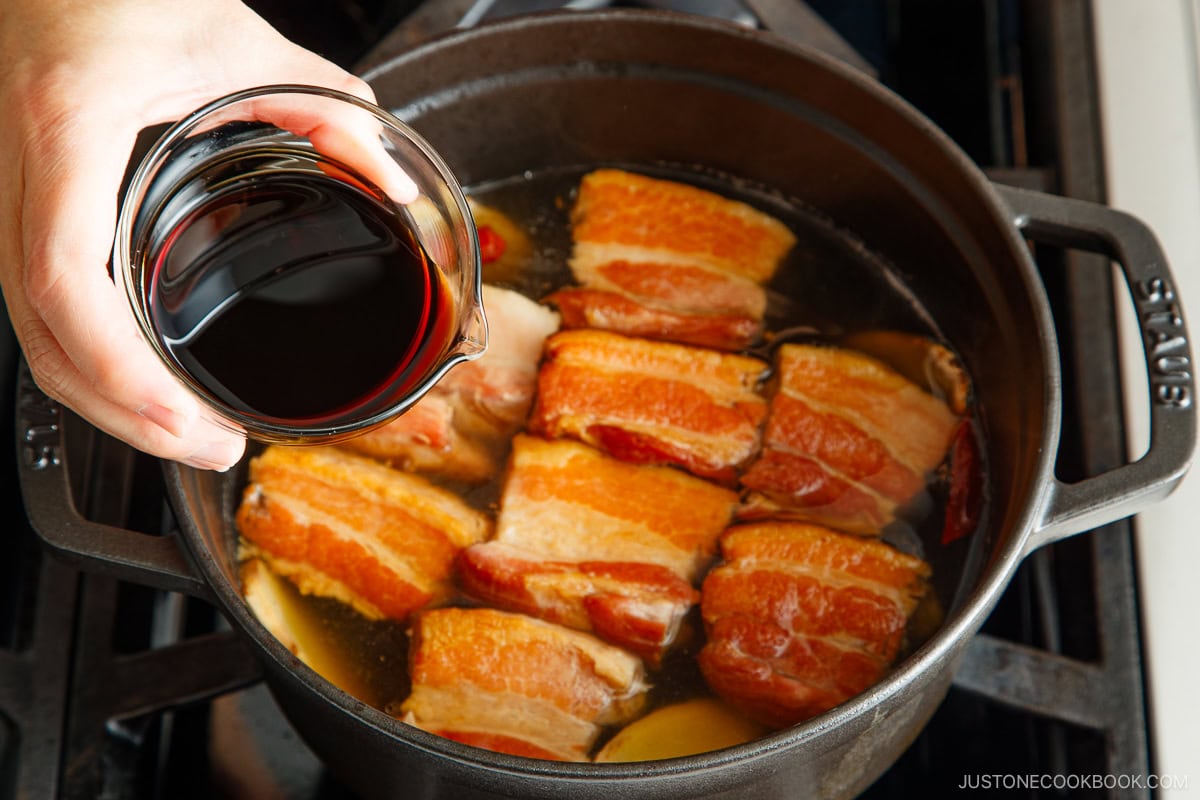
Season the pork belly with all the condiments, except for soy sauce. We add the soy sauce later on to keep the meat from cooking in it a long time and becoming salty. Rest the meat for several hours before serving it to enhance the flavor (optional). While you can eat it right away, Kakuni tastes best when you gradually cool it in the braising liquid so it absorbs more flavor. Gently reheat it to serve.
How to Store
To Refrigerate: Keep the leftovers in an airtight container and store in the refrigerator for up to 3-4 days and in the freezer for a month. To Reheat. For the best results, use low heat on the stove to gently reheat the Kakuni in a pot with its braising liquid.
Can I use beef or chicken?
You can use beef ribs or chicken thighs and cook them similarly. Let us know if you try this! Can I use another cut of pork? To make kakuni, you’ll need a fatty piece of pork to stay moist and tender. While it is not as fatty as pork belly, pork shoulder can provide a similar texture and flavor. This is a typical substitute for pork belly as it can be used interchangeably in most recipes following the same instructions.
How to Serve Kakuni
Main dish: Serve with Shrimp Fried Rice or steamed rice; Glass Noodle Soup or Egg Drop Soup; and Spinach Ohitashi, Green Bean Gomaae, or Spicy Japanese Pickled Cucumbers Rice bowl: Butadon or Katsudon Ramen noodle soup: Miso Ramen, Shoyu Ramen, or Shio Ramen Udon noodle soup: Kake Udon Sandwich or buns: In steamed buns (use my Nikuman post) or in a Japanese sandwich like Katsu Sando Noodle dish: Hiyashi Chuka or Tsukemen Rice dish: Chashu Fried Rice
Wish to learn more about Japanese cooking? Sign up for our free newsletter to receive cooking tips & recipe updates! And stay in touch with me on Facebook, Pinterest, YouTube, and Instagram. Editor’s Note: This post was originally published on December 11, 2012. It was updated with a slightly revised recipe and new images on May 14, 2024.