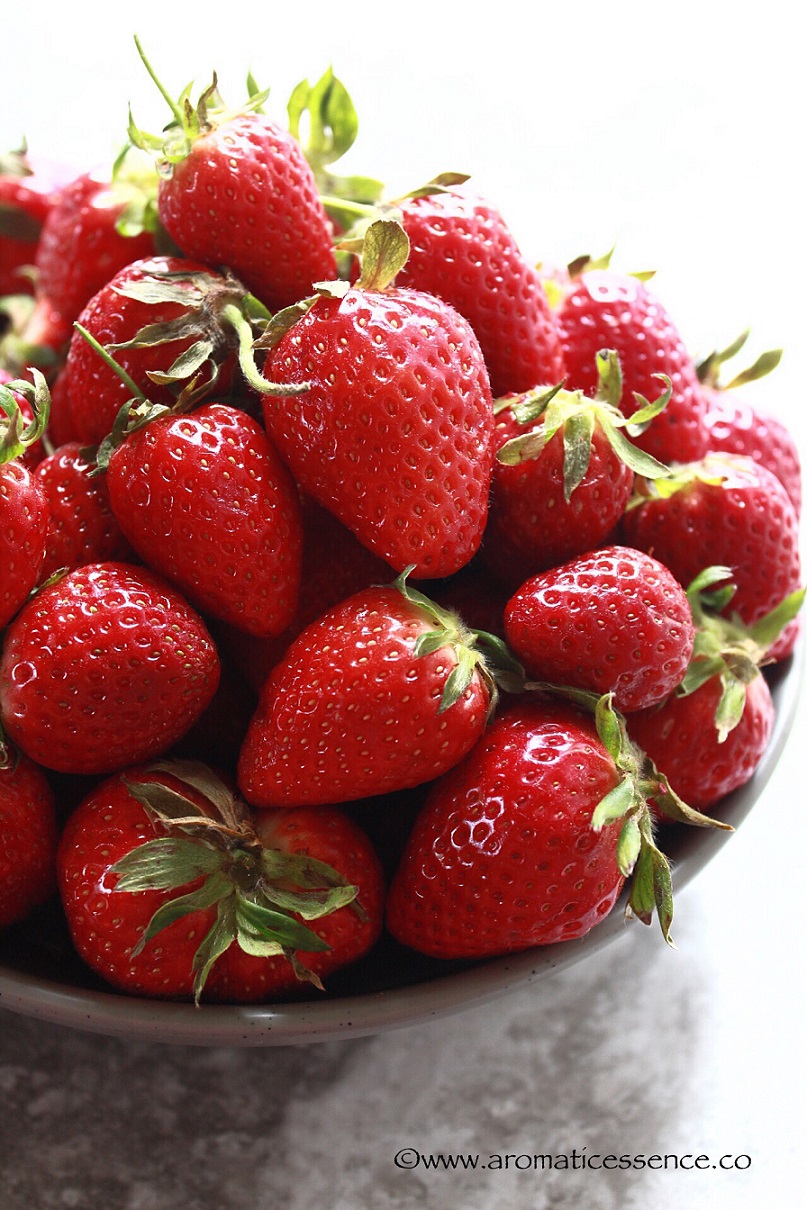
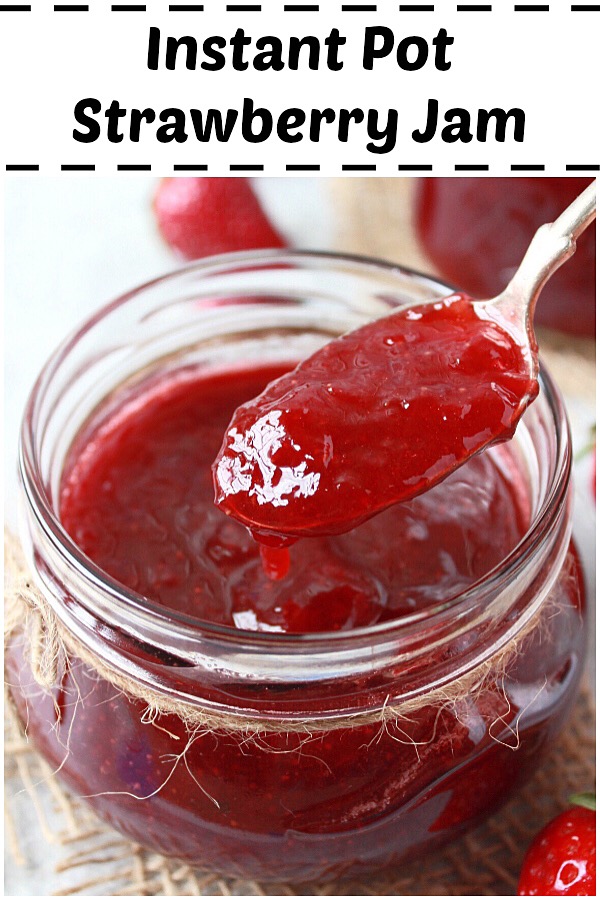
I picked up 3 pounds of strawberries from the local farmer’s market last weekend. The aroma of those fresh, juicy, fragrant, strawberries was just so amazing! I couldn’t help but preserve that in the form of this Instant pot strawberry jam to be enjoyed in the coming weeks. Actually, they were good enough to be eaten as a dessert by itself. But it doesn’t really hurt to make a batch of jam with fresh, seasonal fruits 🙂
What are the ingredients needed to make this pressure cooker jam?
You basically just need 3 ingredients i.e. fruit, sugar and lemon juice to make any kind of jam. For this strawberry jam, we will need;
Strawberries
Fresh seasonal strawberries, preferably organic, are your best bet to make some good quality strawberry jam. The best time to make strawberry jam is between April to June, when strawberries are in season!
Sugar
Sugar does more than sweetening any jam. It plays an important role in;
Thickening the jam Creating the gel structure And it also acts as a preservative to inhibit mold growth.
Ideally a 1:1 ratio of fruit : sugar is recommended. But I usually cut the sugar by half. I think it adds plenty of sweetness, and the jam sets pretty well.
Lemon juice
Lemon juice is used in this recipe for 3 reasons;
Why should you make strawberry jam in the Instant Pot?
This strawberry jam is easy as can be! Having said that, this isn’t a quick strawberry jam just because it is made in the Instant Pot. There is definitely nothing instant about making any sort of jam. It would probably take the same amount of time on the stovetop. Then why bother making it in the IP anyway, right? From my experience of making jam over these years, I can just say the convenience the Instant Pot offers when it comes to making jam without pectin. I simply cooked the jam on ‘SAUTE’ mode after the pressure cooking step. Because of the uniform heat surface, the jam did not stick to the pot nor was there any burning. Most of the Instant Pot jam-making procedure is hands-off, except towards the end when you need to be attentive, as you may overcook the jam.
Tips to make the best pressure cooker strawberry jam
Fresh strawberries: Avoid overripe strawberries as they are lower in pectin and fruit acids. Besides that, it may also cause the jam to go moldy soon. Try to use fresh and firm fruit of any kind to make jam. Sterilize the jars so that the jam keeps well for weeks: Since this is a small-batch jam and we aren’t canning, you should definitely sterilize the jars before filling it with the jam. You can do this while the strawberries are macerating. To sterilize the jars, bring water to boil in a large pot, turn off the heat. Using tongs, transfer the glass jars and lids to boiling water, let it sit for 15 minutes. Then remove the jars and lids carefully and place them upside down on a clean kitchen napkin for 10-15 minutes. Turn it upright and let it air dry completely. (This is only for short term storage, for long term storage, can the jars as per canning instructions). Cover the jars once the jam has cooled down completely: Let the jam cool completely before closing the jars or else the condensation will fall back in and cause the jam to spoil faster.
Ideas to use this jam
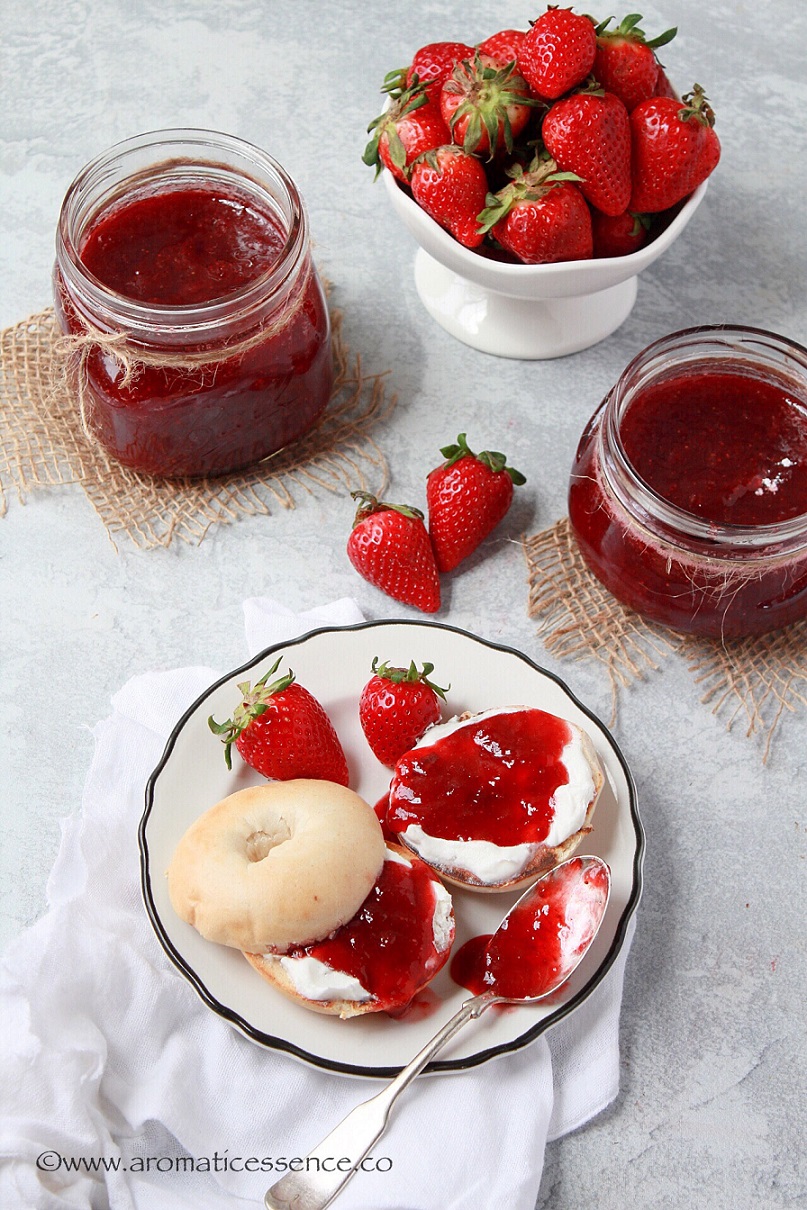
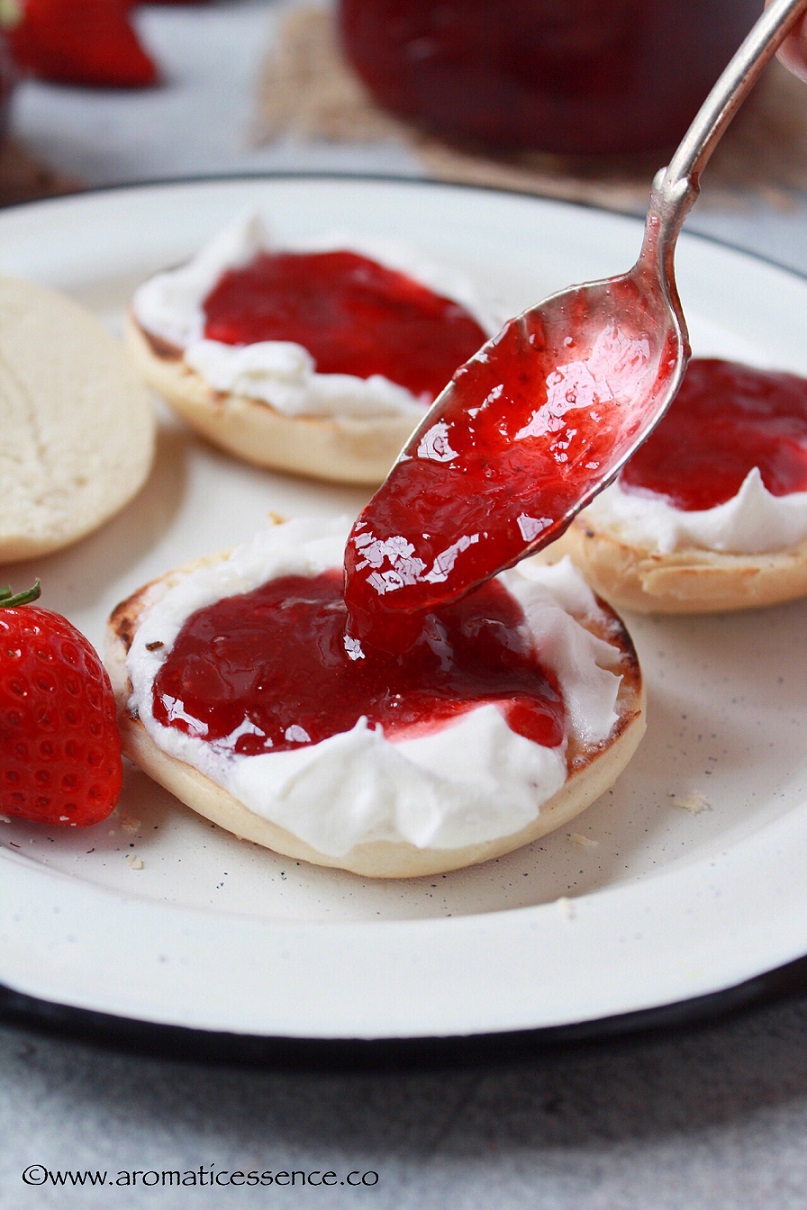
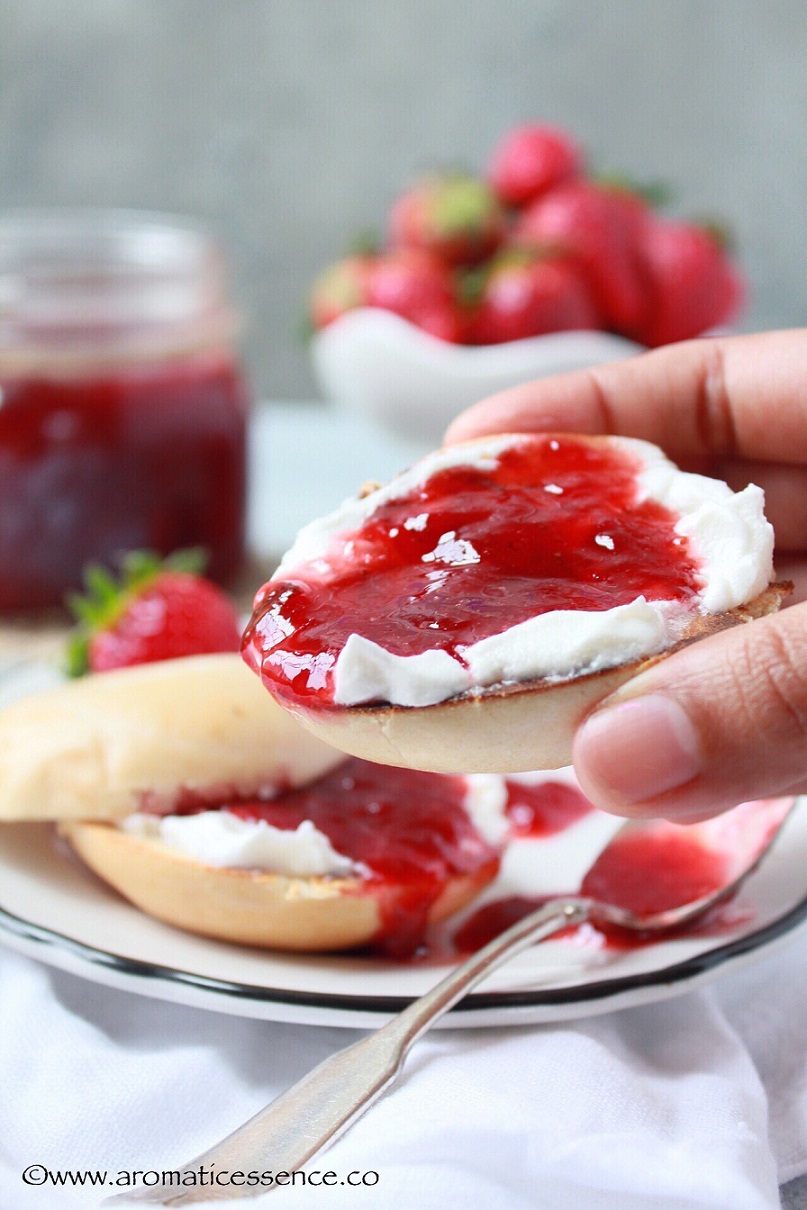
This luscious strawberry jam is good to be eaten on its own, but, here are some ways in which you can use it;
Yogurt granola parfaits Topping for these cute little IP cheesecake jars Use it to top pancakes, waffles, French toasts As a filling for crepes, cupcakes or donuts Add a dollop of jam on oatmeal Jam crumble bars Swedish jam thumbprint cookies (eggless)
You should try this strawberry jam because
It is so delicious! I won’t blame you if you find yourself eating spoonfuls of this yummy jam 😀 It is such an easy recipe that doesn’t need much elbow grease, and yet you will have this real strawberry jam that just celebrates the sweet flavor of the strawberries. My whole house smelled so good, I can’t put it in words here. Devoid of high fructose corn syrup, artificial preservatives, and colors. Homemade is the best!
How can I reduce the cooking time?
You can reduce the cooking time and still thicken the jam using either of the two options below:
Cornstarch: Use a cornstarch slurry (2 tbsp cornstarch mixed in 1/4 cup cold water). Add it in step 5, on the saute mode, keep stirring until the jam thickens. Chia seeds: Chia seeds are a great option for thickening jam, the natural gelling properties of chia seeds would help the jam set. Mash the strawberries roughly using an immersion blender after step 4. Add 1/3 cup chia seeds, mix well. Cover the pot, no need of sealing. Let it sit at room temperature for about 4 hours. Then transfer the jam to jars, cover and refrigerate. Enjoy this variation of strawberry chia seeds jam.
Can I reduce the amount of sugar in this recipe?
Like I mentioned above, sugar does play an important role in creating the gel structure in any jam. If you make a strawberry sauce, for instance, you wouldn’t need as much sugar. But since we are making jam and it needs to reach the gel stage in order to set, I do not recommend cutting back a lot on the sugar. Ideally, equal parts of sugar and fruit are required, but cutting down the sugar by half has always worked well for me, so that’s what I do. The jam has the perfect amount of sweetness, fruit flavor and sets well. At the most, you may cut it down to 1 cup of sugar in this recipe for a reduced-sugar strawberry jam.
What can I substitute for refined sugar?
You can use monk fruit sweetener. It is much sweeter as compared to sugar, so you might want to reduce the amount you use for this jam. Start off with 2/3 cups of monk fruit sweetener for 2 lbs of strawberries. You can also use honey, though, personally, I’ve not tried using it. If you use honey in your jam recipes, I would love to know! Please share in the comments below.
Can I use frozen strawberries or frozen mixed berries instead of fresh?
Yes, you definitely can! Place frozen berries in the inner pot of the IP, add sugar and mix well. During the maceration process, strawberries will leave out juices, give it a stir occasionally in between. Once the strawberries have completely thawed, about 1.5 to 2 hours, proceed with the recipe. You may also thaw the strawberries overnight in the refrigerator, and use it in place of fresh in this recipe. For frozen mixed berries, mash them slightly after pressure cooking.
Can I double this recipe?
You may double this recipe as far as it is not above the max line of the inner pot. Pressure cooking time will remain the same, the cooking time on saute mode will increase. I’m not sure how long it will take, as I haven’t tried doubling the recipe. If you do, please let me know about it. I don’t think tripling the recipe is a good idea, cooking in two batches would be more feasible.
Don’t have an IP? You can make this jam on a stovetop
Use a heavy-bottomed pot to macerate the strawberries. After macerating the strawberries, turn on the heat to low, and cook till the sugar dissolves completely. If the sugar does not dissolve completely, the jam may recrystallize after it has set. Once the sugar has completely dissolved, turn on the heat to high and boil till the jam has thickened and reaches 220 degrees F or you may refer to the freezer test to check if the jam is done as mentioned in the instructions below.
You may also enjoy these jam recipes
Blood Orange marmalade Mango jam without pectin
How to make Instant Pot Strawberry jam without pectin – Step by step instructions
Step 1: Preparing the strawberries
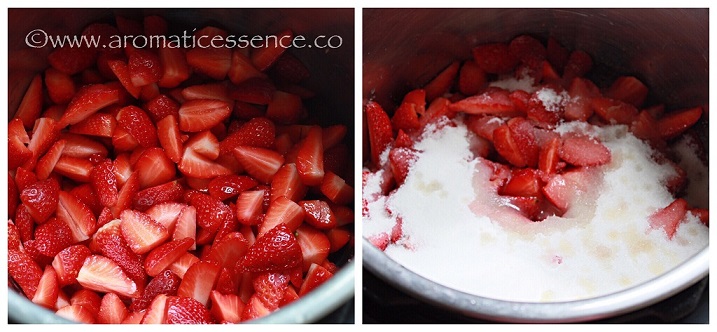
Wash 2 lbs of strawberries well. Slice off the green tops, hull and slice large strawberries into quarters and small ones into halves.
Step 2: Macerating the strawberries
Place the chopped strawberries along with 2 cups sugar and 2 tbsp lemon juice in the inner liner of the IP. Mix well and set aside for 30 minutes.
Step 3: Pressure cooking the strawberries
The strawberries will leave their juices, which is enough for the IP to come to pressure. Do not add any water. Close the lid of the Instant Pot with the valve on ‘SEALING’ position. Press the manual or pressure cook button and pressure cook on high for 1 minute. It will take some time for the pressure to build up (about 5 minutes), after which the timer will start.
Step 4: Natural pressure release (NPR)
Let it depressurize naturally, about 18 minutes. Once the silver pin drops, turn the knob to ‘VENTING’ and open the lid. There will be a lot of liquid in the pot.
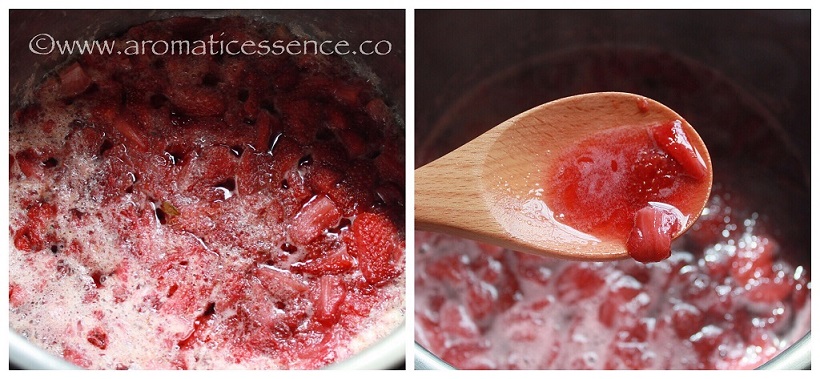
Step 5: Cook the jam until it reaches the gel stage
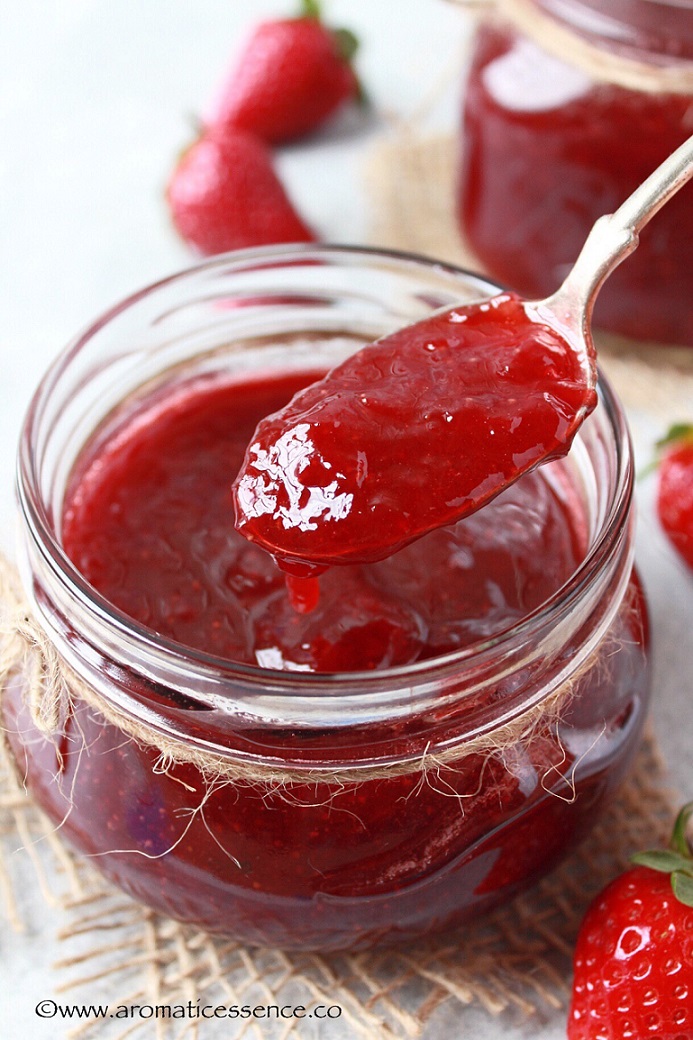
Press ‘CANCEL’ to turn off the keep warm mode. Press the ‘SAUTE’ on normal mode and cook for the next 20-23 minutes, stirring every 5 minutes, until the jam has thickened and reached the gel stage (220 degrees F on the candy thermometer). Skim off the foam during the cooking process. The strawberries naturally break apart during this process. The resultant jam will be chunky. If you prefer a really smooth jam, use a blender to puree the mixture before you saute the jam. You will know the jam is nearing the gel stage when the bubbling reduces, and the jam coats the back of a spoon. Test for the setting point at this stage. Remove the inner pot from the Instant Pot while you test, or else there is a possibility that you could overcook the jam.
How to check the setting point of jam? A candy thermometer is your best bet to know if the jam is done. If you don’t have one follow the freezer test. Place 2-3 small plates in the freezer after step 4. When the mixture begins to thicken, start testing if the jam is done. Put a tablespoon of jam onto the cold plate. Return the plate back to the freezer for 2 minutes. Run your finger through the jam, if it wrinkles and stays apart (as shown in the pic) it is done, if it is runny, it needs to be cooked for a few more minutes.
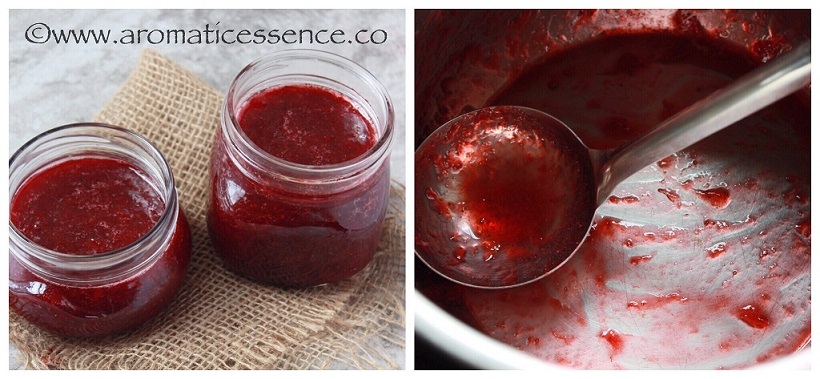
Step 6: Transfer the jam to sterilized jars
Ladle the jam into hot, sterilized containers leaving 1/4 inch of headspace. Let it cool completely before closing the jars. It will keep well for about 3 weeks in the refrigerator if only it lasts that long 😀
Note
Make sure the sealing ring is free of odors to avoid transferring any funky smell to the jam. Some folks like to use separate rings for sweet and savory food, so you can consider doing that.
★ If you try this pressure cooker jam recipe, I would love to hear from you! I’d appreciate it if you could rate and leave a review below in the comments. Your reviews help others know the recipe better too. Feel free to share your feedback and suggestions at [email protected]. Thanks so much 🙂 You can also follow me on Facebook, Pinterest, Instagram & Twitter