Today, I’m diving straight into the art of deep-frying at home. With a few simple steps and helpful tips, you can create mouthwatering, restaurant-worthy fried treats like golden fried chicken and airy, ultra-crispy Tempura in the comfort of your own kitchen. As a Japanese home cook, I embrace deep-frying as a fundamental cooking technique and can attest to the skill it takes to master. While we don’t indulge in deep-fried food often, preparing Tonkatsu, Korokke (Japanese Croquettes), or Karaage brings so much joy to the dinner table. The results are truly worth it!
Benefits of Deep-Frying
Readers ask me why I prefer deep-frying over air-frying. Here are my key reasons:
Best Oil for Deep-Frying
High smoke point: In general, choose oil with a smoke point of at least 400°F to achieve a golden brown exterior while maintaining the oil‘s integrity. Neutral flavor: Select a neutral-flavored oil that won’t overpower the taste of your food.
For Japanese cuisine, I recommend neutral-flavored vegetable, canola, rice bran, corn, and sunflower oil that you can heat to high temperatures without burning.
Helpful Tools for Deep-Frying
Deep-frying pot. Use a deep, heavy-bottomed pot, like a Dutch oven. I deep-fry with my 2.75-quart Staub Cast Iron Round Cocotte (11 inches, 28 cm) to cook for 2–4 people. It’s in a black matte finish inside and out, so it hides oil stains. You won’t need as much oil for this smaller pot, either. You also can use a deep fryer if you have one. For a flat ingredient or small portion, you can use a frying pan, but fill it no more than halfway with oil. Long cooking chopsticks, metal tongs, a slotted spoon, or a stainless steel spider strainer Wire rack and baking sheet to drain oil from the fried food Fine-mesh skimmer to pick up fried crumbs in the oil between batches Instant-read cooking thermometer to check the precise oil temperature Splatter screen (optional) if you are worried about oil splatter 3-sided splatter guard (optional) to keep your stove area relatively clean (though not mess-free)
⚠️Safety Tips
How to Deep-Fry Food (Step-by-Step Guide)
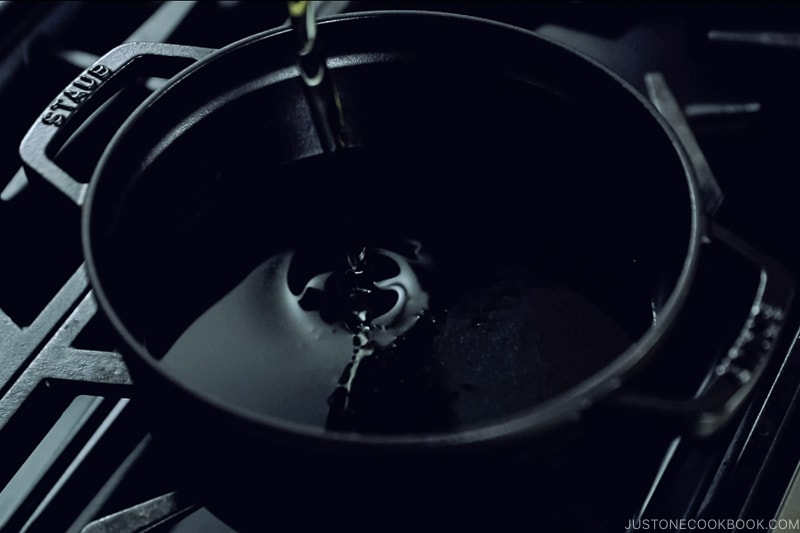
Step 1: Add neutral oil to the pot
Add neutral oil to your pot no more than halfway full. I recommend frying in 1 to 1½ inches (2.5 to 3.8 cm) of oil. For my 2.75-quart Staub Round Cocotte (11 inches, 28 cm), that‘s 3-4 cups of oil.
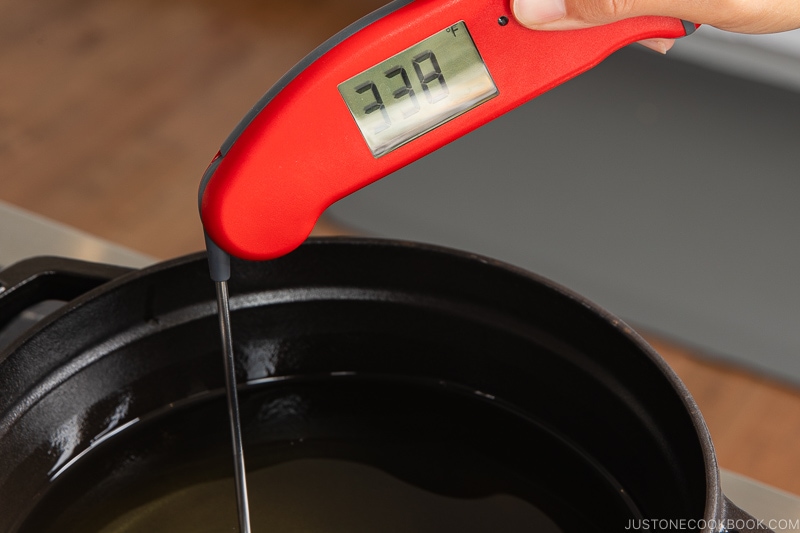
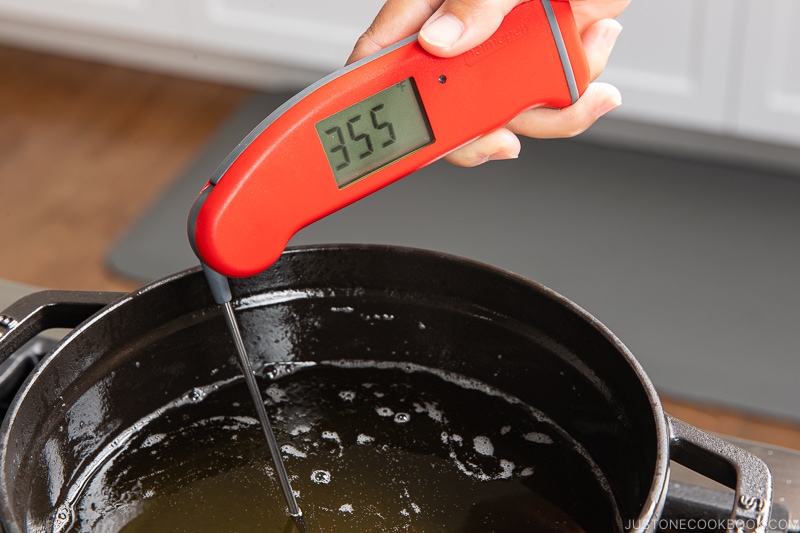
Step 2: Heat to the ideal oil temperature
What is the optimal deep-frying temperature? It depends on what you’re cooking. Different foods require different temperatures. Refer to the chart below and your recipe for guidance: The fastest and most accurate method to check your oil temperature is with an instant-read thermometer. If you don’t have a cooking thermometer, then use the panko method or chopstick method to check the temperature.
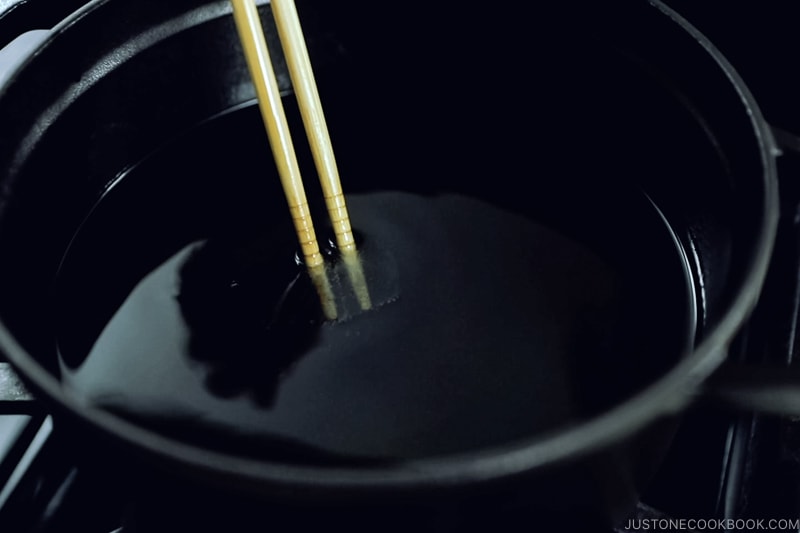
Panko Method: Put a piece of panko (Japanese breadcrumb) in the oil and observe the reaction. See the chart above and adjust the temperature as needed. Chopstick Method: Insert a wooden cooking chopstick into the oil and watch for bubbles to appear around it. Refer to the chart above.
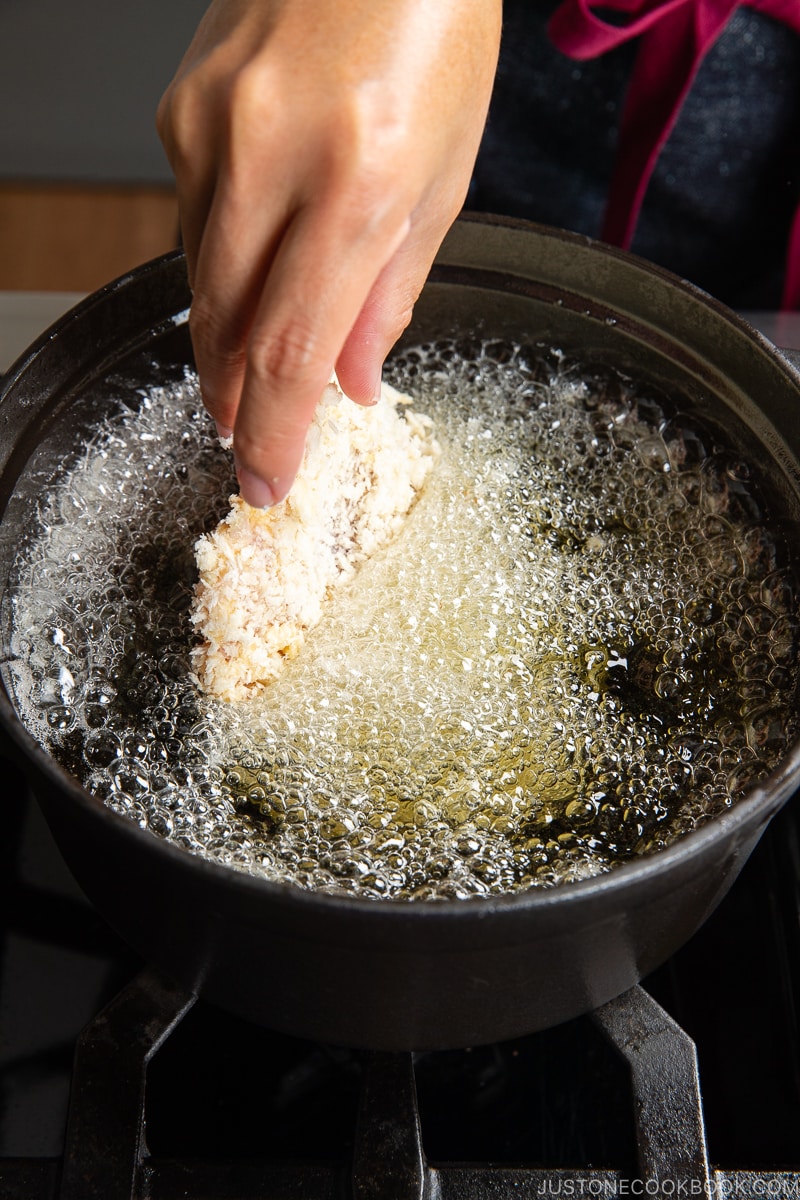
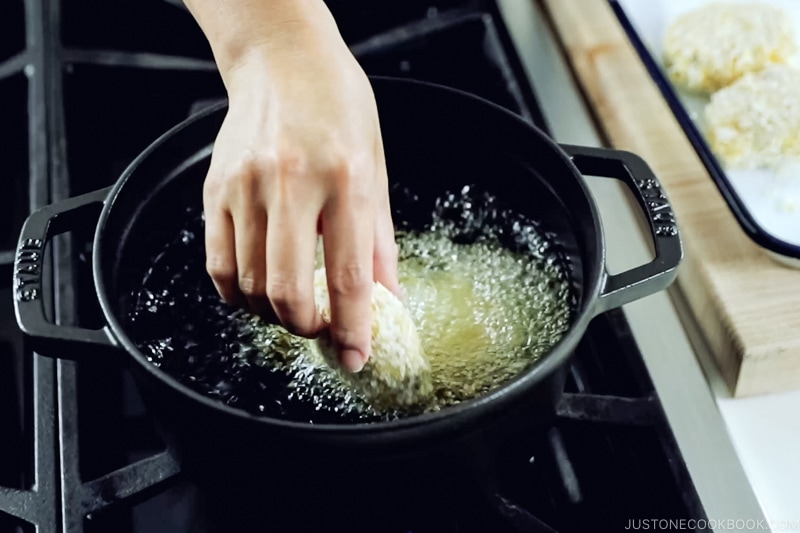
Step 3: Ready to fry!
Do not crowd the pot. Adding too many pieces of food at once will significantly lower the temperature, causing your food to absorb more oil. Remember, your ingredients should take up no more than about half of the oil surface area at any one time. Monitor the oil temperature. It’s crucial to maintain a constant and optimal temperature to prevent the food from absorbing oil or burning. You can use a thermometer, so there’s no guessing. Adjust the heat, or remove food from the oil if the temperature is too low and add food if it’s too high.
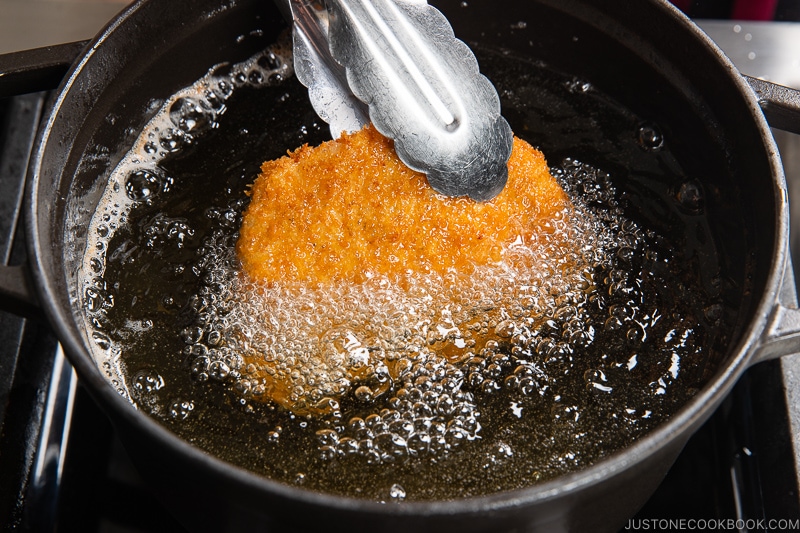
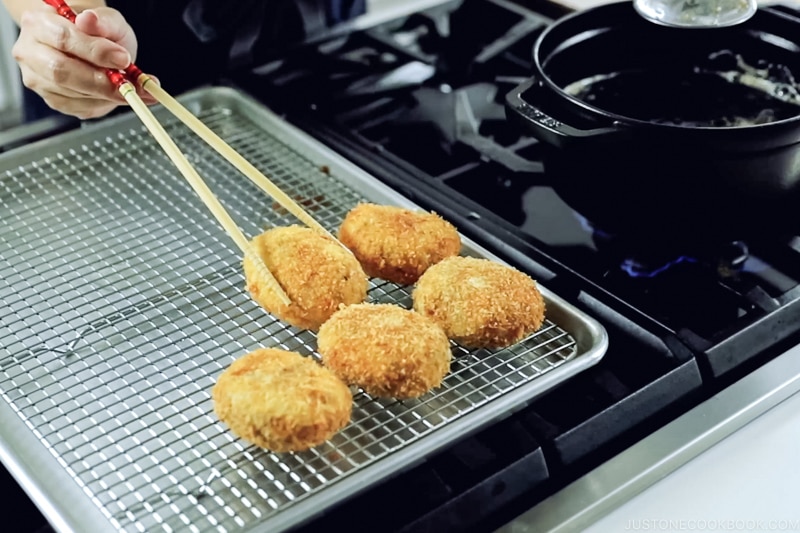
Step 4: Drain the excess oil
Use long chopsticks or metal tongs to transfer the deep-fried food to a wire rack set in a baking sheet to drain the excess oil. A plate lined with a paper towel works, too.
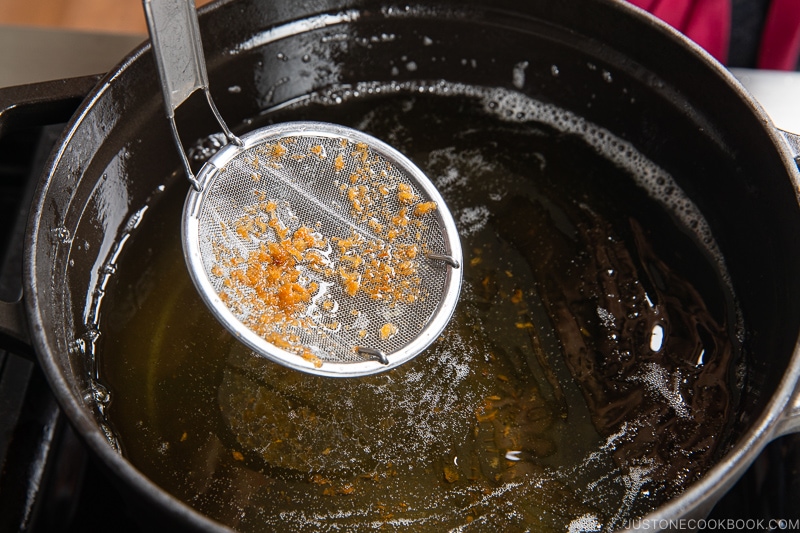
Step 5: Clean the oil between batches
Scoop up the crumbs or fried batter with a fine-mesh skimmer to clean the oil between batches. Otherwise, the crumbs will burn, stick to your next batch of food, and darken the oil.
Review: Tips for Successful Deep-Frying
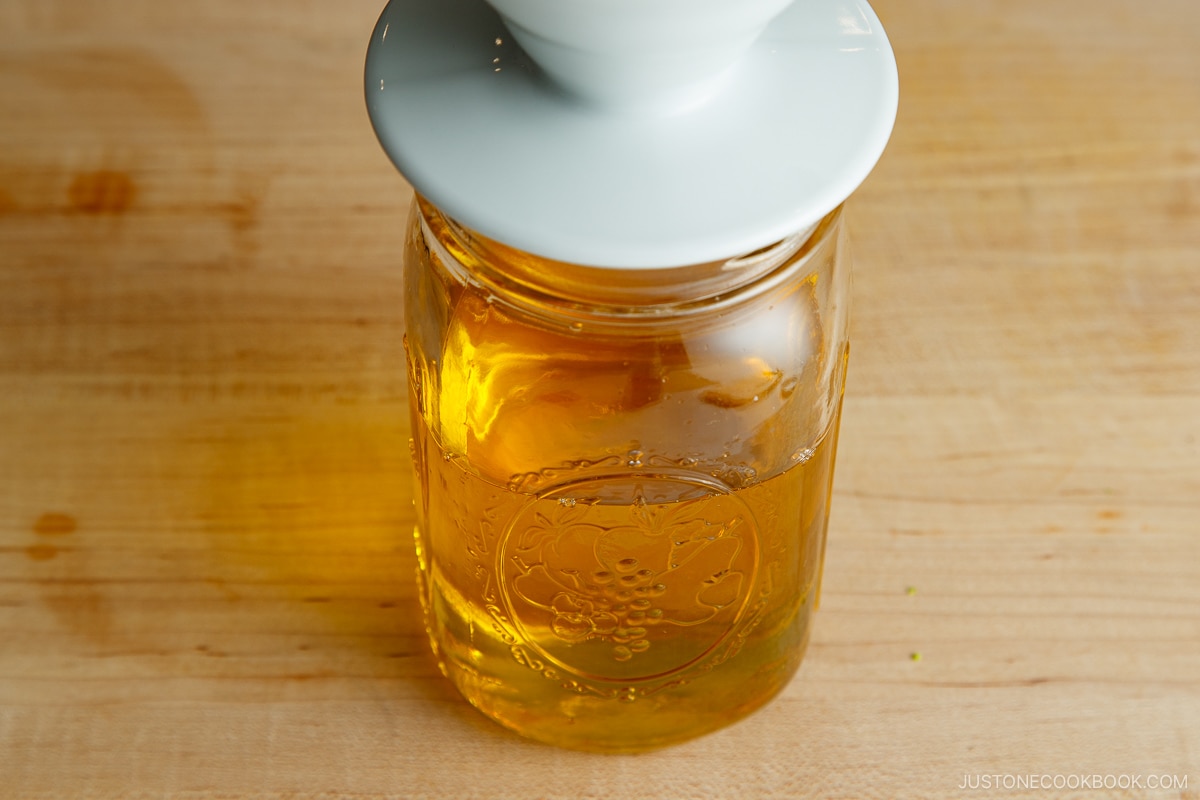
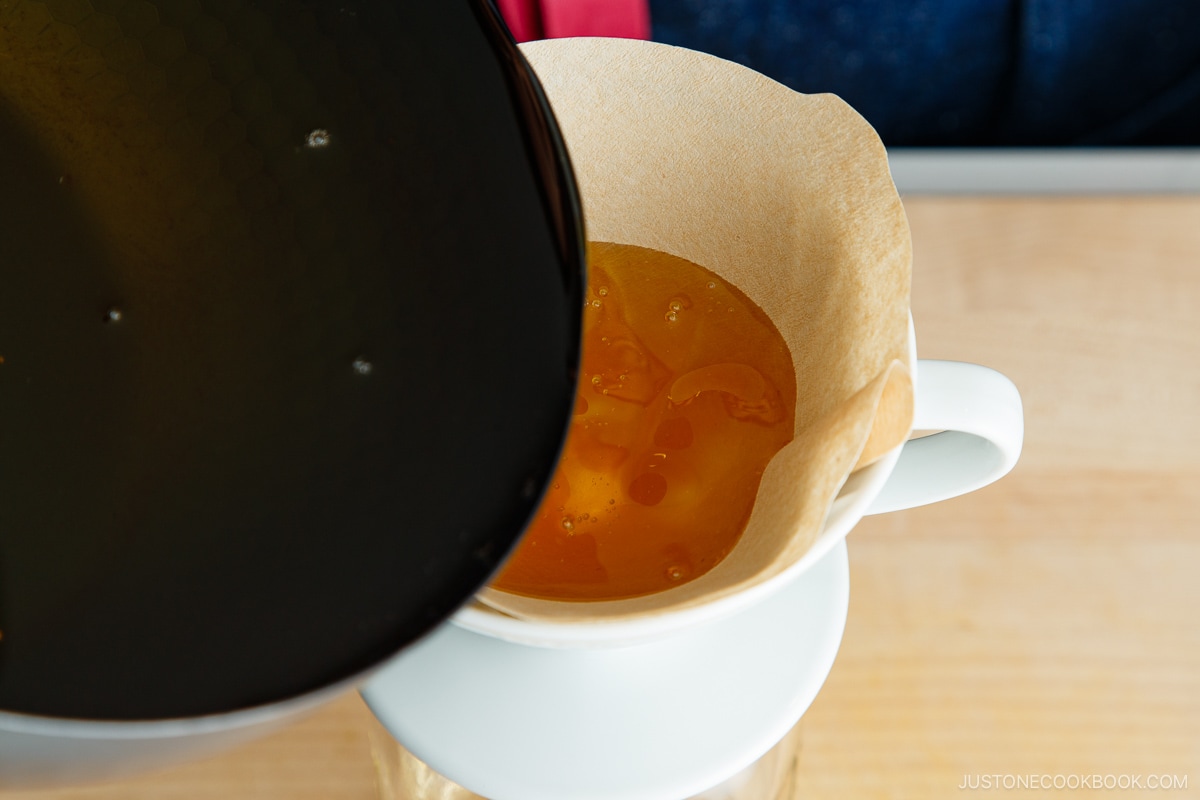
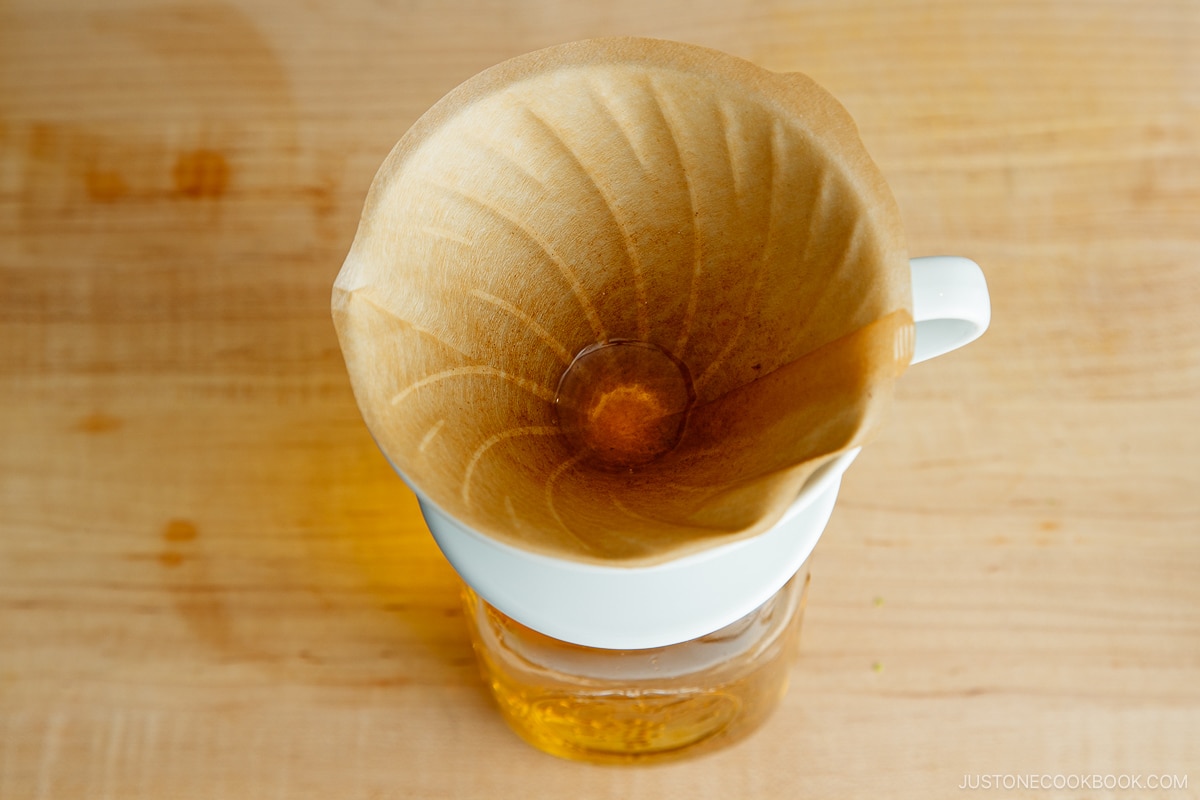
How to Reuse Frying Oil
You may wonder if you can reuse frying oil. The answer is yes! After you finish deep-frying, check if the used oil is worth saving. If it’s clean enough to reuse, follow these steps: How many times can you reuse frying oil? If the oil looks clean, you could reuse it once or twice. However, this depends on how much oil you’ve used, what you’re frying, how much food you fried, and the type of oil, among other considerations.
How To Dispose of Frying Oil
If you don’t deep-fry often, I recommend disposing of the used oil. See below for three options; NEVER pour it down your kitchen sink drain. Option A: Pour the cooled oil into a sealed glass container and dispose in the garbage (or follow your local waste disposal company‘s instructions). Option C: Use gelatin to solidify the oil. Read Kenji’s method on Serious Eats.
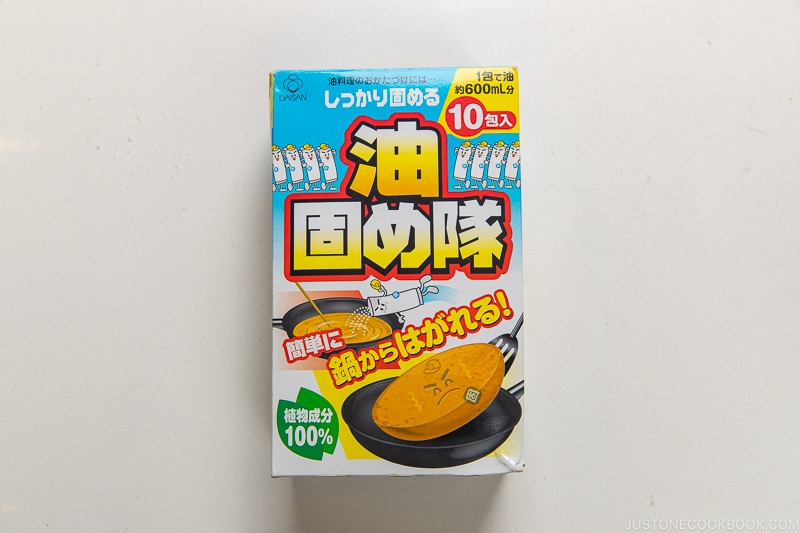
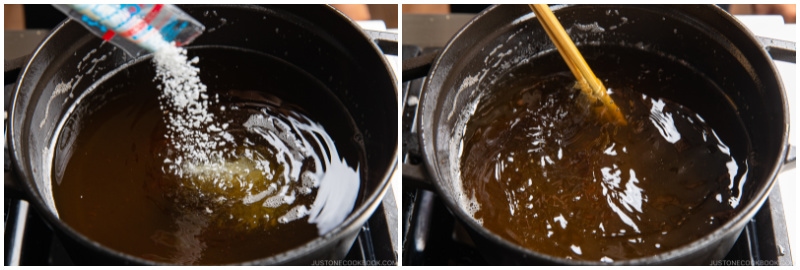
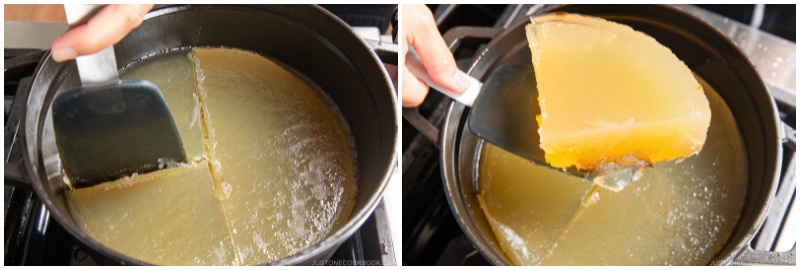
How to Use Oil Solidifier
Step 1: Add the powder to the hot oil and mix.
Step 2: After it solidifies, break it into pieces and dispose in the trash.
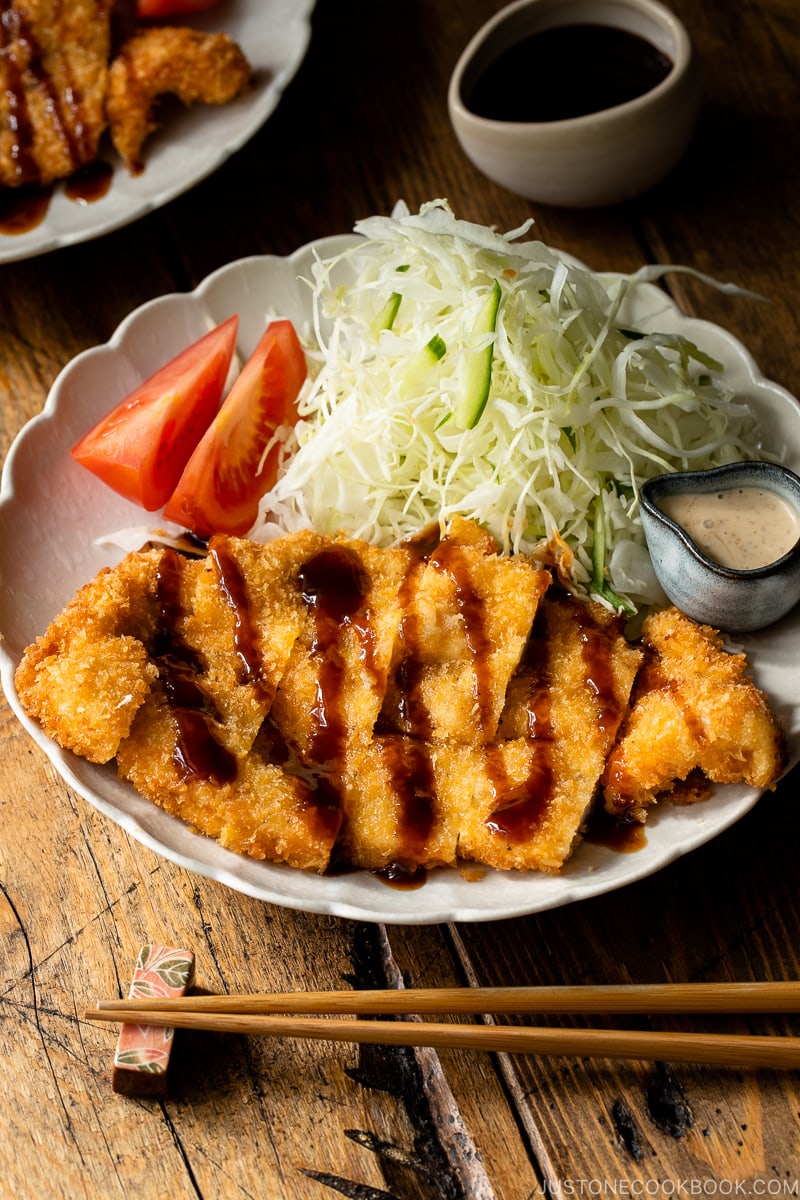
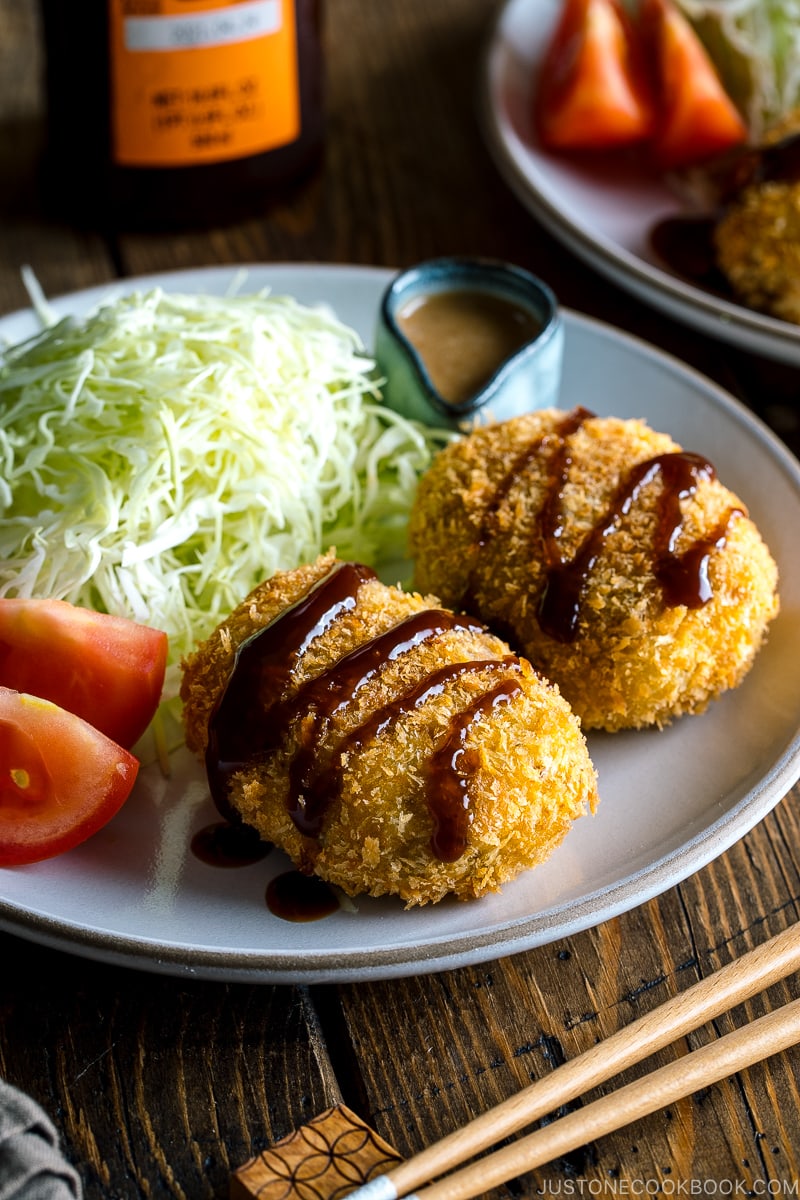
Delicious Deep-Fried Japanese Food Recipes
Japanese Croquettes (Korokke) Tonkatsu (Pork Cutlet) Tempura Chicken Karaage Ebi Fry Fried Chicken Wings
Wish to learn more about Japanese cooking? Sign up for our free newsletter to receive cooking tips & recipe updates! And stay in touch with me on Facebook, Pinterest, YouTube, and Instagram. Editor’s Note: This post was originally published on February 17, 2011. It was republished with more informative content and new images on February 13, 2024.