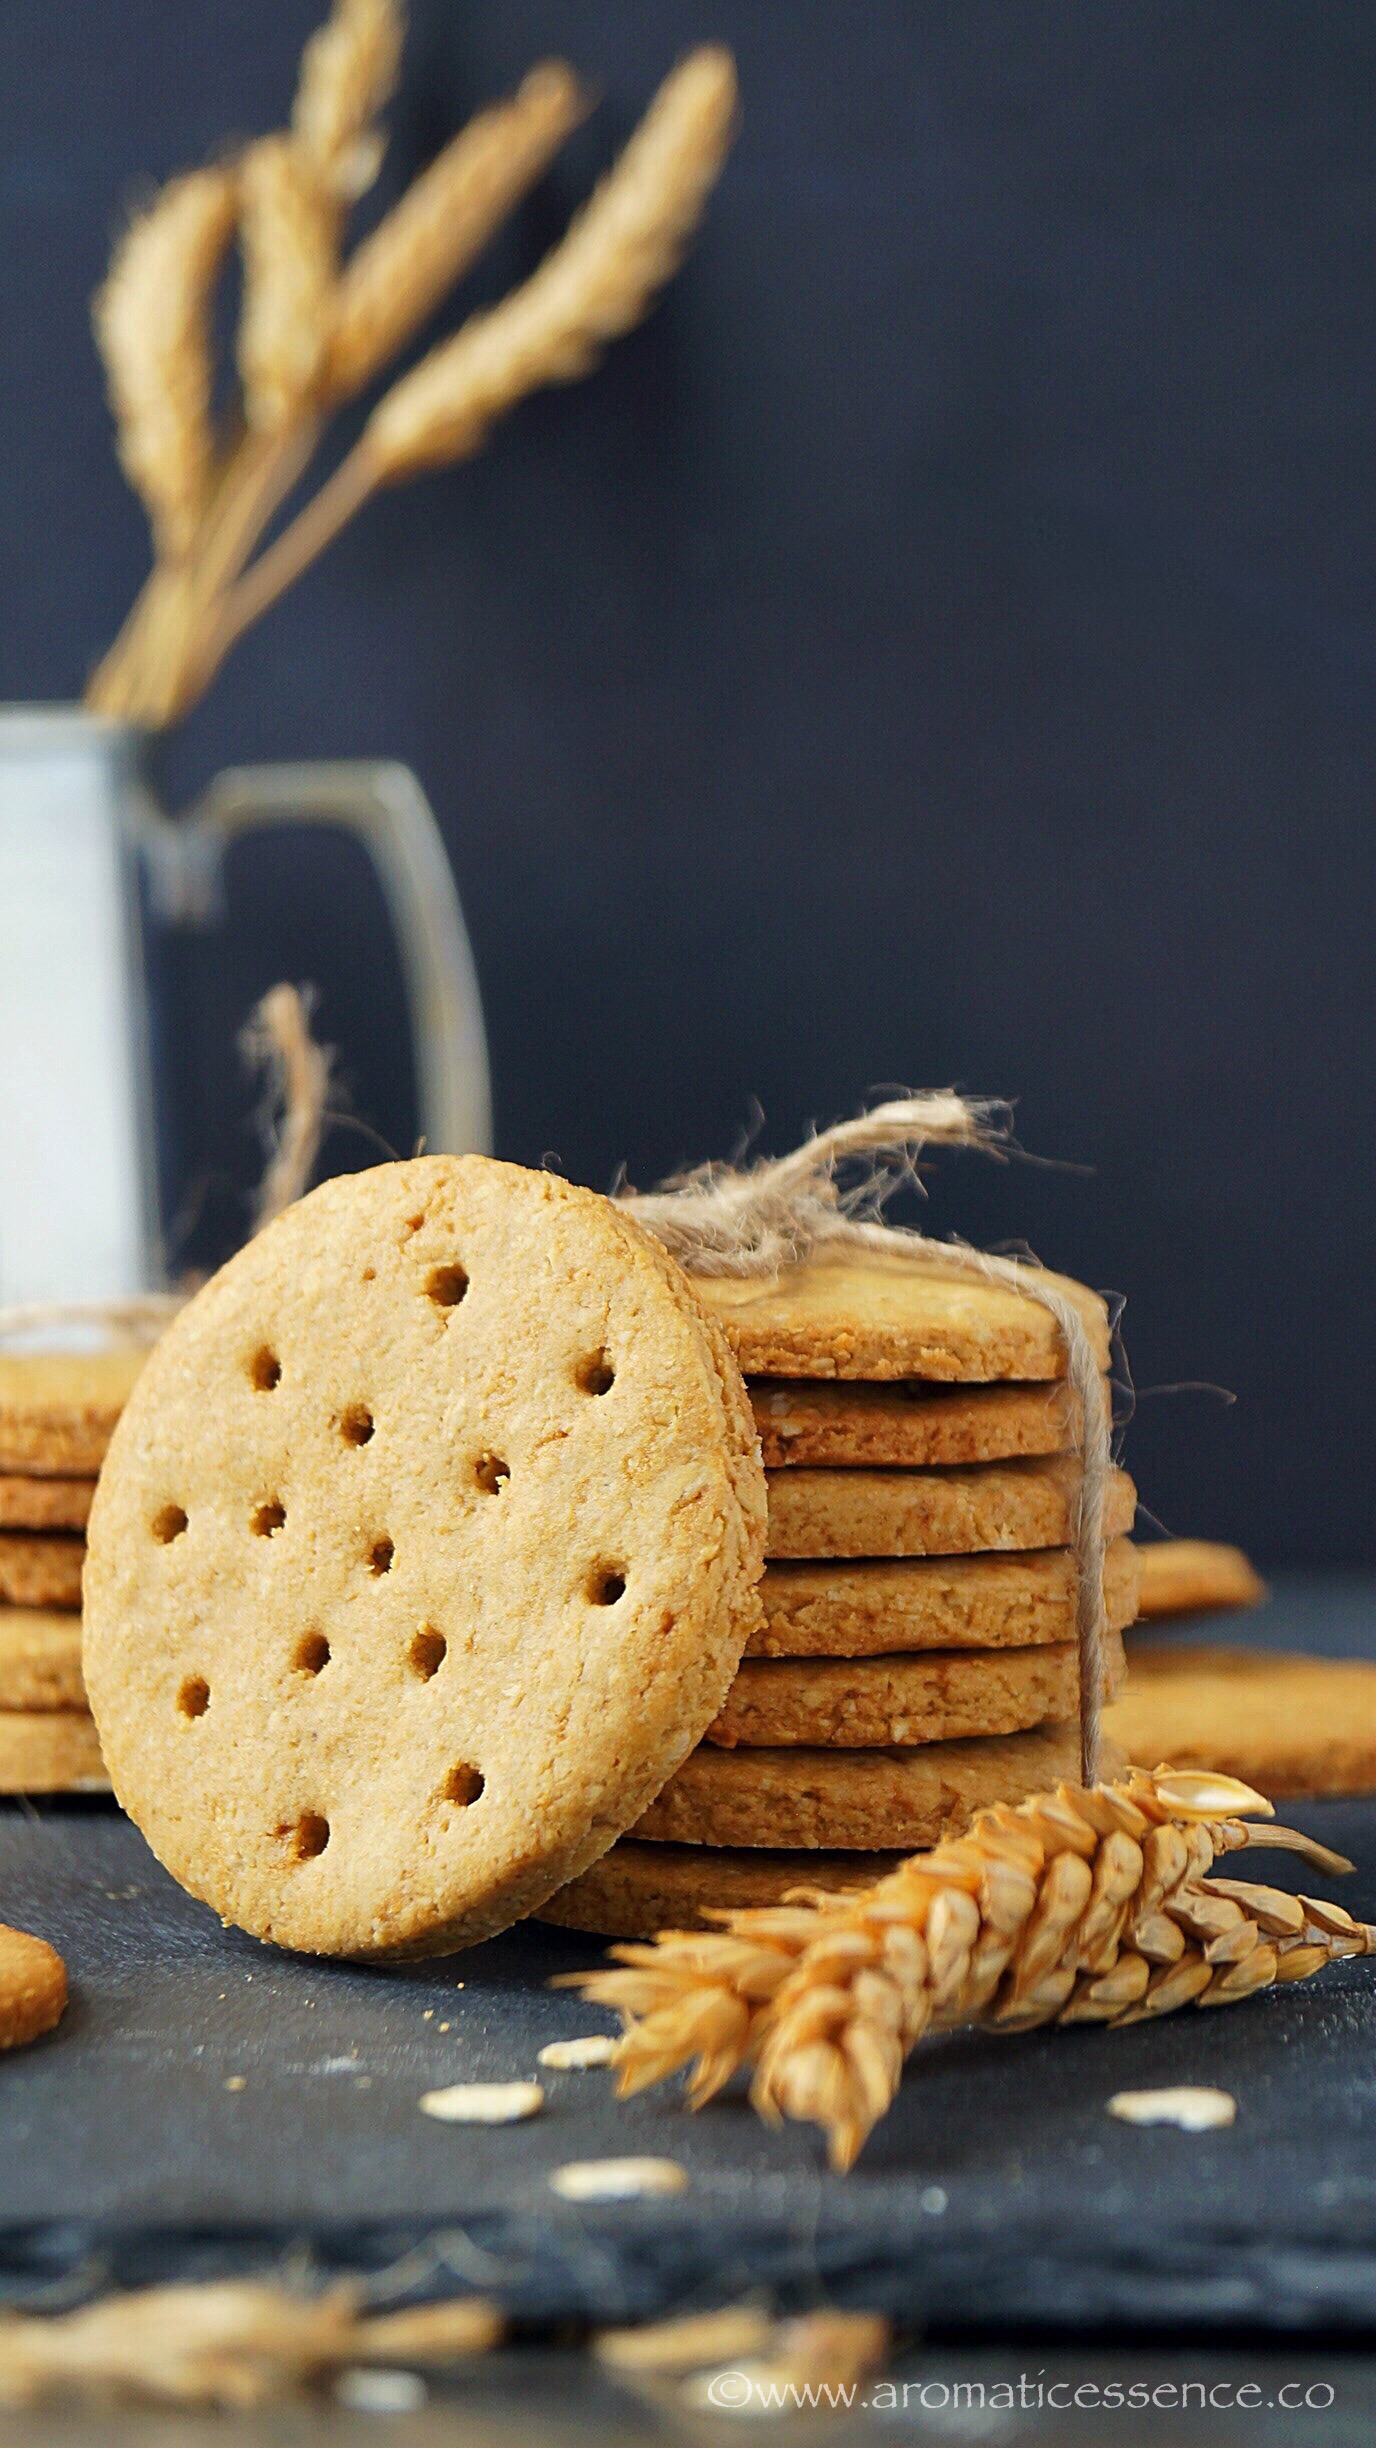
Digestive Biscuits are mildly sweet, crunchy and crumbly biscuits, that originated in Scotland. These are one of the most popular biscuits in the UK. They are similar to Graham crackers sold in the US. Here is a simple recipe to make your own digestive biscuits at home.
Who invented these biscuits?
But before getting to that, aren’t you intrigued why the name digestive in the first place? I love to know the history of how a certain food originated. And if you hadn’t thought about that by now, I’m sure I definitely got you thinking. The digestive was first developed in 1839 by two Scottish doctors to aid digestion at a place called Logie Steading in Forres. The term “digestive” is derived from the belief that they had antacid properties due to the use of sodium bicarbonate when they were first developed. Historically, some producers used diastatic malt extract to “digest” some of the starch that existed in flour prior to baking. {Wiki}
Digestive biscuits are popular in India too. My favorite way to enjoy it is by dunking it in some chai. They soften up and just melt in your mouth. They aren’t easy to spot here in the US, but you will find them in certain ethnic, Indian stores and easily in World Market. I came across this recipe by Kruthi Bipin on one of my Facebook baking groups. I had saved this recipe then and I’m glad I finally tried them out. The only change that I made to the recipe was swapping brown sugar for jaggery.
Ingredients needed
To make these digestives at home, you will need,
Whole wheat flour (atta) and powdered oats Unsalted butter Milk Jaggery Baking soda
Jaggery is unrefined sugar, rich in molasses and minerals. Though it has the same calories as refined sugar, it is much better than sugar. If you’d like to know more about jaggery, you can read this article. This is not the classic English tea biscuit recipe, but a rather healthier take on English digestive biscuits. And I’m sure you will love it after trying these out too. The final outcome was a crisp, crunchy, and crumbly biscuit with a nice, earthy sweetness and nutty taste. These are almost guilt-free! Yes, I know there’s butter in there, but if you divide 4 tablespoons butter amongst 15-16 biscuits, I think it can be overlooked 😀 The technique is similar to the bourbon biscuits, except that there’s no cocoa powder here, and we swap the refined flour for wheat flour and powdered oats.
How do you make digestive biscuits?
These cookies come together in 4 easy steps;
Handy tips to keep in mind while making these cookies
Use room temperature ingredients, so that you don’t end up overworking the dough Avoid overmixing the dough. Overmixing activates the gluten, making the resultant cookies less crumbly. To make it workable, chill the dough for some time. It is easier to roll out the dough between 2 parchment papers, cut into desired shapes. I stuck with the classic shape. But it would be fun trying out other shapes, to make it even more appealing to the little ones, which is what I will do next.
I rarely get excited about baking with whole wheat, except for its use in a few of my favorites- date and walnut cake, banana bread, and carrot cake at times. But these digestive biscuits turned out to be very impressive. I’m definitely going to be making more of these, and in different shapes to keep it interesting, or cover them partly in dark chocolate perhaps! I had fun making these biscuits as I involved my son, Ethan, into helping me. He was eager to even roll out the dough.. 😀 He couldn’t manage that though he helped me with the cutouts 🙂 And we did end up gobbling a few as soon as the baked biscuits were cool enough to eat. Livestrong states these following benefits of digestive biscuits- WHOLE GRAINS Whole wheat flour is used at large in most brands of digestive biscuits and incorporating whole grains into your diet helps you manage weight and lowers your risk of heart diseases and other diseases such as diabetes. FIBER Although digestive biscuits are not a significant source of fiber, they may be able to push you toward meeting your needs. You need 14 grams of fiber for every 1,000 calories you eat or about 25 grams for women and 38 grams for men. Meeting your daily fiber needs not only alleviates constipation but may also reduce your risk of chronic illness. Also, fiber aids in appetite control and is beneficial to those trying to lose or maintain a healthy weight. NOT MUCH SODIUM As per the food labeling guidelines, a food is designated as low sodium if it contains about 140 milligrams of sodium. A serving of two digestive biscuits contains 160 milligrams of sodium which is not very far off from the limit. High intakes of sodium is linked to high blood pressure, which increases the risk of heart disease, congestive heart failure, and kidney disease. A healthy diet should limit sodium intake to less than 2,300 milligrams a day, or if you’re over the age of 50, have high blood pressure or are of African descent, limited to 1,500 milligrams a day. Including lower-sodium foods like the digestive biscuits may help you stay within the daily sodium recommendations. I hope you guys will love this classic British biscuit as much as the bourbons and will give this a try too. And if you do, do let me know how it goes 🙂 I’d be happy to hear!
How to make digestive biscuits at home – Step by step instructions
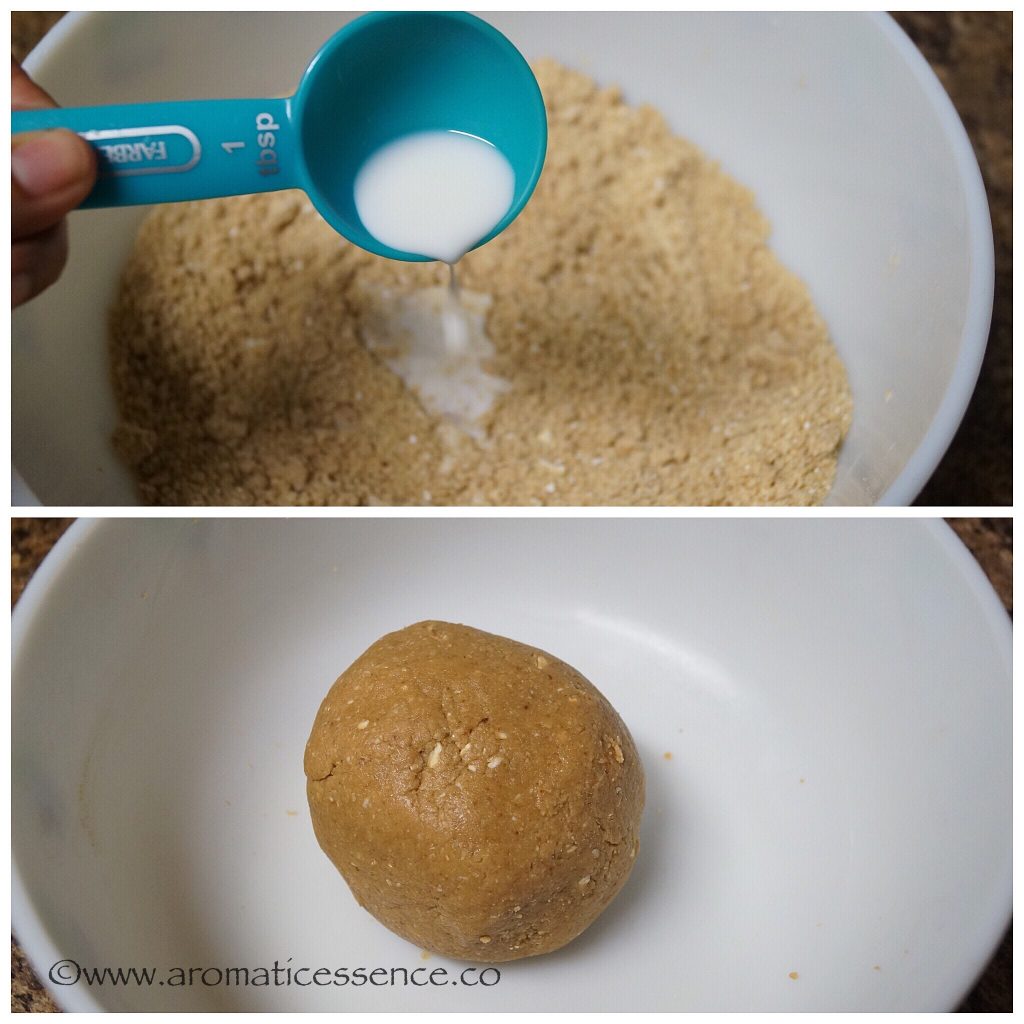
Step 1: Prepare the dough
Measure out 3/4 cups of rolled outs and grind to a powder. In a mixing bowl, sift 3/4 cup whole wheat flour and 1/4 teaspoon baking soda. Add powdered oats (about 80 grams), 1/2 cup jaggery powder, and 1/4 teaspoon of salt. Whisk well to incorporate everything well.
Add 4 tablespoons of butter, work the butter into the flour with your fingertips to resemble breadcrumbs.
Add milk, a tablespoon at a time and knead until you have a dough. You may need more or less milk, so add it gradually. Do not overwork the dough. Just knead until the dough comes together. I added a total of 3 tablespoons of milk.
Step 2: Chill the dough
Flatten the dough into a disc and transfer it to a cling wrap. Refrigerate for about 15 minutes.
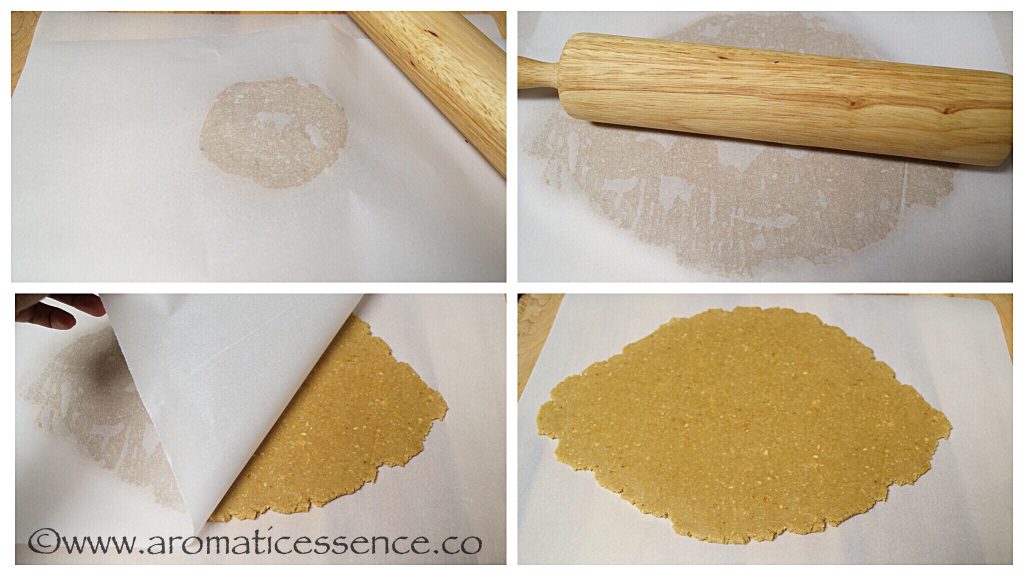
Step 3: Roll and cut-out
Preheat the oven to 350 degrees F/ 180 degrees C. Transfer the disc to your work surface. Place it between two parchment papers and roll out to 1/4 inch thickness. If it crumbles, accumulate it and roll out. The use of parchment paper will help you roll it out nicely.
Use a cutter to cut into desired shapes. Transfer to a baking tray lined with Silpat/parchment paper. Gather the scraps, form a disc, and repeat the same procedure of rolling out and cutting it out until all the dough is used up.
Use a skewer/fork to poke holes all over the cookies.
Step 4: Bake
Bake for 15 minutes, until the cookies are a light golden in color. Check after 10 minutes of baking, as the time taken to bake will depend upon the thickness of the cookies, if they are thinner, they will be done around 10 -12 minutes. I baked in two batches, kept the other batch in the refrigerator while the first was baking.
Remove the tray from the oven. Let it cool for a minute on the tray, then transfer to a wire rack, and let it cool completely. They will become crisp and crunchy on cooling, transfer to an airtight container.
Notes
The whole wheat flour used here is atta, the flour that is used in making traditional Indian flatbreads like chapati, roti, etc. This is finer as compared to the American whole wheat flour which is a bit coarser. American wheat flour will work in the recipe equally well, simply adjust the quantity of milk to knead the dough. These biscuits are mildly sweet, just right for the sweetness in a digestive biscuit. You can reduce it to 1/4 cup for lesser sweetness or increase it to 3/4 cup for more sweetness. Storage: These have a good shelf life, it will easily last 2-3 weeks in an airtight container or jar.
★ If you try these digestive biscuits, I would love to hear from you! I’d appreciate it if you could rate and leave a review below in the comments. Your reviews help others know the recipe better too. Thanks so much 🙂 You can also follow me on Facebook, Pinterest, Instagram & Twitter