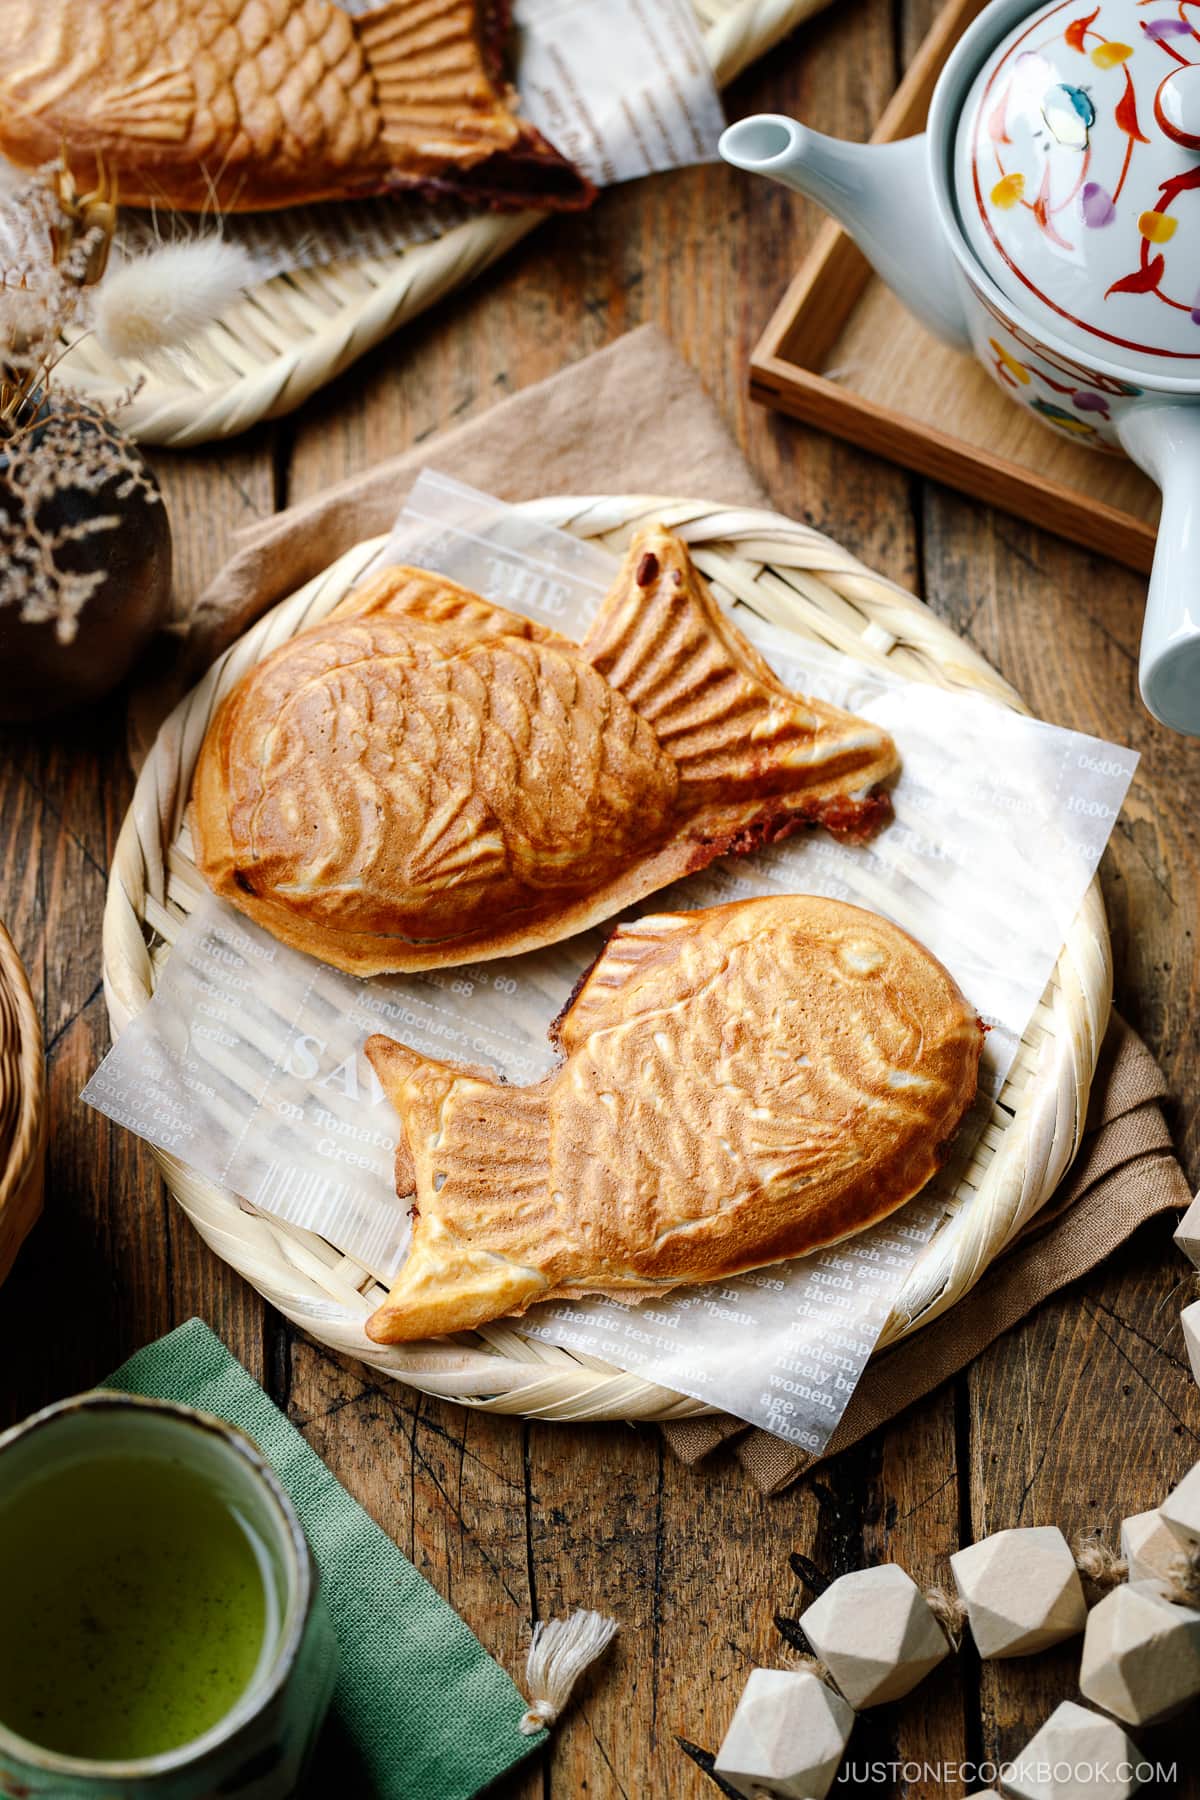
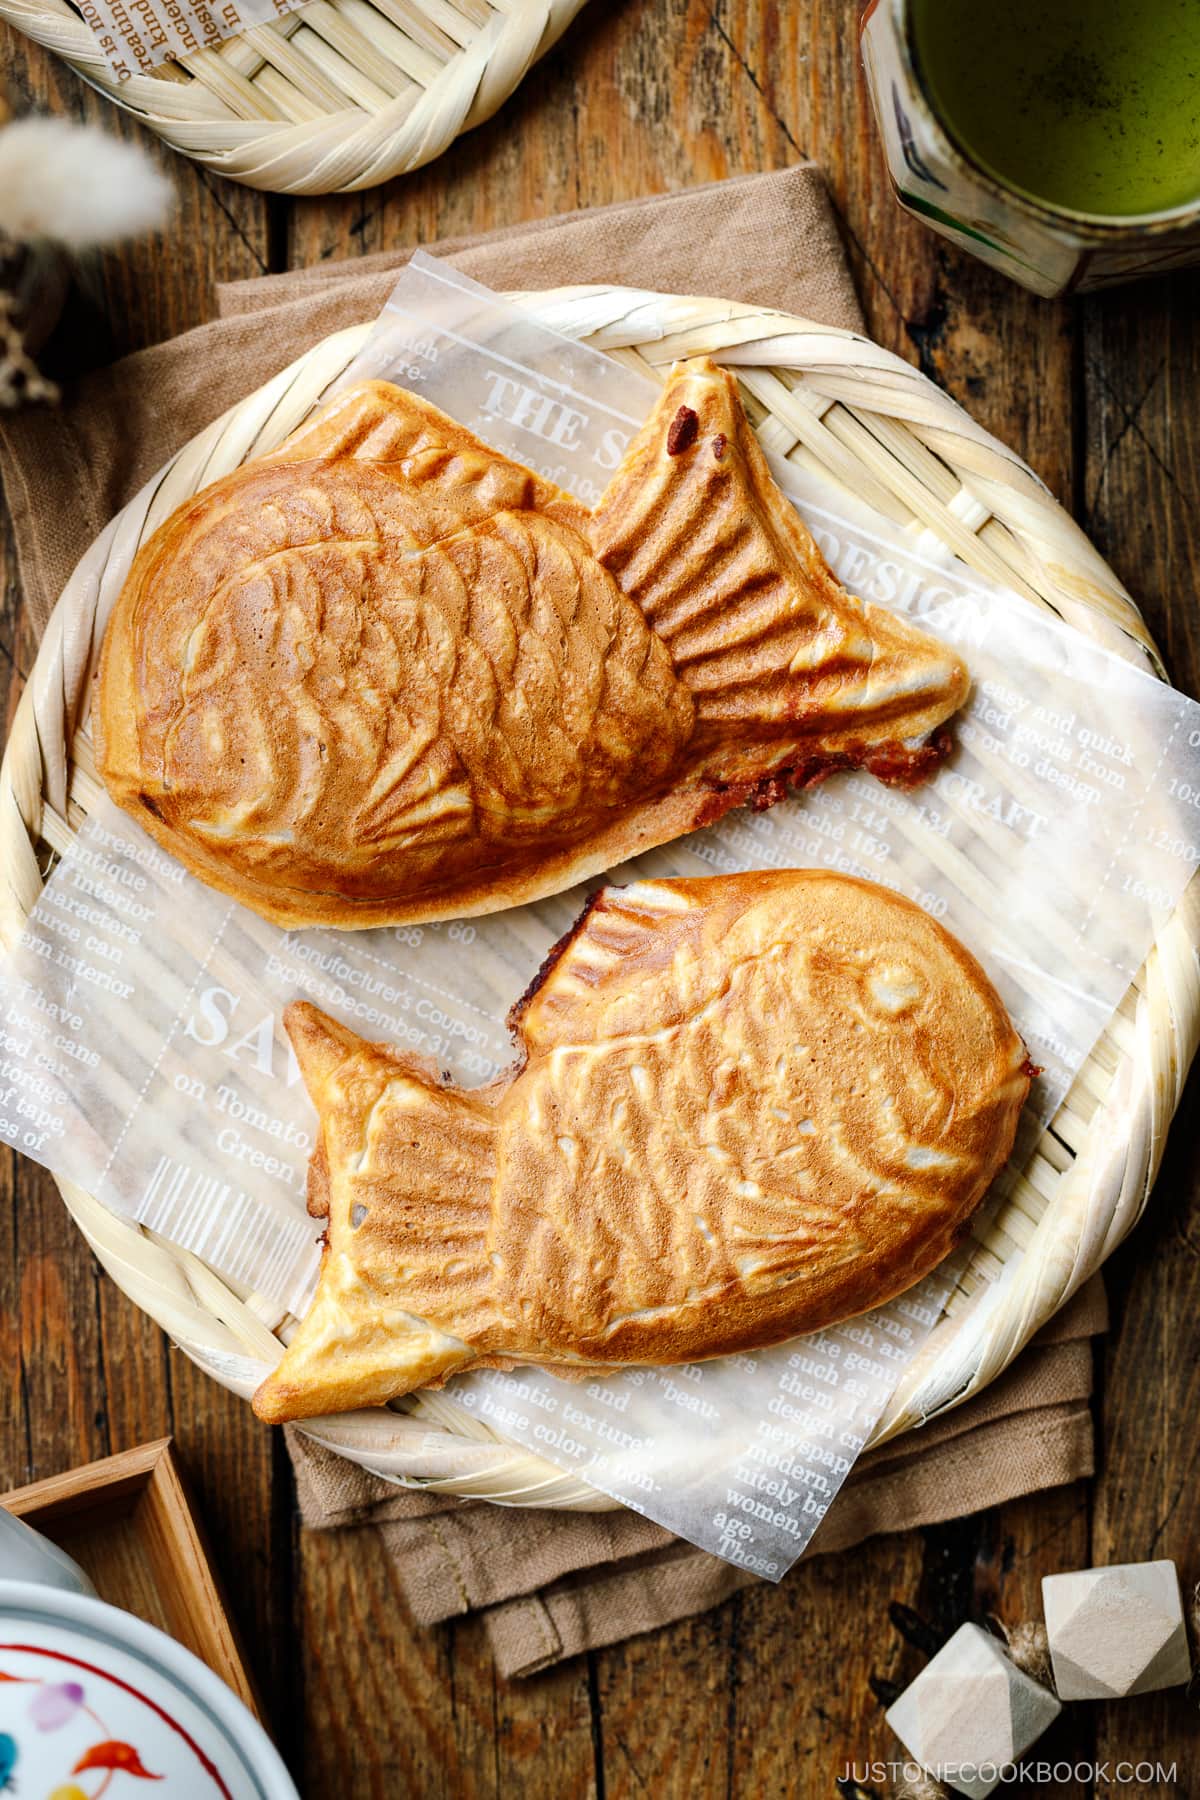
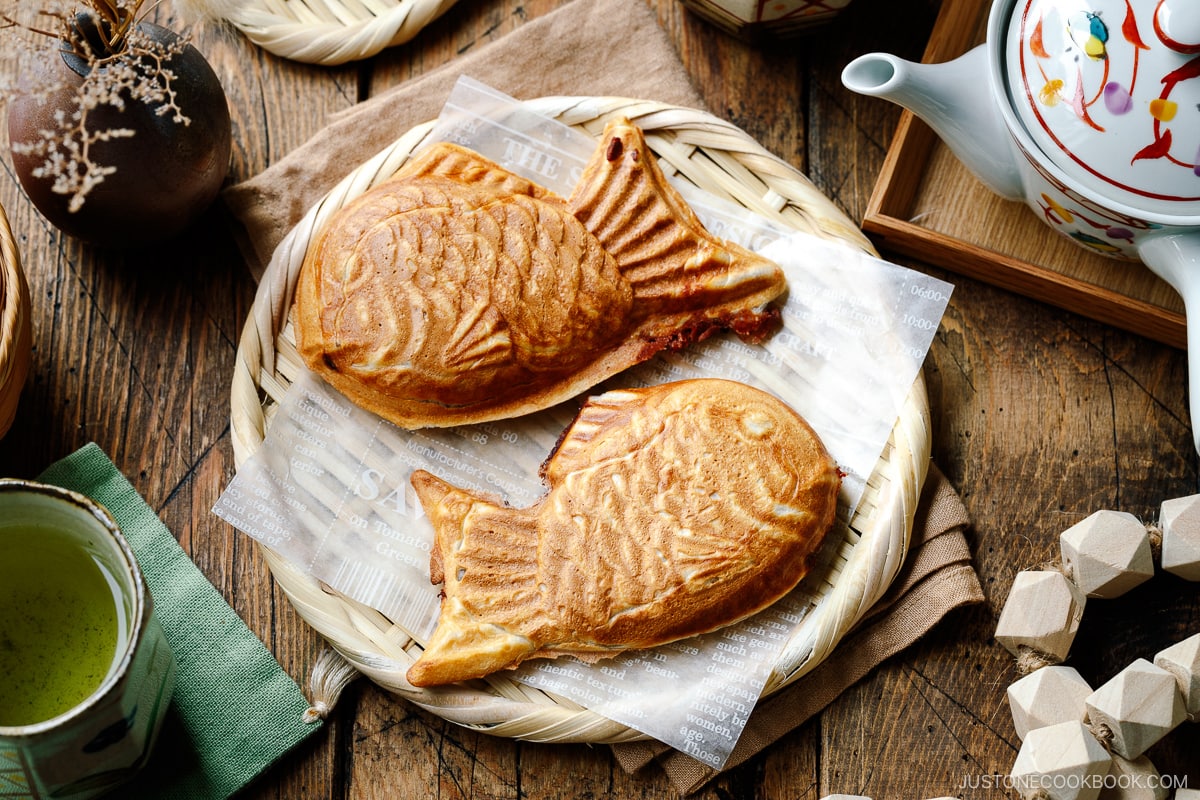
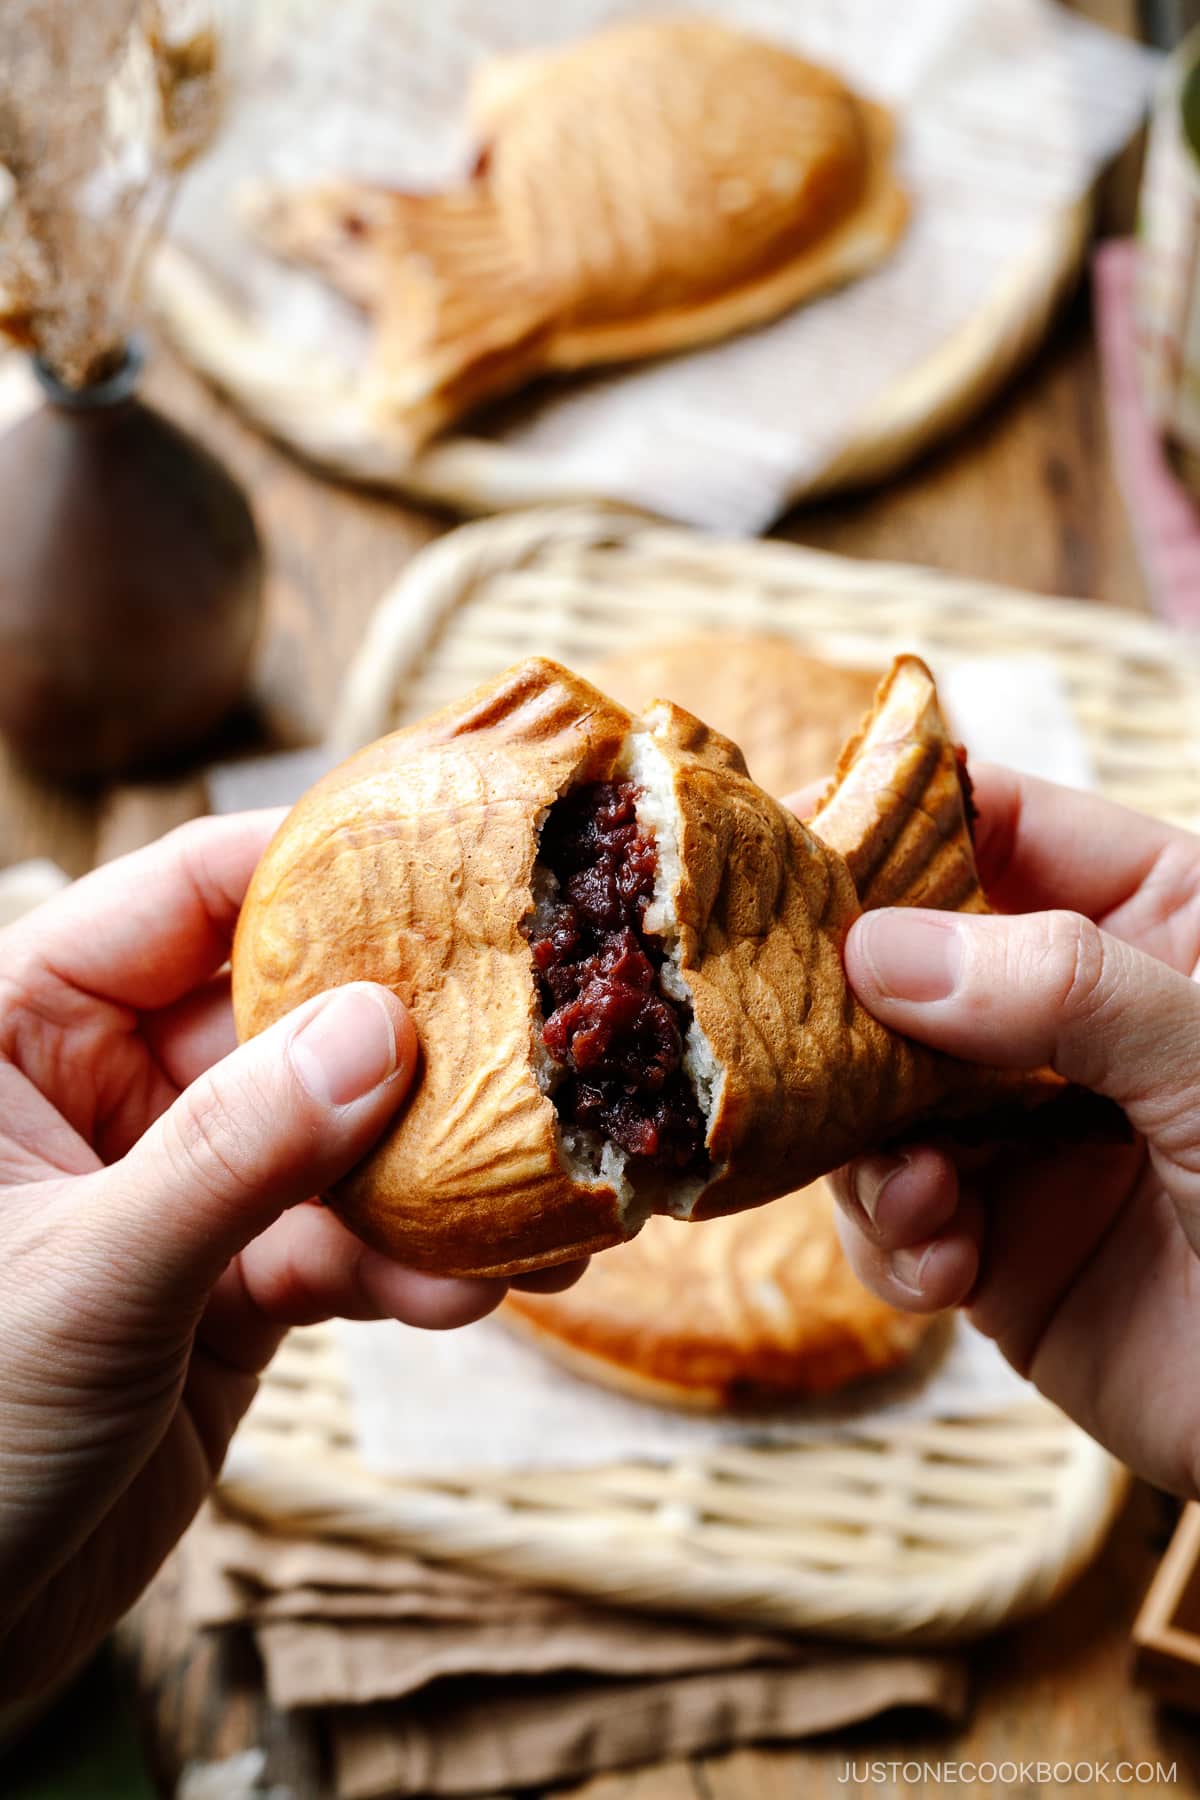
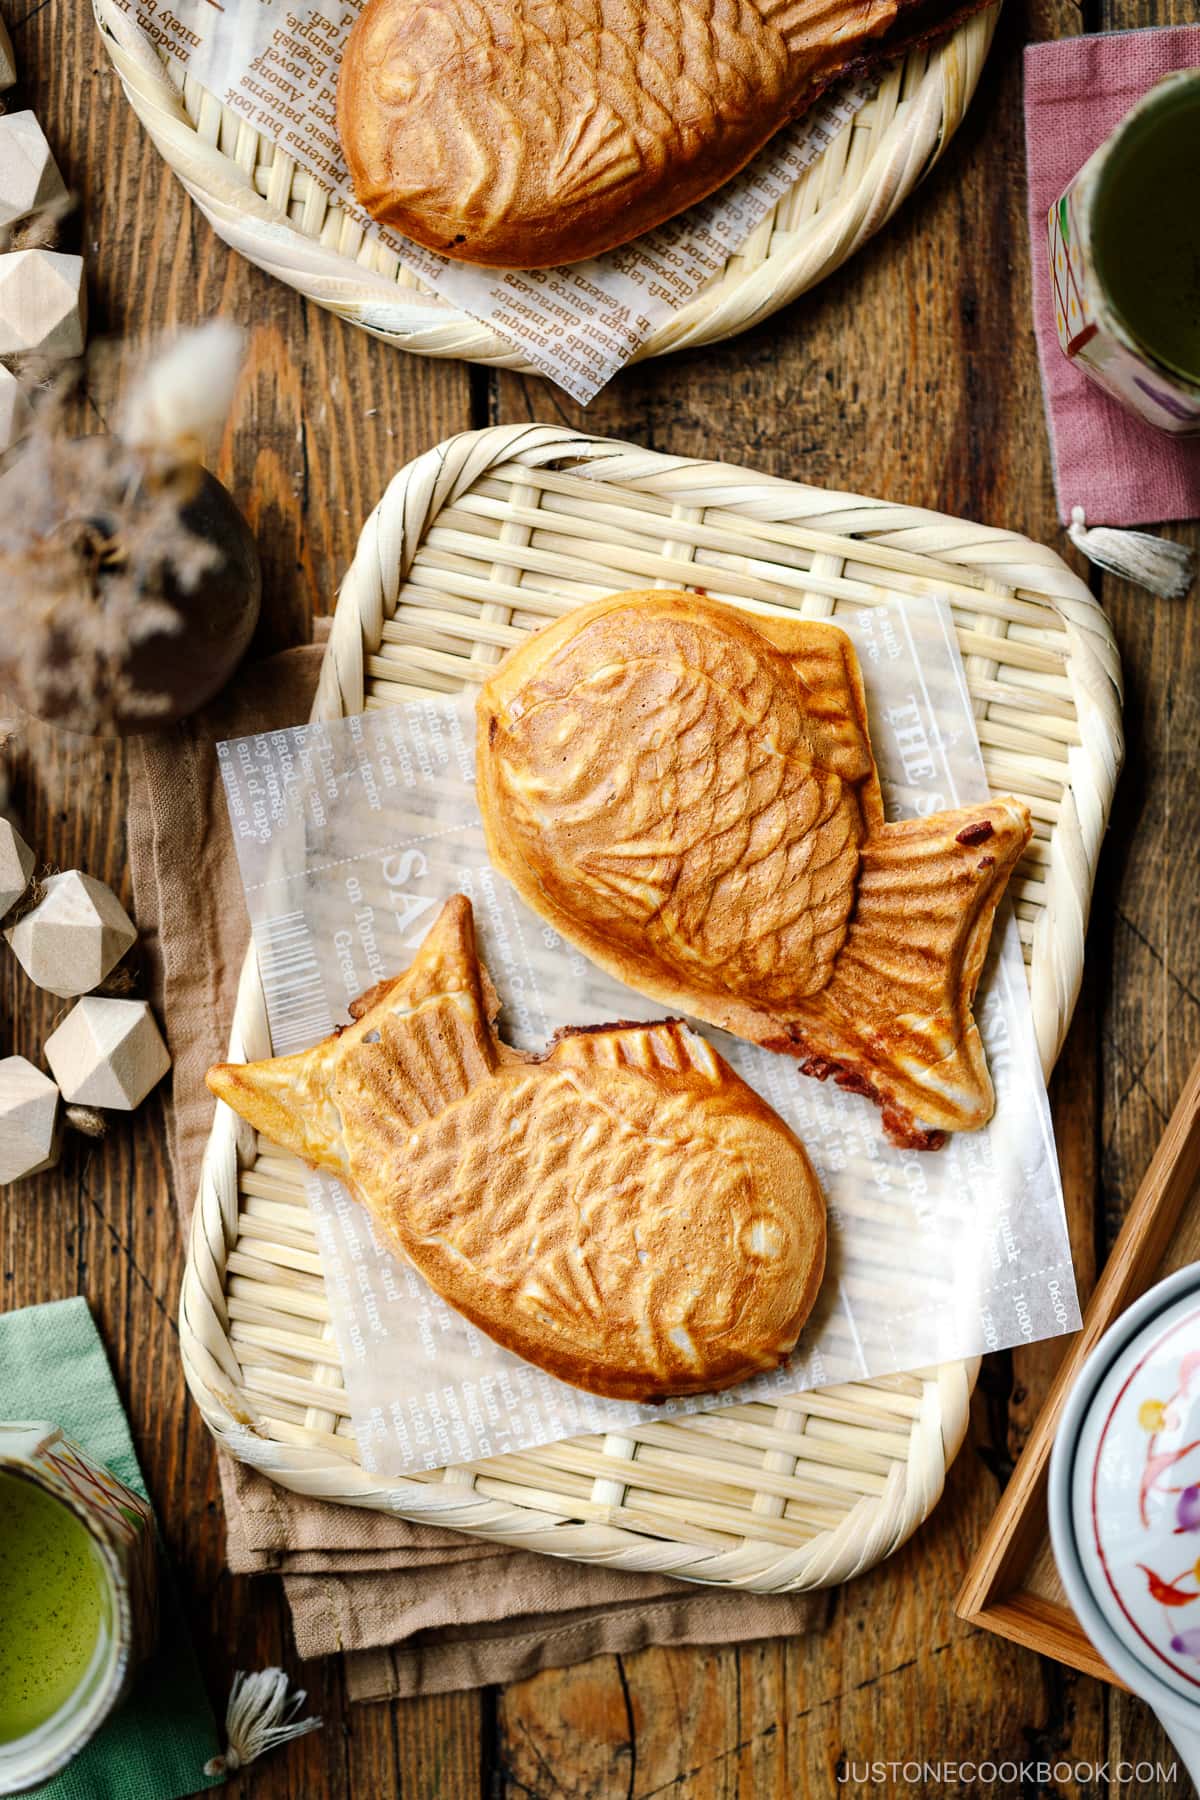
Famously known for its endearing fish shape, taiyaki (たい焼き) is a classic waffle-style street snack sold at festivals, fairs, and specialty shops all over Japan. Traditionally, fresh and warm taiyaki is stuffed with anko (sweet red bean paste), but these days the fillings come in a plethora of fun flavors. Everyone in Japan, including me, grew up with taiyaki. It’s a nostalgic food—a beloved treat that brings a happy smile and pure joy. If it’s a new food for you, I know it’s going to be love at first bite.
What is Taiyaki?
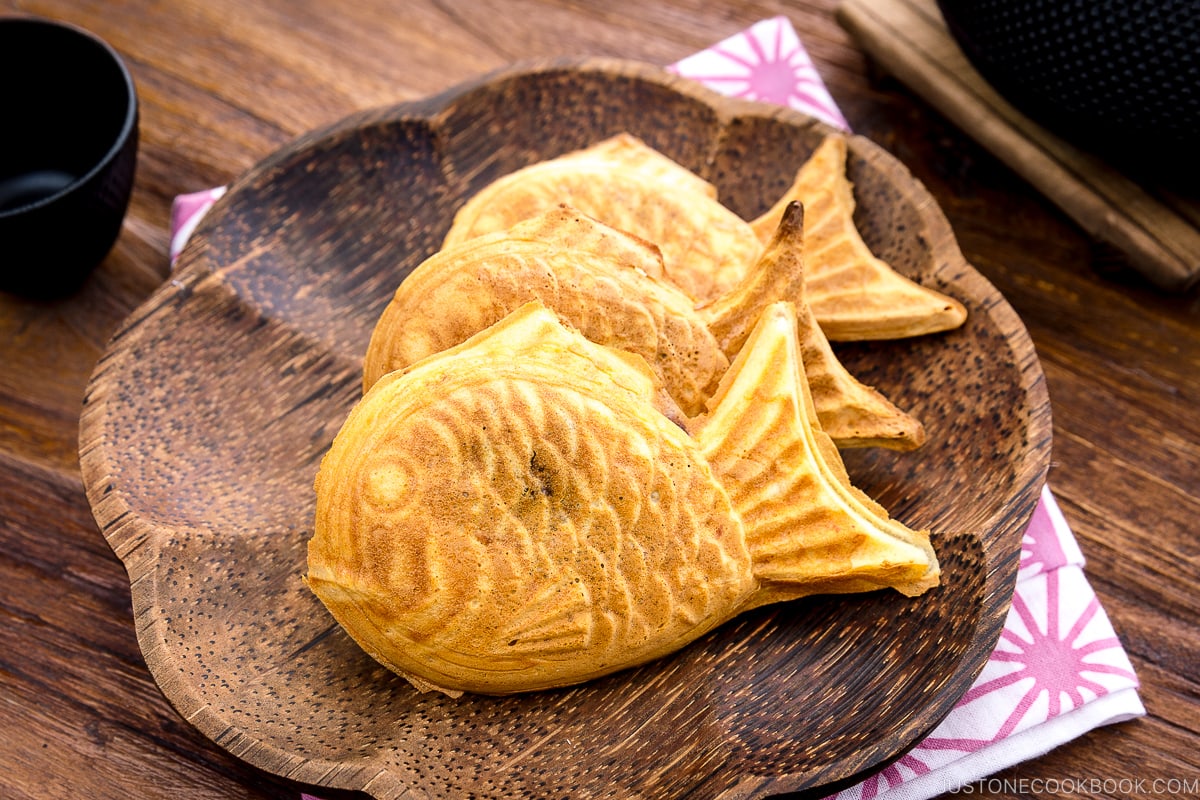
Taiyaki (たい焼き) is a popular Japanese pastry that originated in Tokyo in 1909. Initially, this fish-shaped pastry with intricate fins and scales was a creative take on Imagawayaki, a similar but round pastry that has been around since the Edo period. Instead of a round shape, taiyaki was crafted to resemble a sea bream, which is a symbol of prosperity in Japan. Its name comes from tai, meaning sea bream (鯛, たい), and yaki, meaning to bake or grill (焼き). Traditionally, taiyaki and Imagawayaki are both filled with anko, Japanese sweet red bean paste. However, throughout the years, their fillings have evolved to include vanilla pastry custard, matcha custard cream, chocolate custard cream, sweet potato, and so on. In recent years, its popularity has expanded beyond Japan’s shores. We’re seeing taiyaki shops popping up everywhere in the US, in Asian countries like Singapore, Malaysia, and the Philippines, and even in South America, like Peru! It makes me so happy that the love for taiyaki has transcended borders.
Two Types of Taiyaki
Did you know there are two types of taiyaki in Japan? They are made differently.
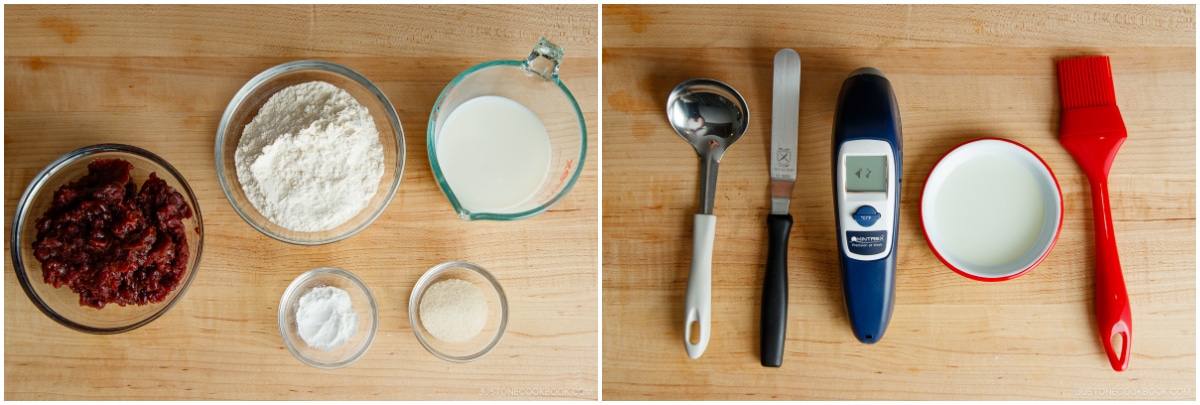
Ingredients for Crispy Taiyaki
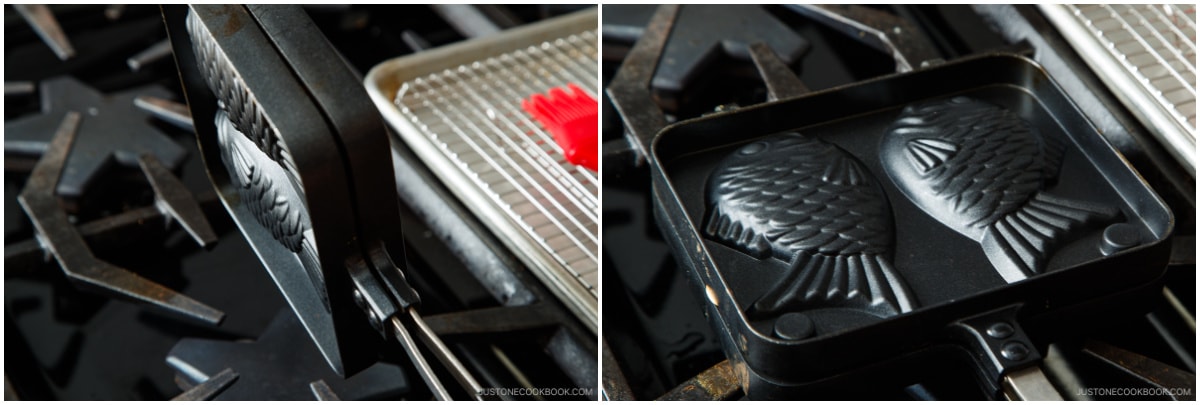
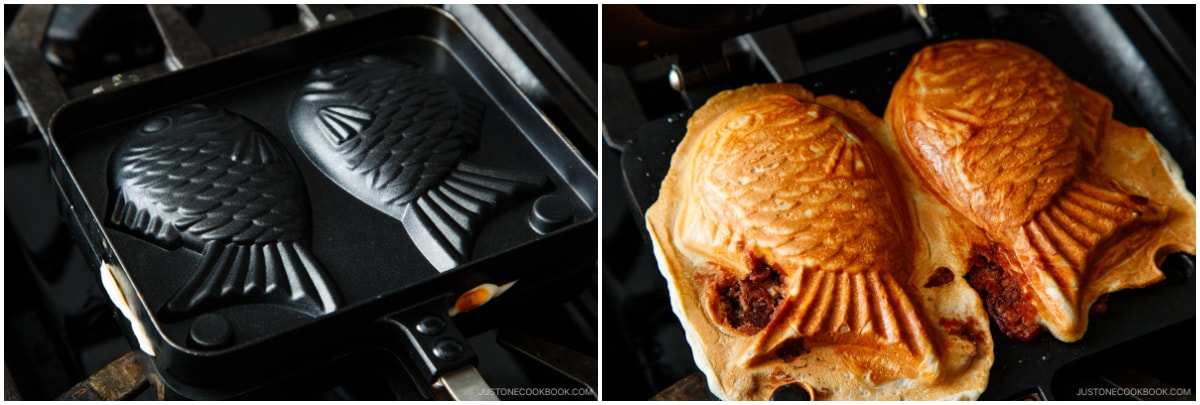
As long as you have a taiyaki pan, you can make taiyaki with just a few simple pantry ingredients!
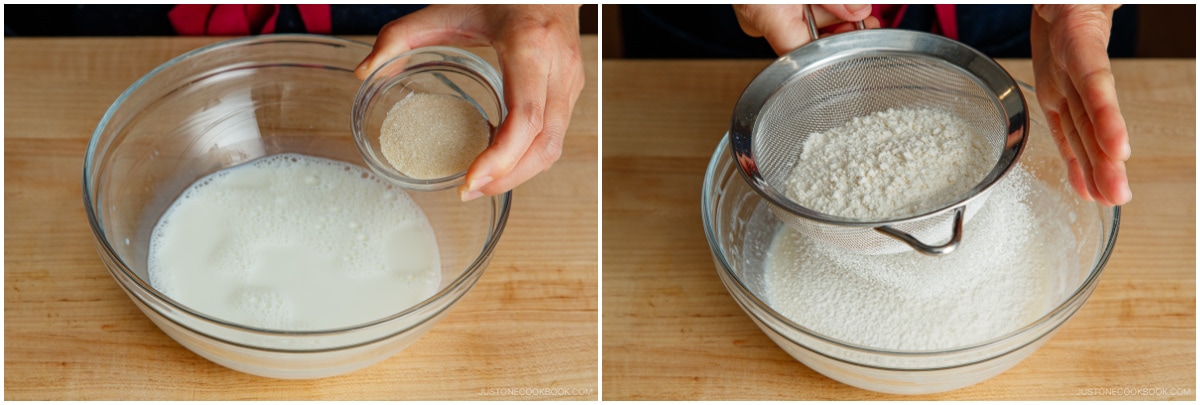
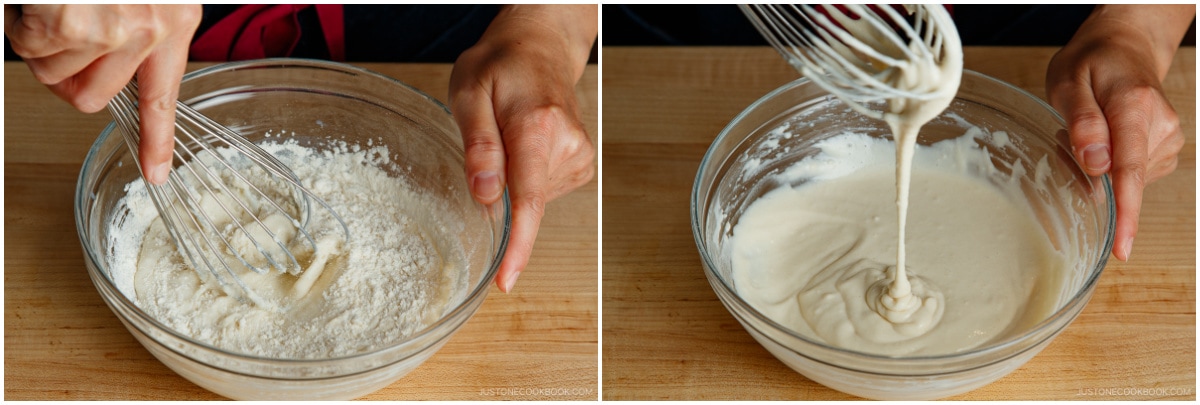
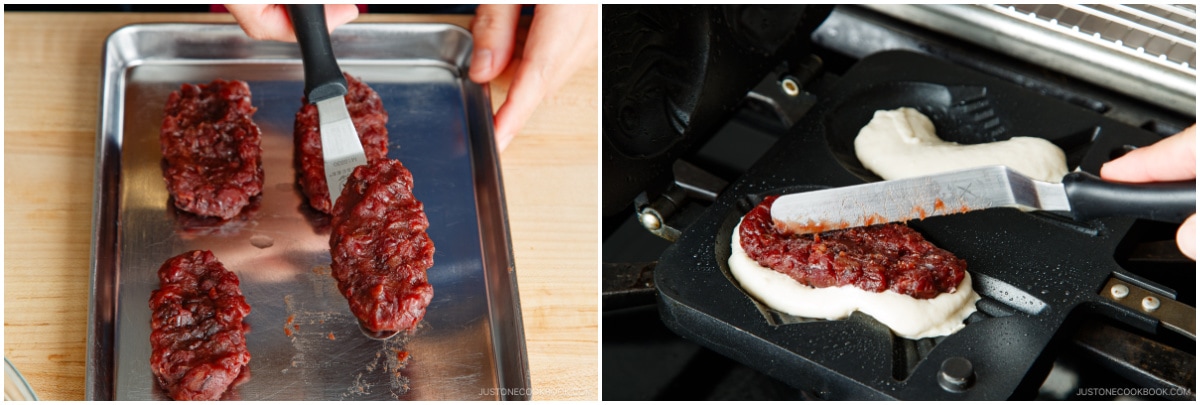
Cake flour—Cake flour has the least gluten, yielding the lightest, crispiest texture. Note that the texture will be slightly different if you use all-purpose flour, which has more gluten. Baking powder—It helps make the batter light and airy. Sugar—I find that the batter tastes better with a little bit of sugar, even if you’re stuffing the pastry with sweet fillings. Sugar also helps the batter turn a more golden color. Milk—I used 2% reduced-fat milk, but you can use whole or nonfat. Alternatively, you can use the plant-based milk of your choice. I’ve tried it with water, but I didn’t like that the batter doesn’t have much taste. Filling of your choice—The traditional filling is anko (red bean paste) and it’s my favorite, so I use it here. Alternatively, you can use custard cream (pastry cream), Nutella, matcha custard cream, or chocolate custard cream.
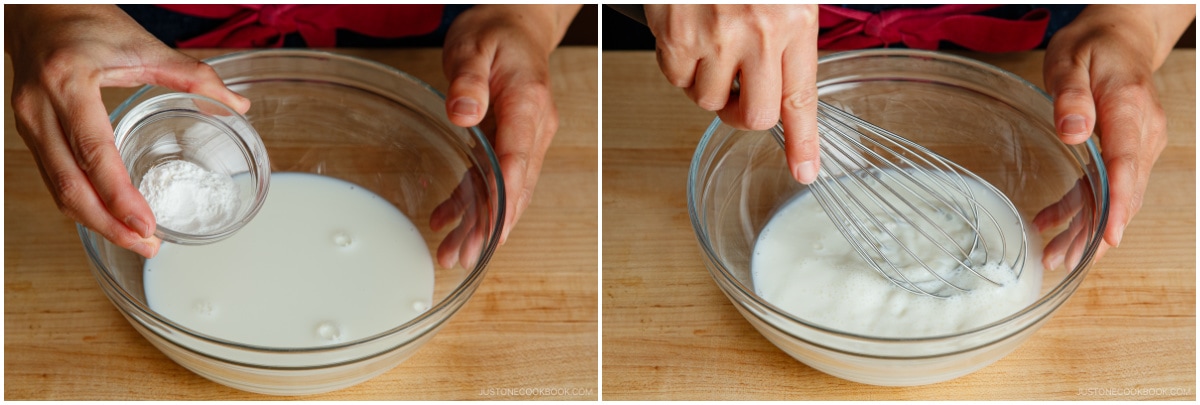
How to Make the Best Taiyaki
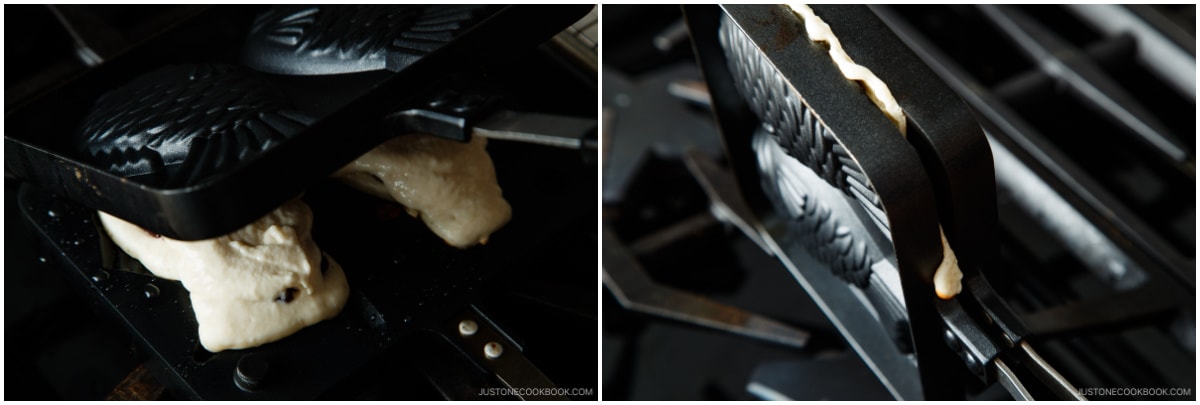
The cooking process is rather simple, but it requires patience, care for details, and practice.
Recipe Tips for Taiyaki
Here are some of my cooking tips to succeed in making taiyaki:
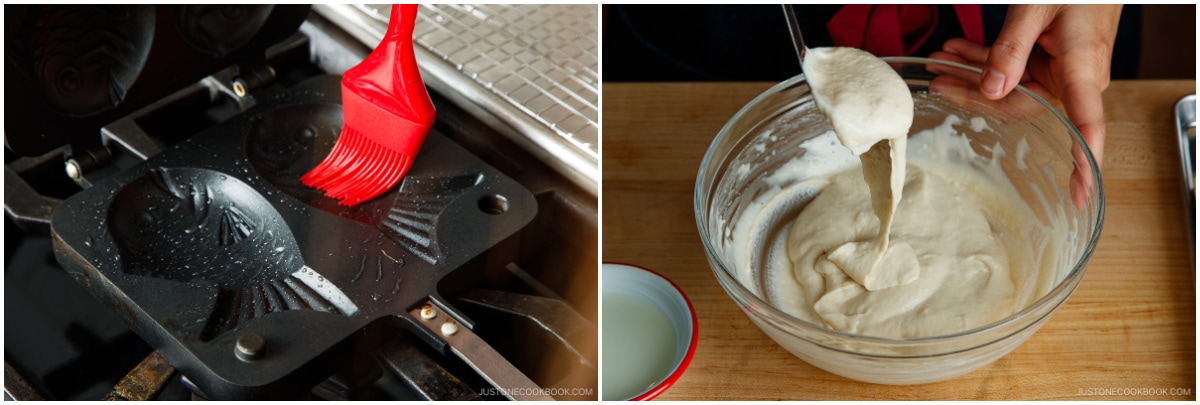
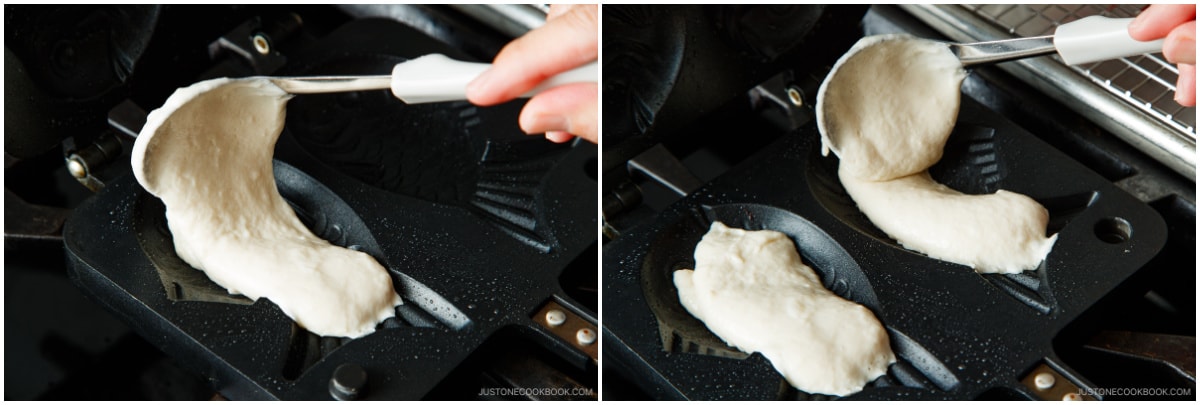
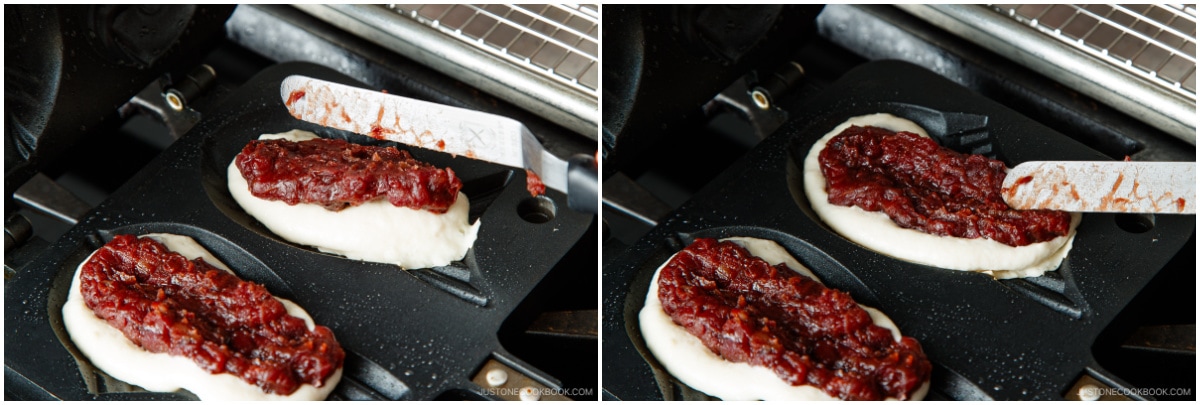
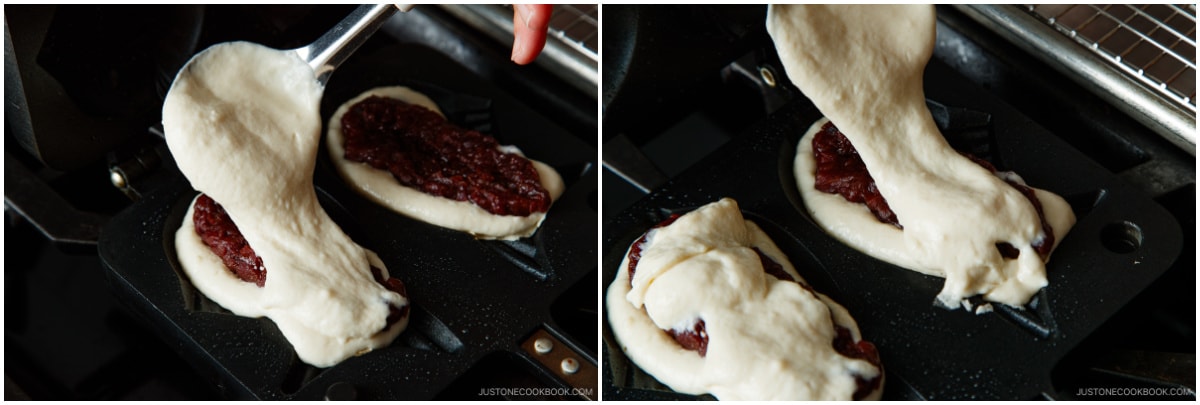
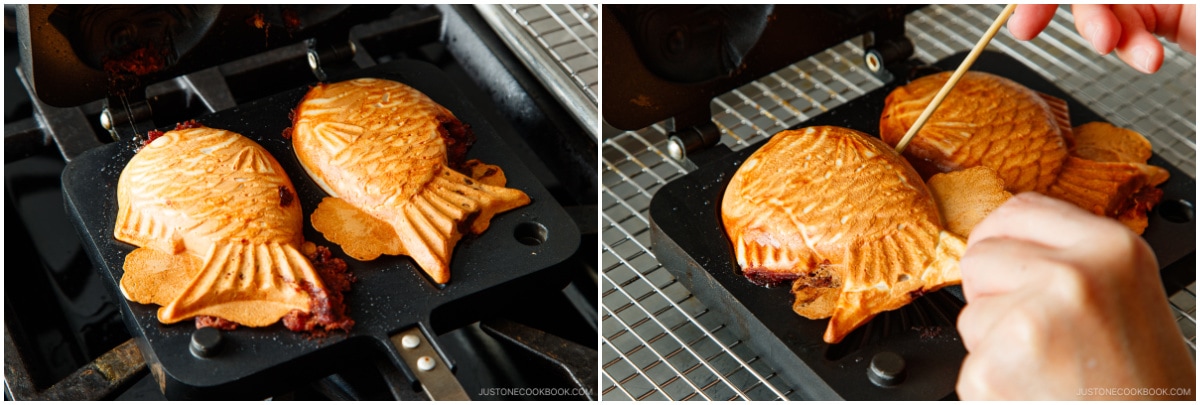
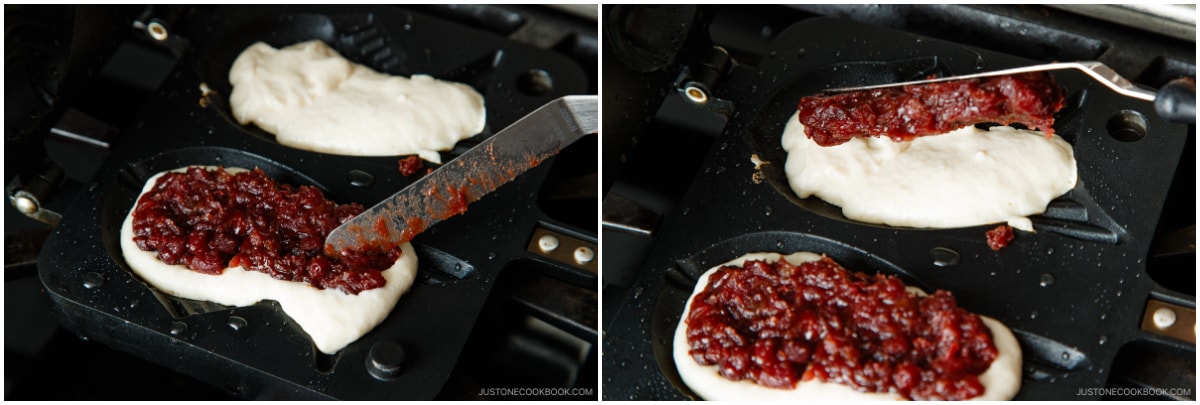
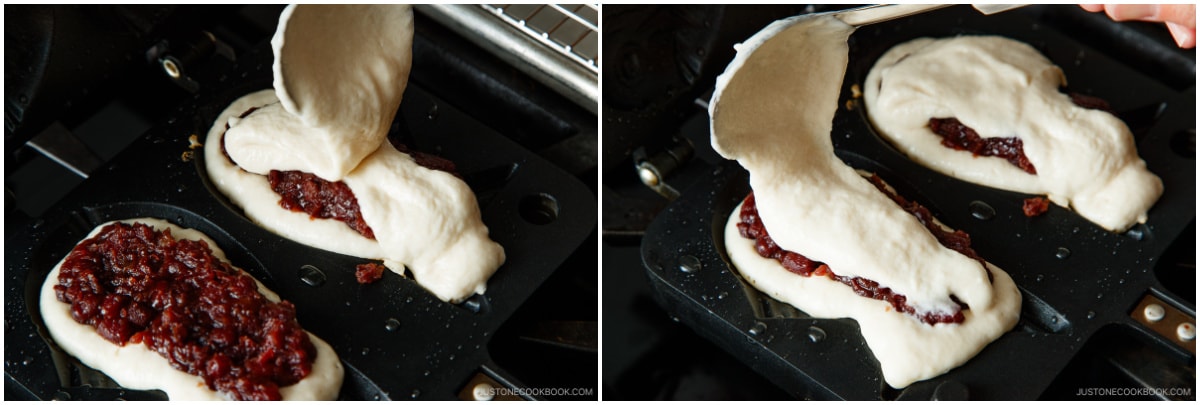
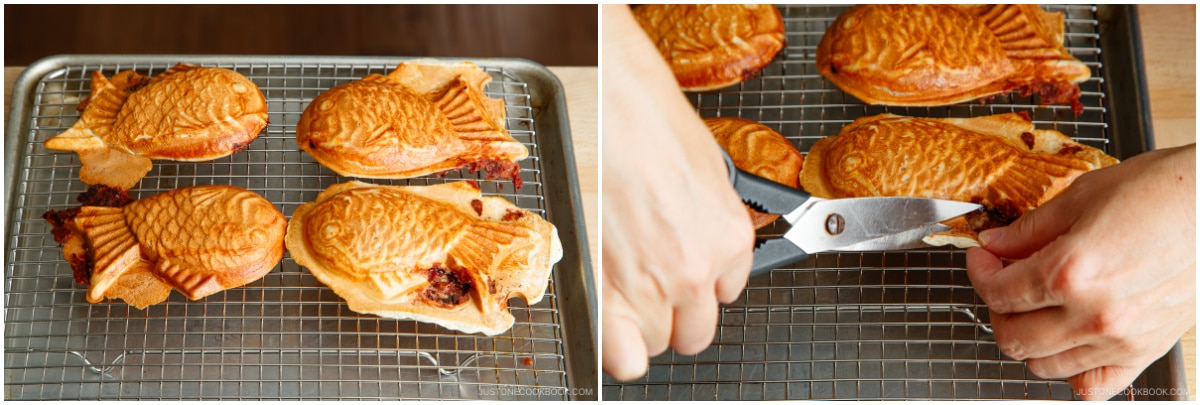
Don’t overmix the batter, which will activate the gluten and result in a chewy texture. If you have time, rest the batter for one hour. Preshape the anko filling. As soon as the batter goes into the mold, you have to quickly place the filling on top. There’s no time to form the anko or else the batter will dry out. Thoroughly warm up and grease the taiyaki pan. When the batter hits the pan, it should make a sizzling sound. Don’t overfill the molds or else the batter will bleed out of the taiyaki pan. The batter must cover the anko filling or else the sweet bean paste will heat up, explode, and burn. Don’t cook for too long. Being afraid of burning my taiyaki, I’ve tried cooking the batter on low heat. However, I realized that the thick bean paste tends to explode when it’s heated thoroughly…so be careful!
How to Store and Reheat Taiyaki
To Store: Keep the leftover taiyaki in an airtight container and store it in the refrigerator for up to 2 days or in the freezer for up to a month. To Reheat: For the best results, reheat in the oven or toaster oven at 350ºF (180ºC) until they‘re crispy on the outside.
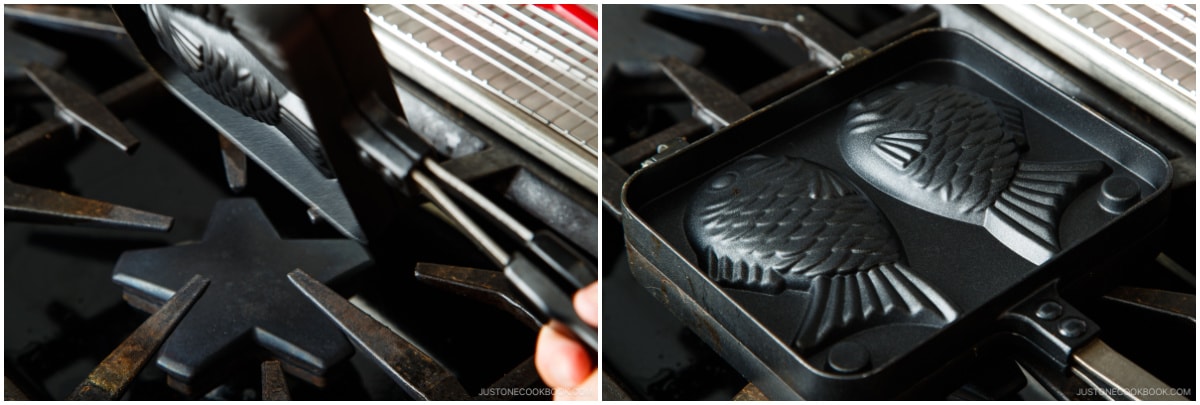
Can I make Taiyaki without a special pan?
Unfortunately, no. You will need a taiyaki pan to make this recipe. If you already have an Imagawayaki (obanyaki) pan, you can use it.
Can I make Taiyaki ahead of time?
For optimal flavor and texture, make it right before serving. Alternatively, you can always reheat it in the oven or toaster oven until it is warm inside and has a crispy exterior. As it cools, the exterior will become less crispy.
More Japanese Street Snacks You’ll Love
Dorayaki (Japanese Red Bean Pancake) Imagawayaki (Obanyaki) Yaki Imo (Baked Japanese Sweet Potatoes) Mitarashi Dango
Wish to learn more about Japanese cooking? Sign up for our free newsletter to receive cooking tips & recipe updates! And stay in touch with me on Facebook, Pinterest, YouTube, and Instagram.