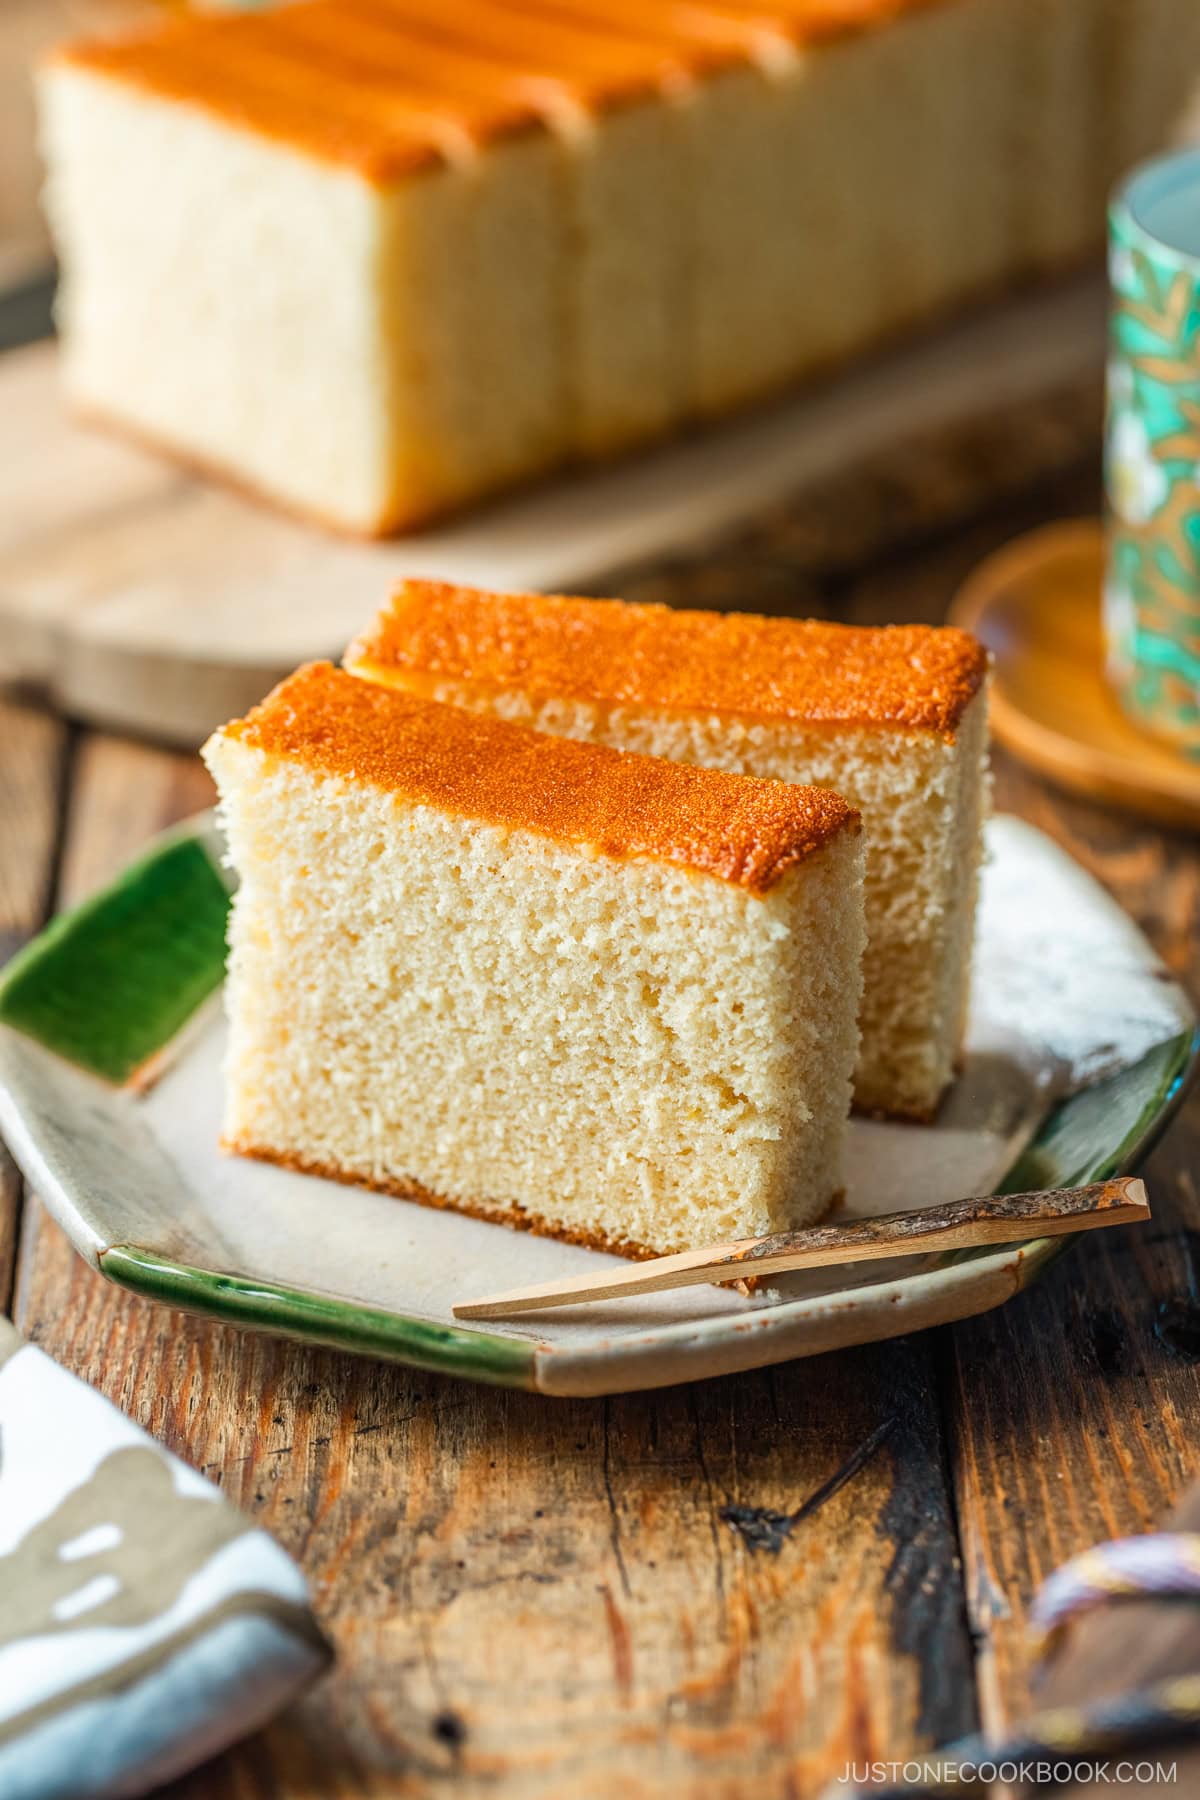
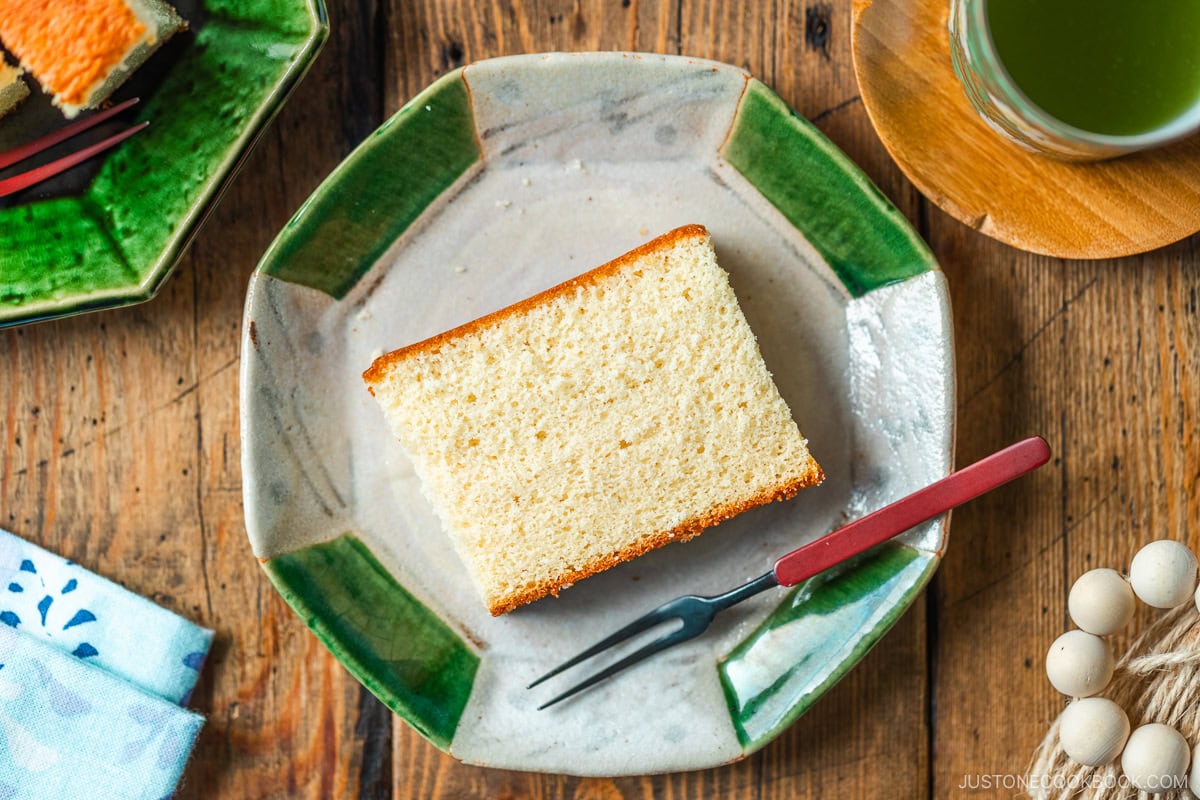
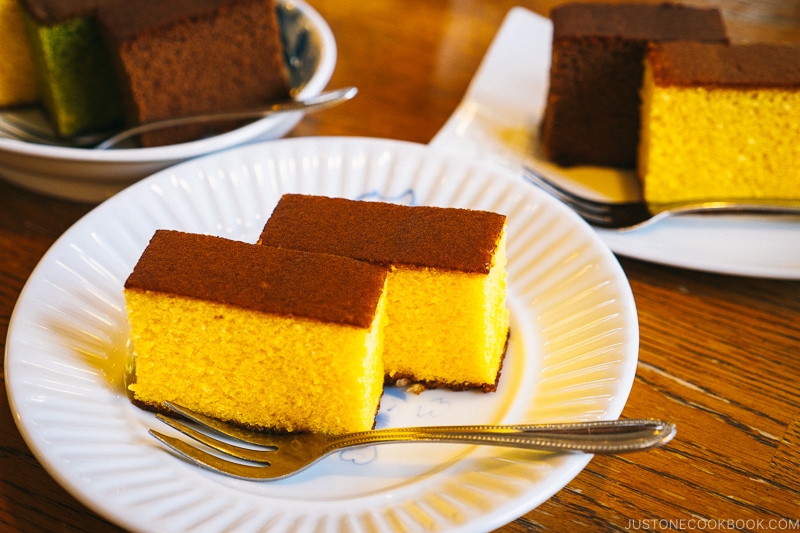
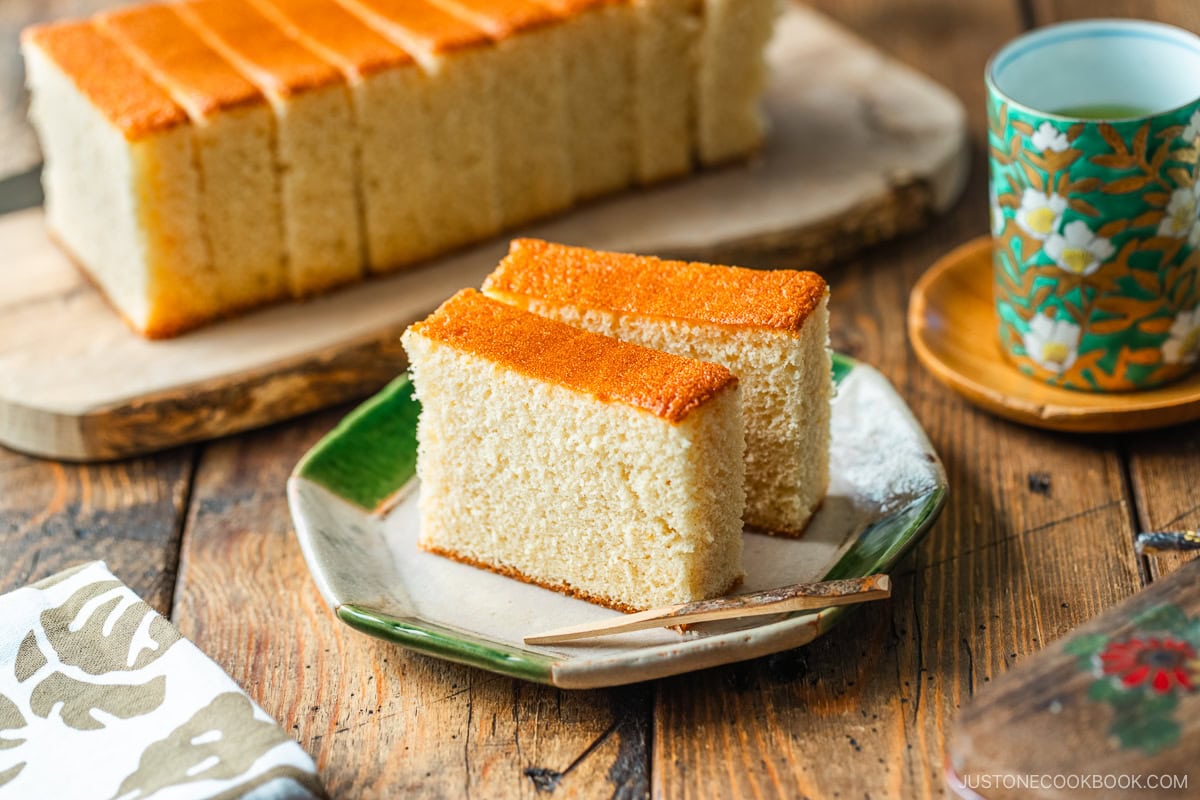
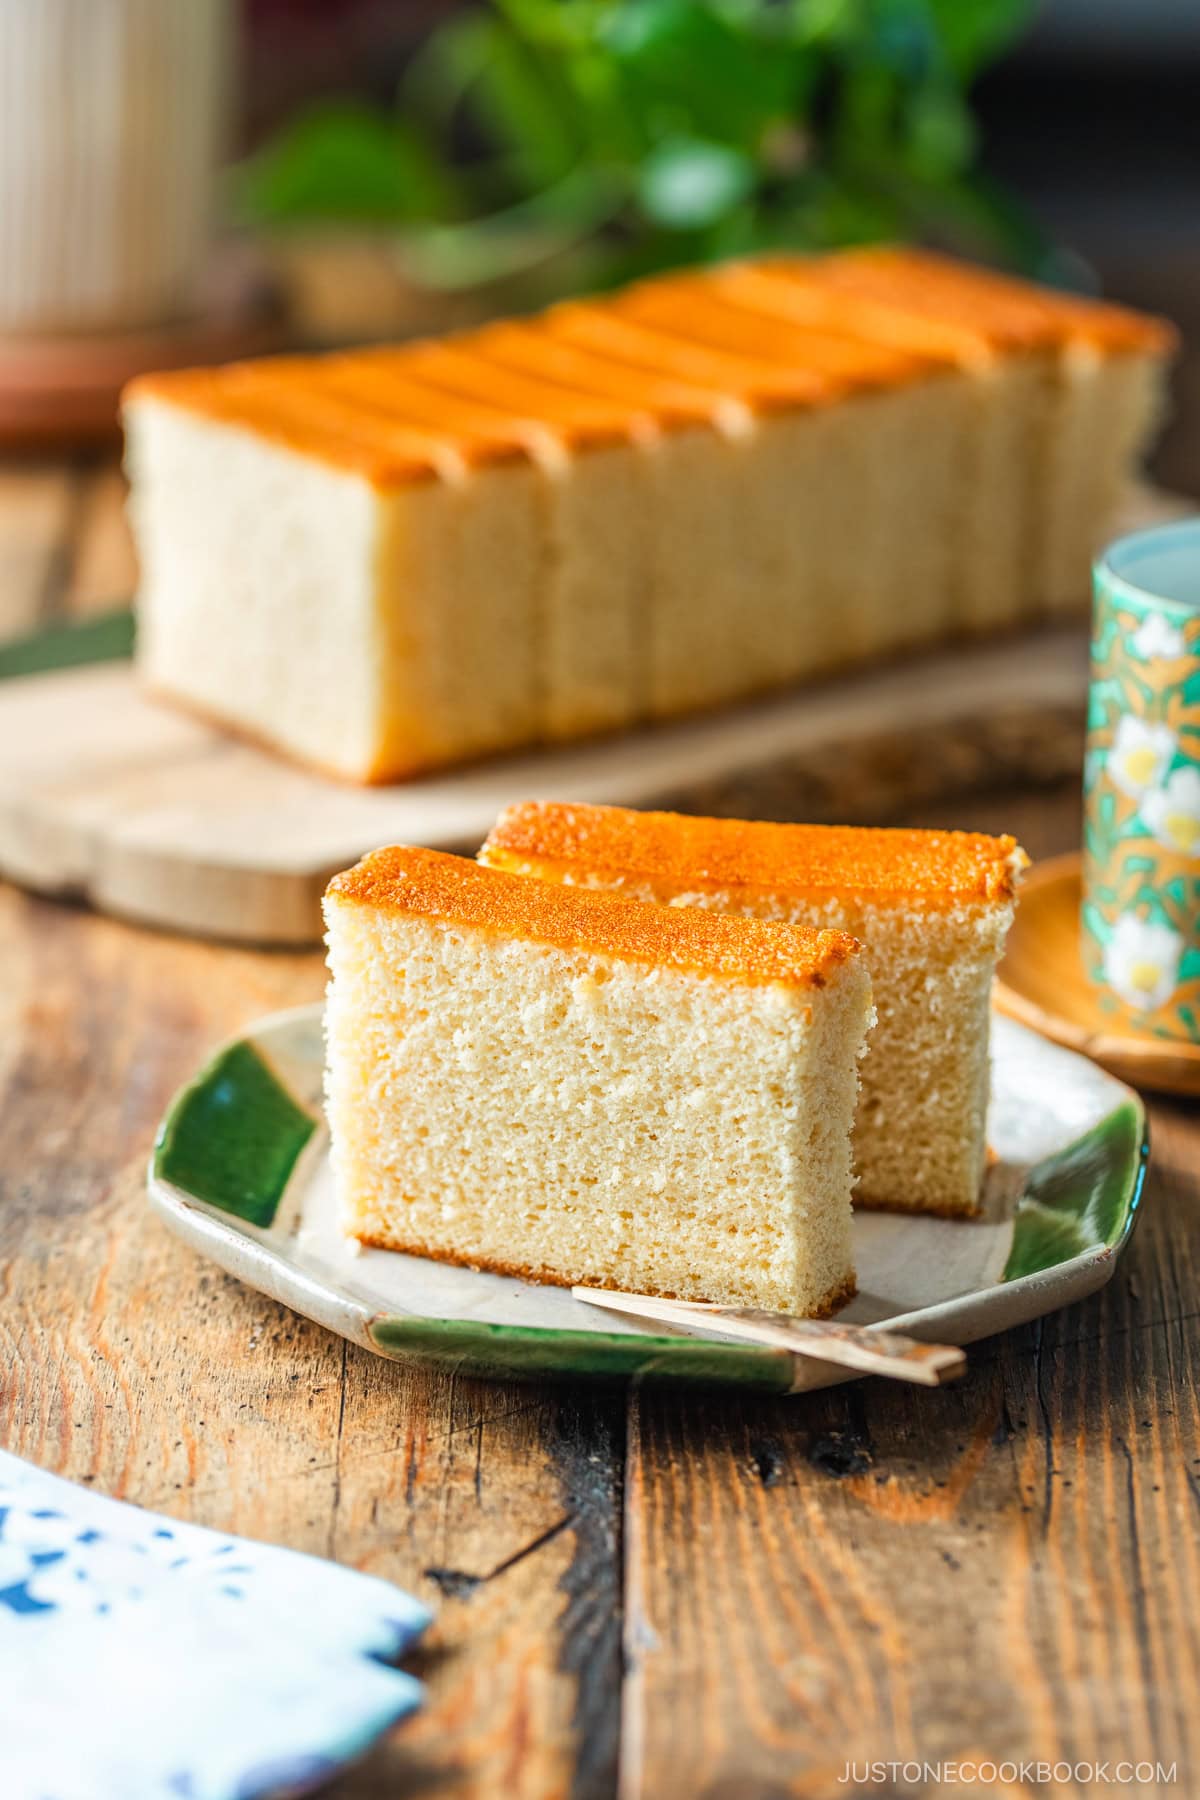
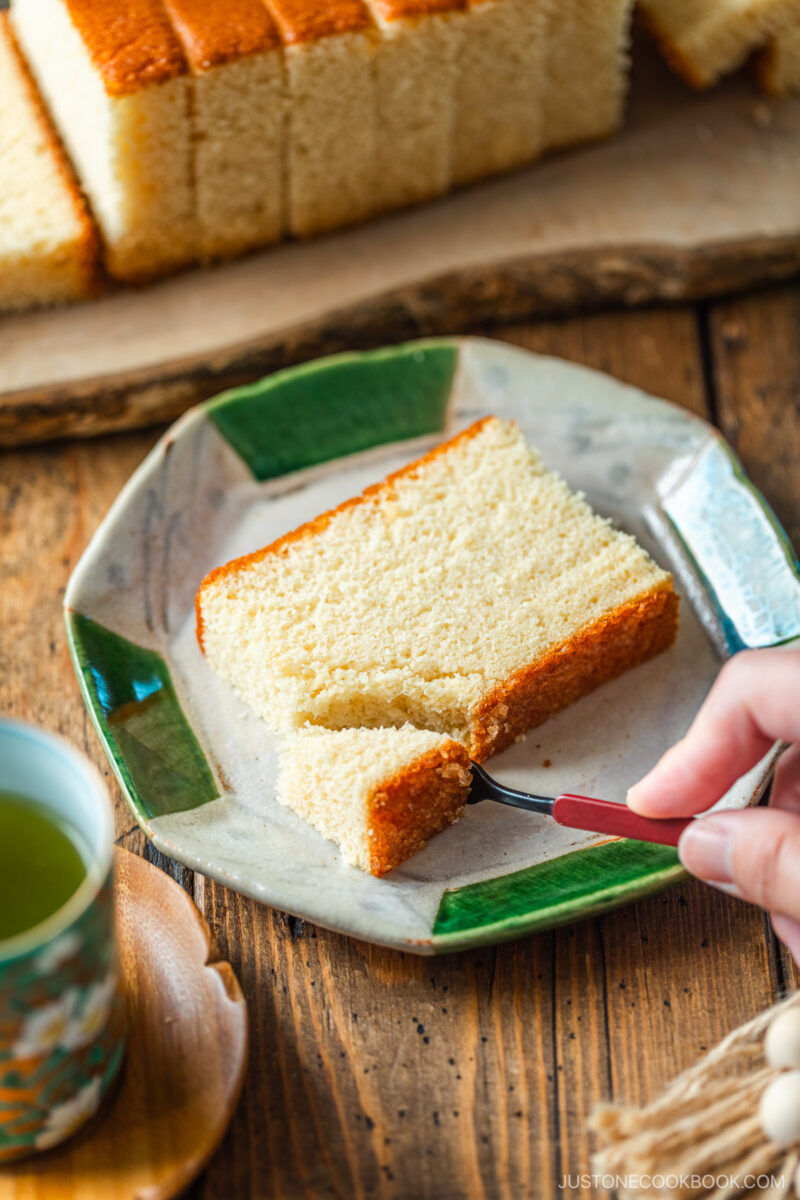
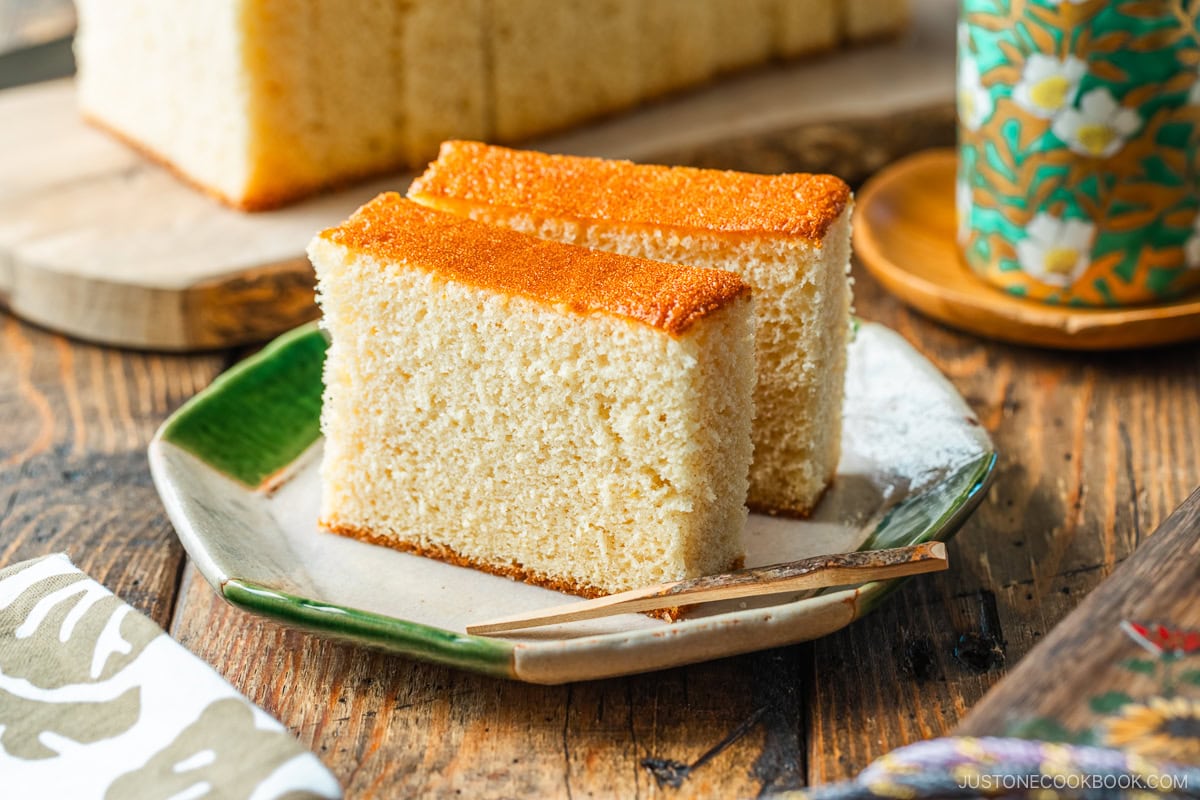
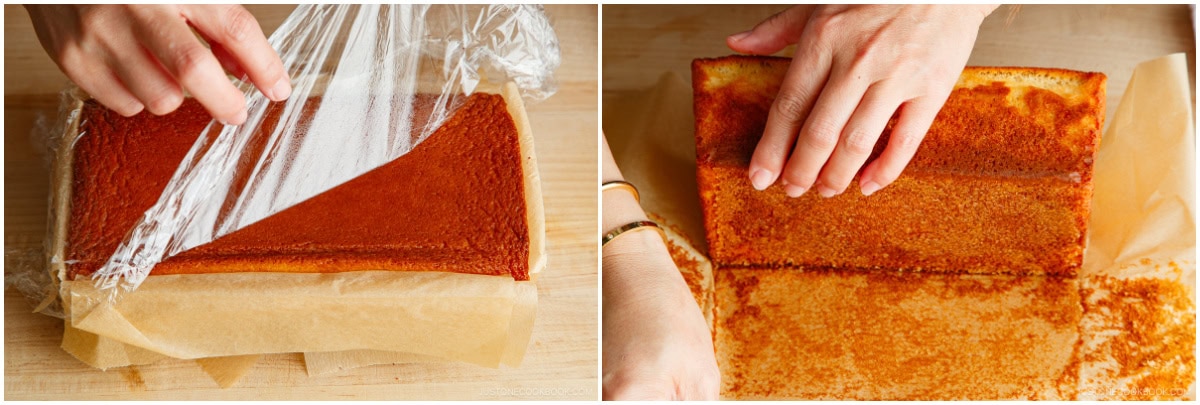
One of my favorite sweets of all time is Japanese Castella Cake (カステラ). It’s a moist and bouncy sponge cake with a sweet honey flavor. My family enjoys this refined confectionery with green tea or a cup of coffee for our three o’clock oyatsu (snack) time. It’s one of the most popular cakes in Japan, too. You‘ll find it sold just about anywhere—at department stores, specialty sweet shops, kissaten (coffee shops), and even convenience stores. Don’t worry if you’re not in Japan to buy this delicious treat, though. Today, I’ll share my recipe with special tips and techniques so you can make this exquisite Castella Cake at home!
What is Castella?
Castella, or Kasutera (カステラ), is a beloved Japanese honey sponge cake known for its sweet taste and airy texture. More delicate and bouncy than a regular sponge cake, castella is famous for its fine and moist crumb. It’s cherished nationwide as a tea snack, souvenir, and gift, making it one of Japan’s most popular confections. This famous cake originated in 1543 in the port town of Nagasaki on the southern Japanese island of Kyushu. That’s when Portuguese merchants and missionaries arrived with a firm and simple bread called pão de Castela (“bread of Castile” referring to Spain’s Kingdom of Castile). Since the 16th century, Japanese artisan bakers have transformed the recipe into a sweet cake thanks to Nagasaki’s abundance of imported sugar. They have also incorporated eggs, honey, and sugar to give it a more delicate and sponge-like texture. It’s a Western-style confectionery that is uniquely Japanese!
Why You’ll Love This Recipe
You’ll be amazed that you can make this Nagasaki specialty in your own kitchen!
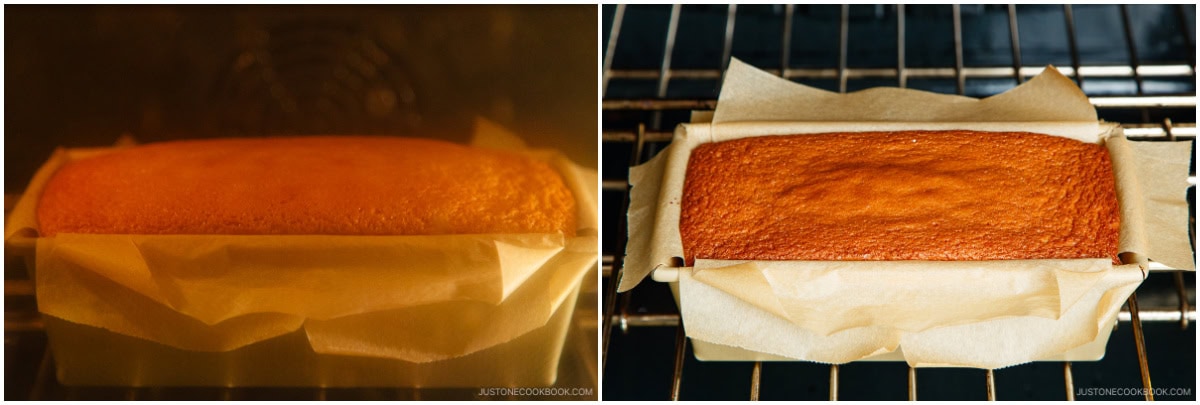
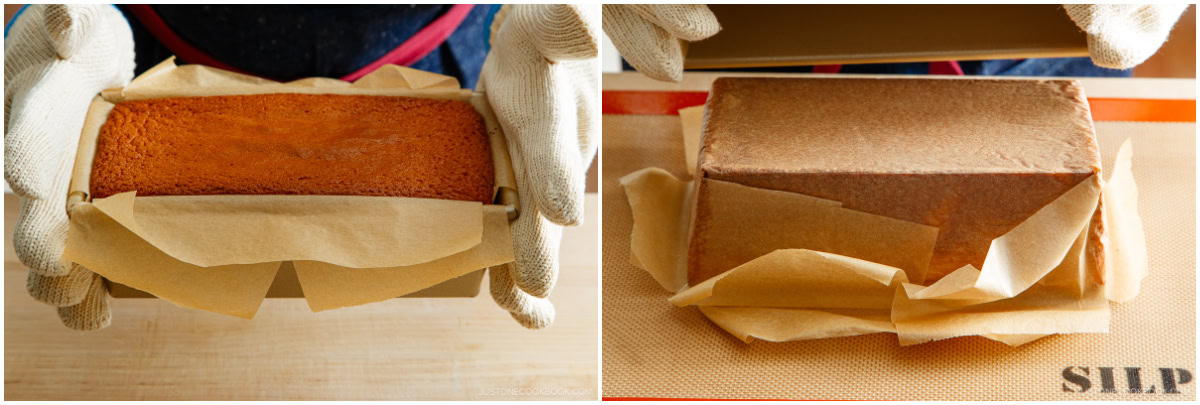
Uses a standard loaf pan – Castella is traditionally baked over low heat in a wooden frame because metal pans transfer heat faster and can result in a dry cake. However, you can use a regular 1 lb. loaf pan with excellent results if you apply the techniques that I share here. Makes a very moist cake – I use a very thick Japanese sweetener that helps yield a perfectly moist texture. Takes just 1 hour of active baking and prep time – Prep and bake this castella in just an hour. Relax while it chills overnight. The wait is worth it!
Ingredients for Castella Cake
Here’s what you’ll need to make Japanese castella:
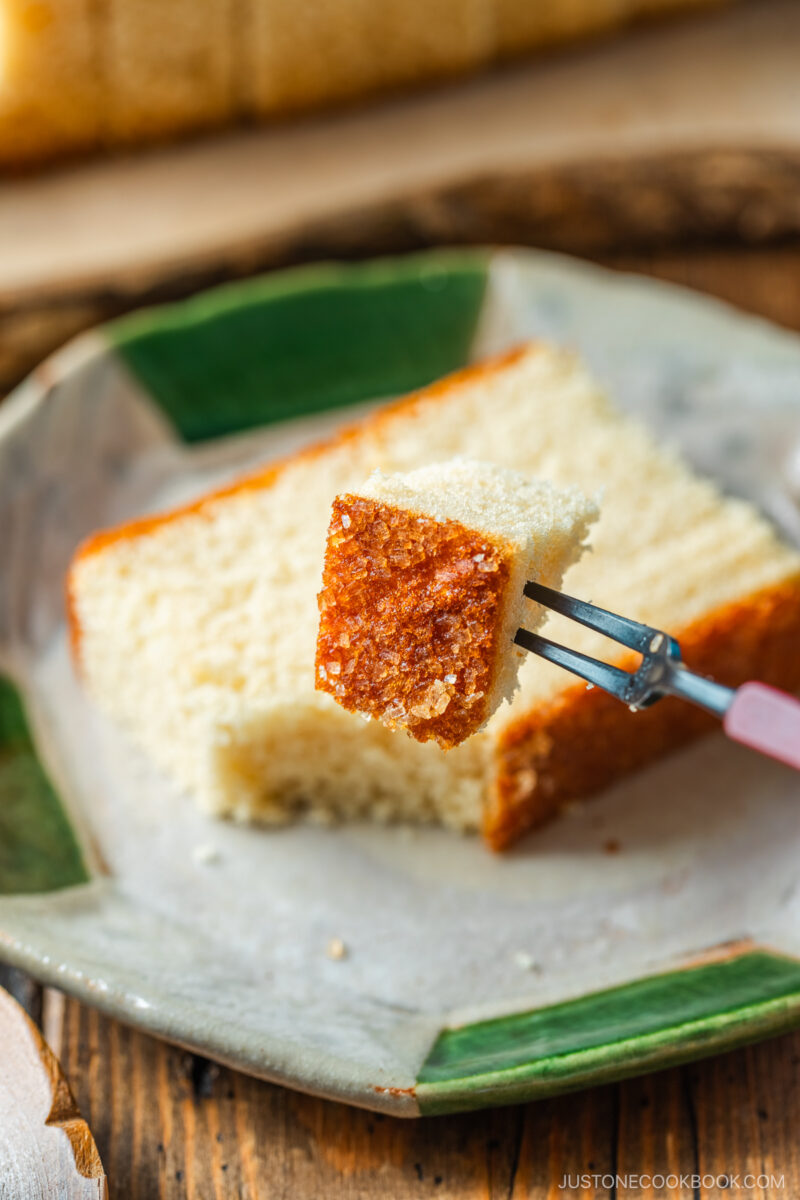
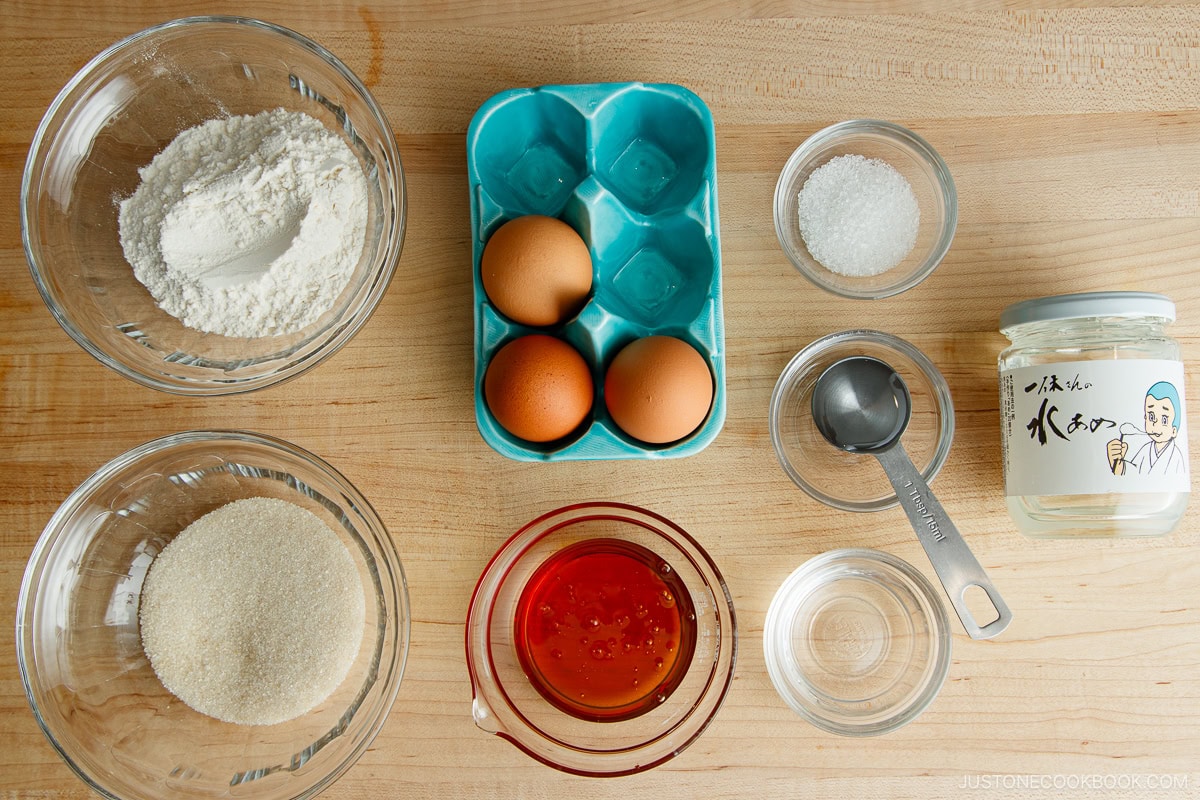
Bread flour – Adds an elastic, bouncy texture Large eggs – Use at room temperature so your ingredients blend more evenly and cohesively Water Sugar – Binds with the water to keep the crumb soft and tender Honey – Provides castella’s signature flavor; adds moisture and a rich color Mizuame (水飴, glutinous starch syrup) – Keeps the cake more moist (see below) White sparkling sugar (or zarame ザラメ, Japanese coarse sugar) – Adds a golden brown crunch to the bottom crust
Substitution Tips and Variations
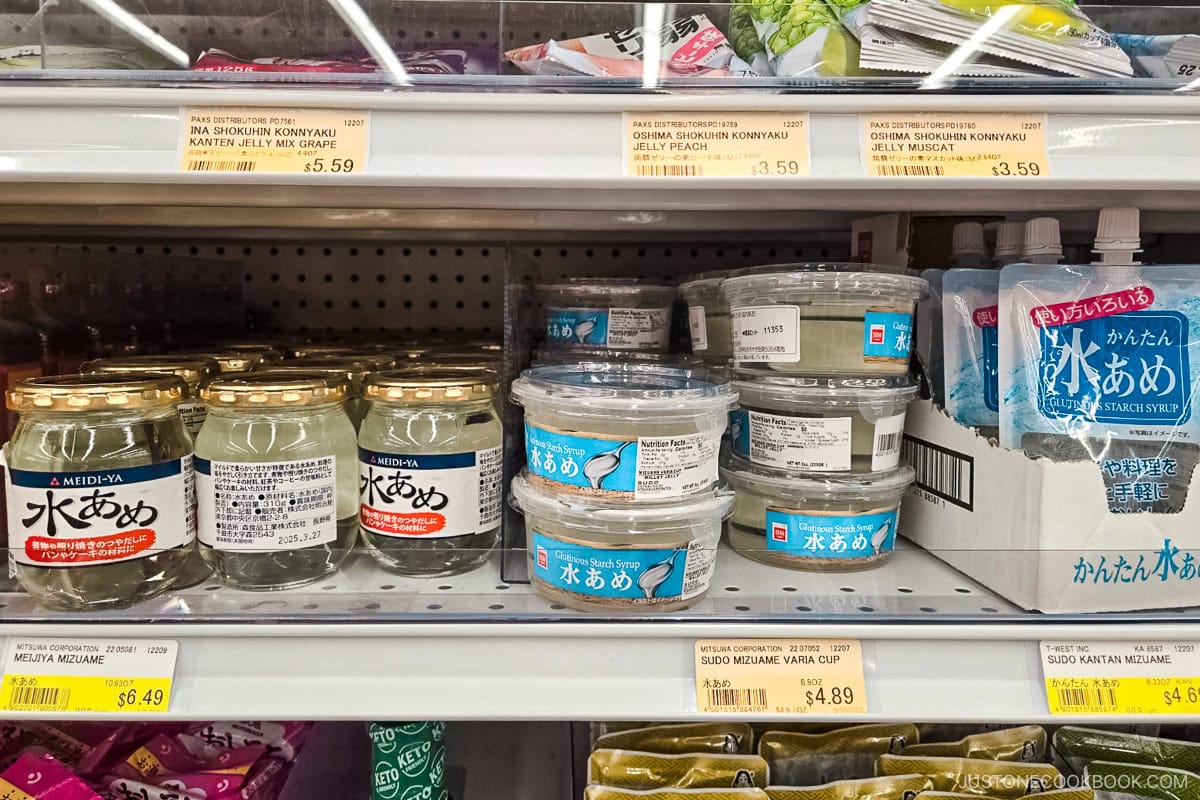
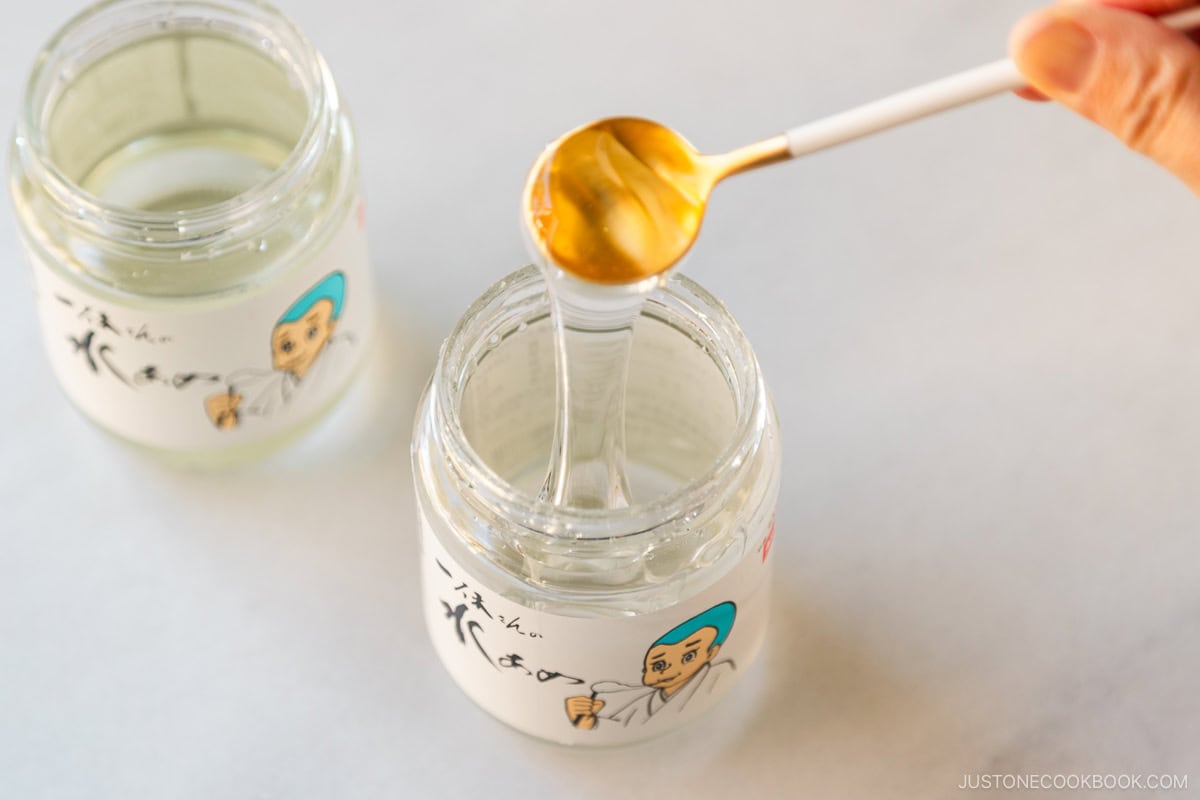
Mizuame (literally “water candy;” also called millet jelly) is a traditional Japanese sweetener made of starch. It‘s a super sticky and clear syrup that’s extremely thick (see the image below). Be sure to use the thick type sold in a jar. It’s about the consistency of molten candy that’s almost cool enough to pull into hard candy. It’s hard to find outside of Japan, but some Japanese markets (like Nijiya Market in my area) may carry it. If you can’t find it, leave it out entirely. Do not use the thin type of mizuame sold in pouches. It’s runny and fluid like honey, and it contains too much moisture for this recipe.
Left image: Mitsuwa sells 3 mizuame brands: The ones on the left and middle have good consistency (super thick). Do not buy the one on the right in the pouch (too watery). Right image: Nijiya sells this brand (Ikkyu san no mizuame) and I use it.
How to Make the Best Castella
Follow my precise instructions and techniques, and you’ll be rewarded with the most delicious homemade castella cake!
Recipe Tips and Techniques
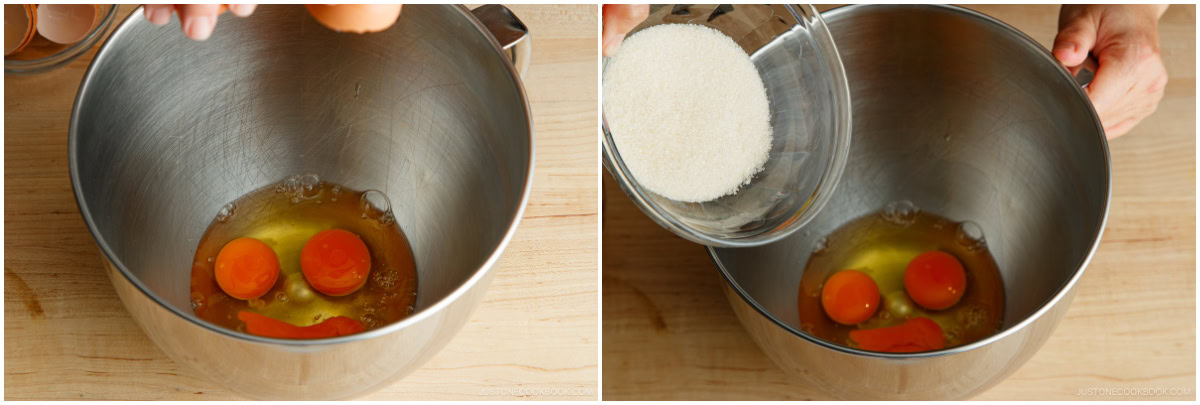
Bring the eggs to room temperature. This is very important. I leave them on the counter for several hours. You can also fill a bowl with very warm (but not hot) tap water and submerge the cold eggs until they reach room temperature, for about 10 minutes.
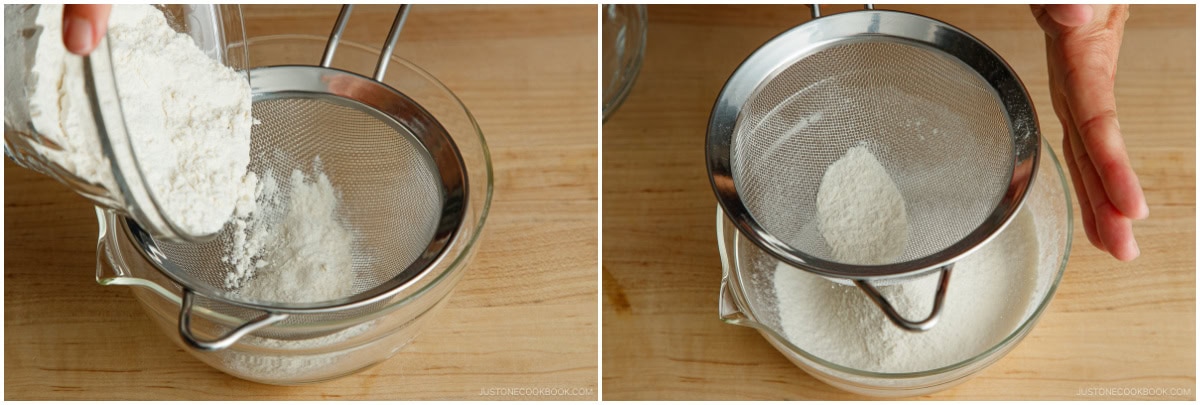
Weigh your ingredients. Precision is important in baking, and weighing your ingredients with a digital kitchen scale is the most accurate way to measure. I highly encourage you to weigh your flour and sugar instead of using measuring cups, as you may scoop more than you need.
Use a light-colored pan. I recommend a light-colored loaf pan for this recipe. A dark-colored pan may have hot spots, overbake on the sides and bottom, and bake the cake too fast.
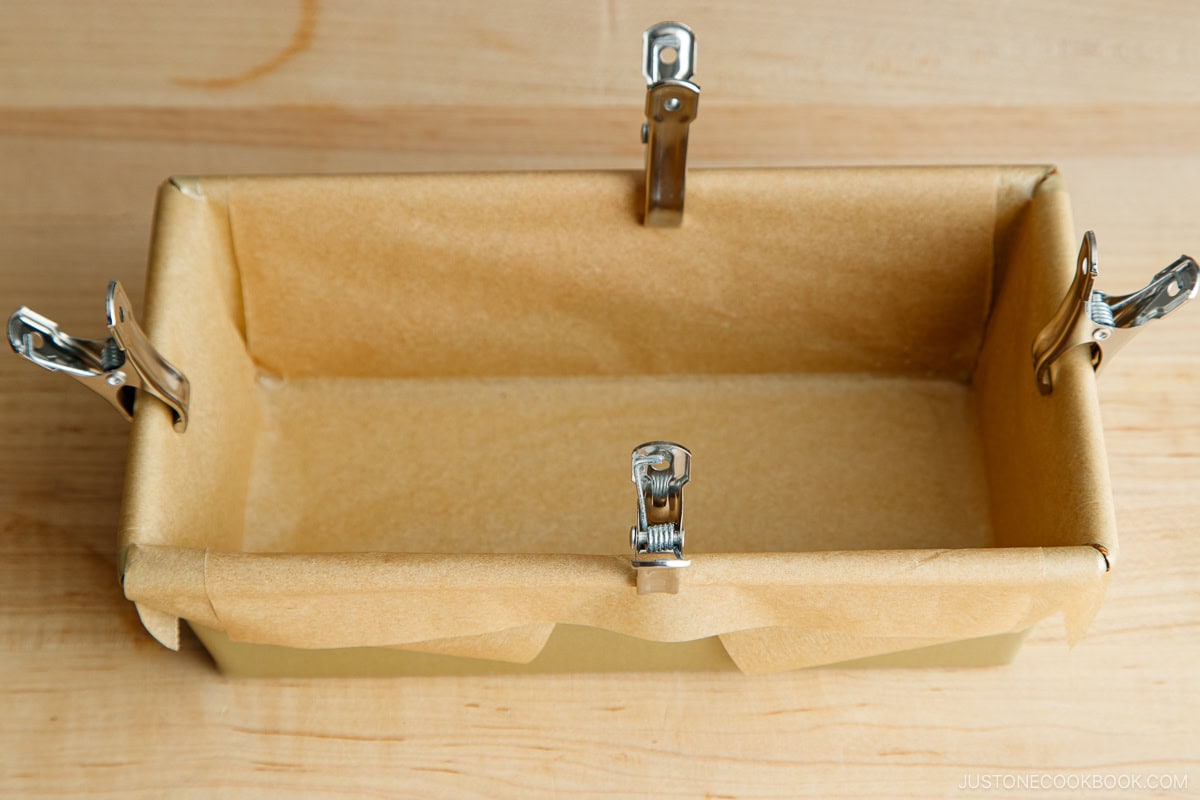
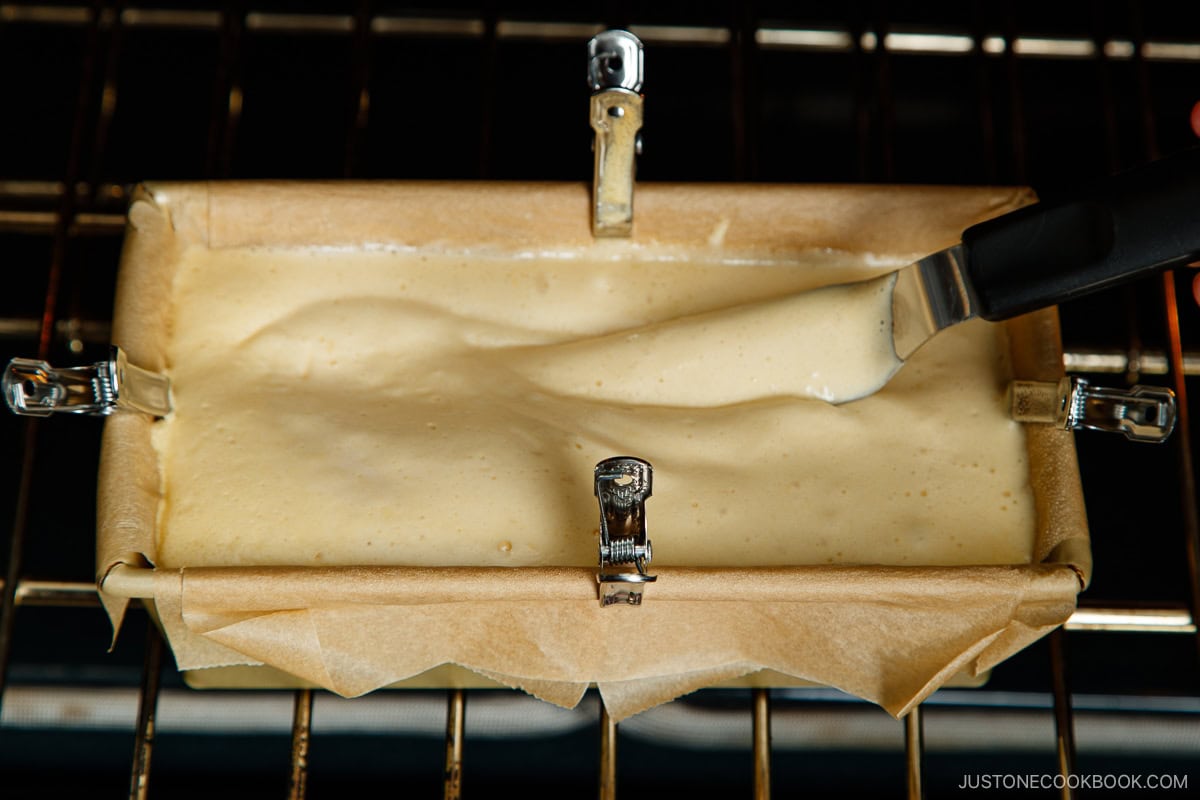
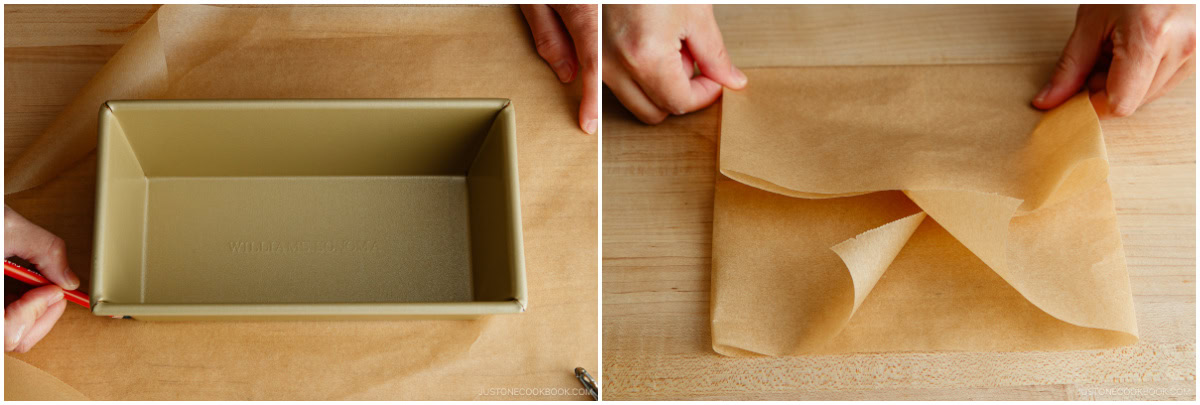
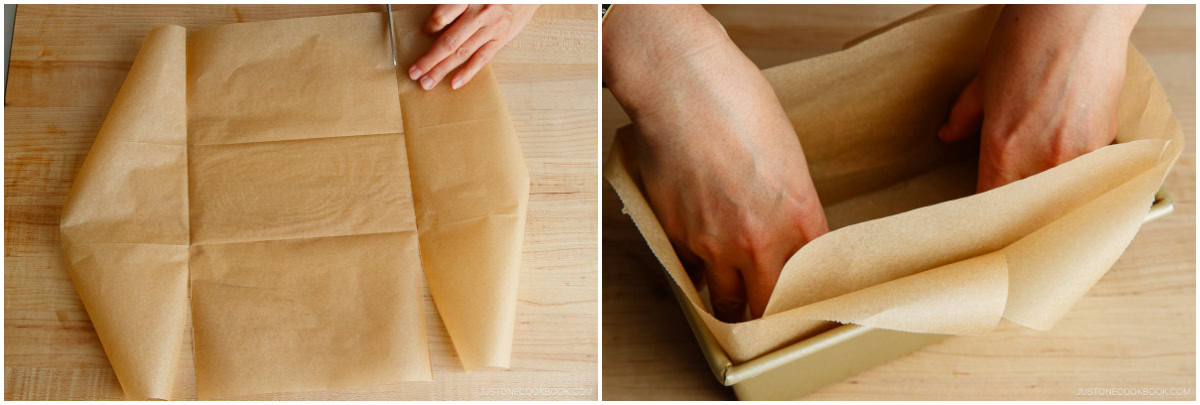
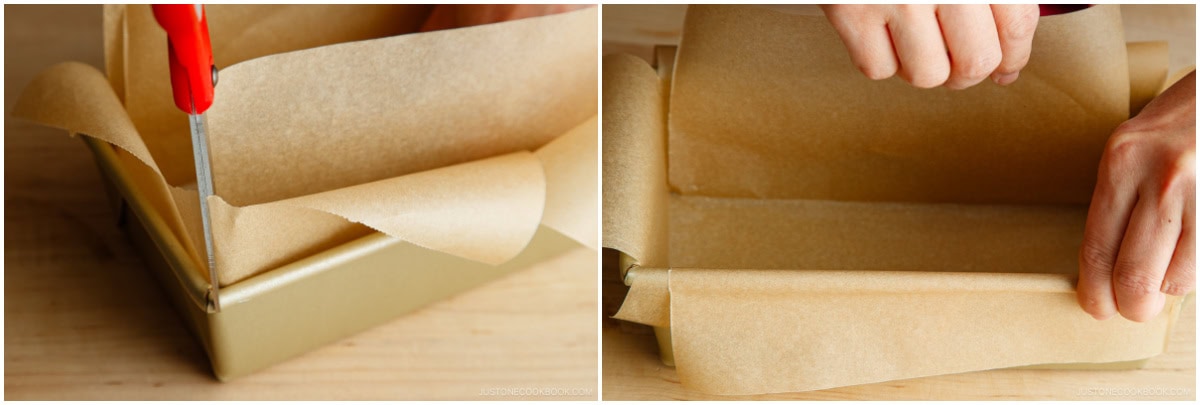
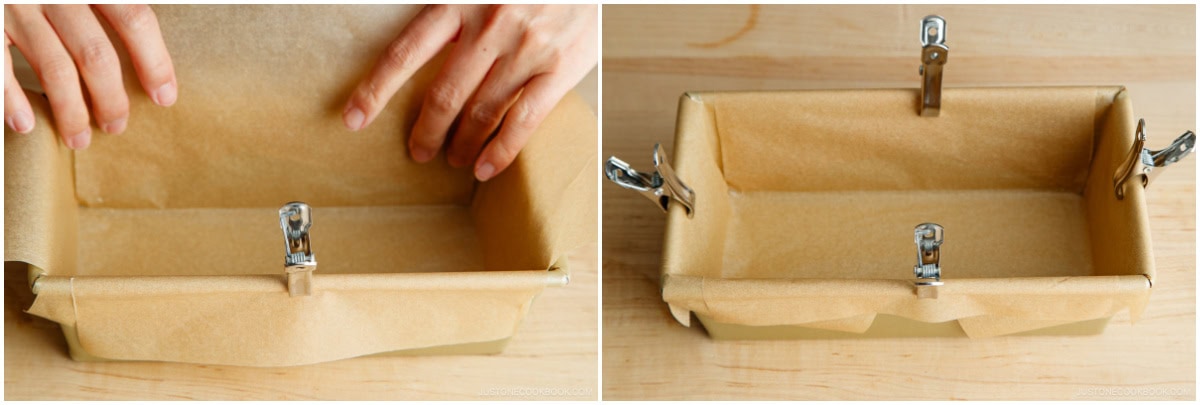
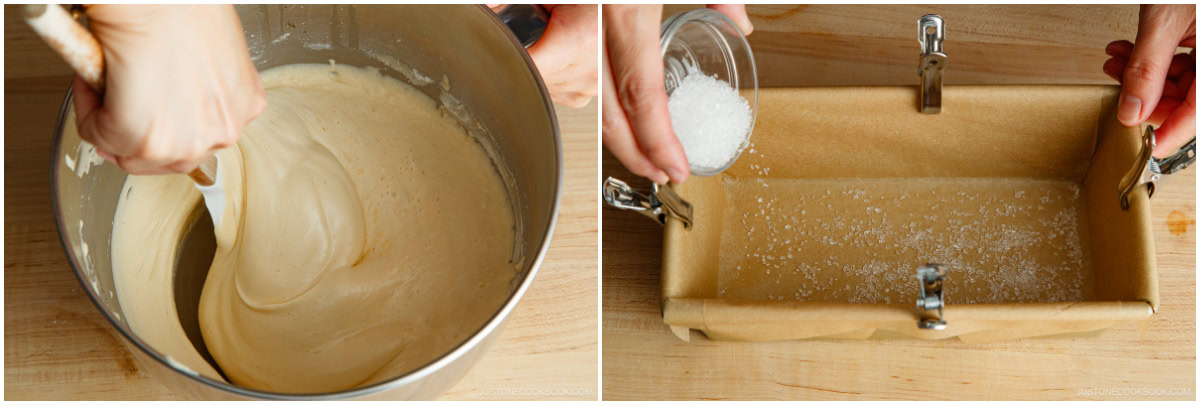
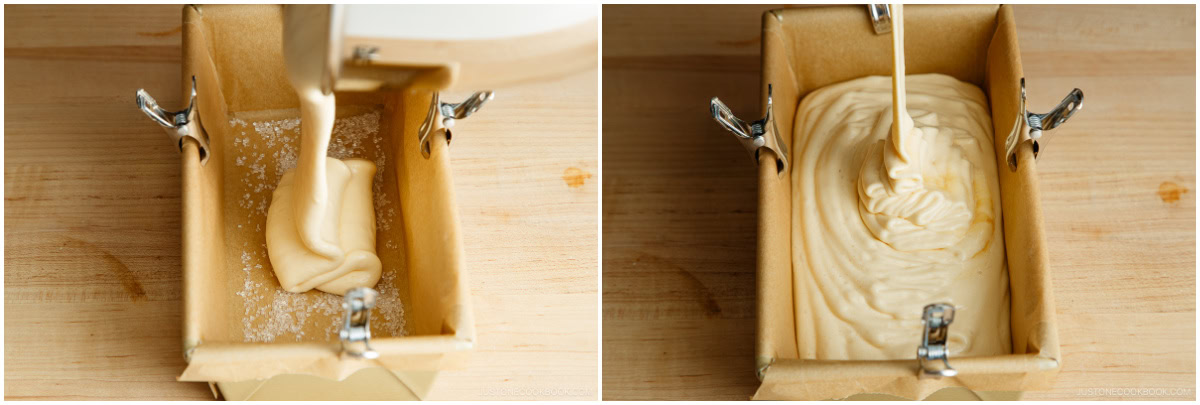
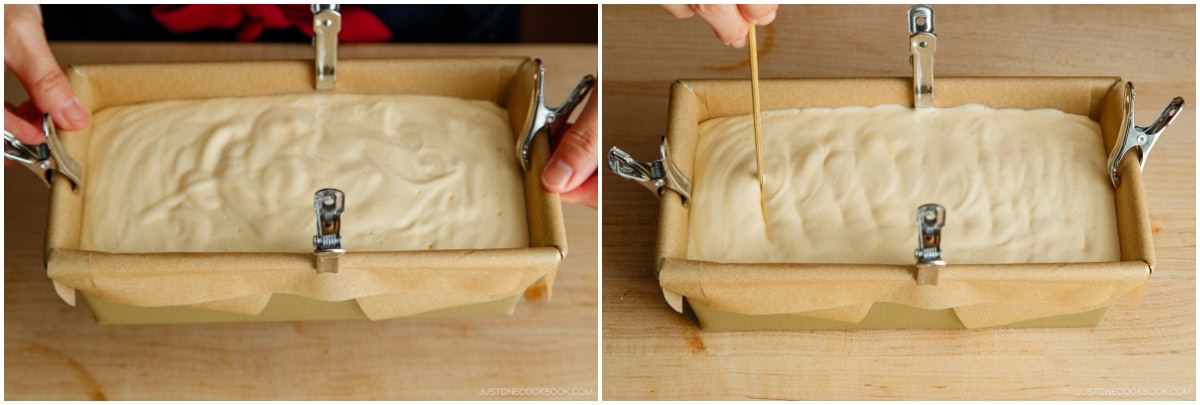
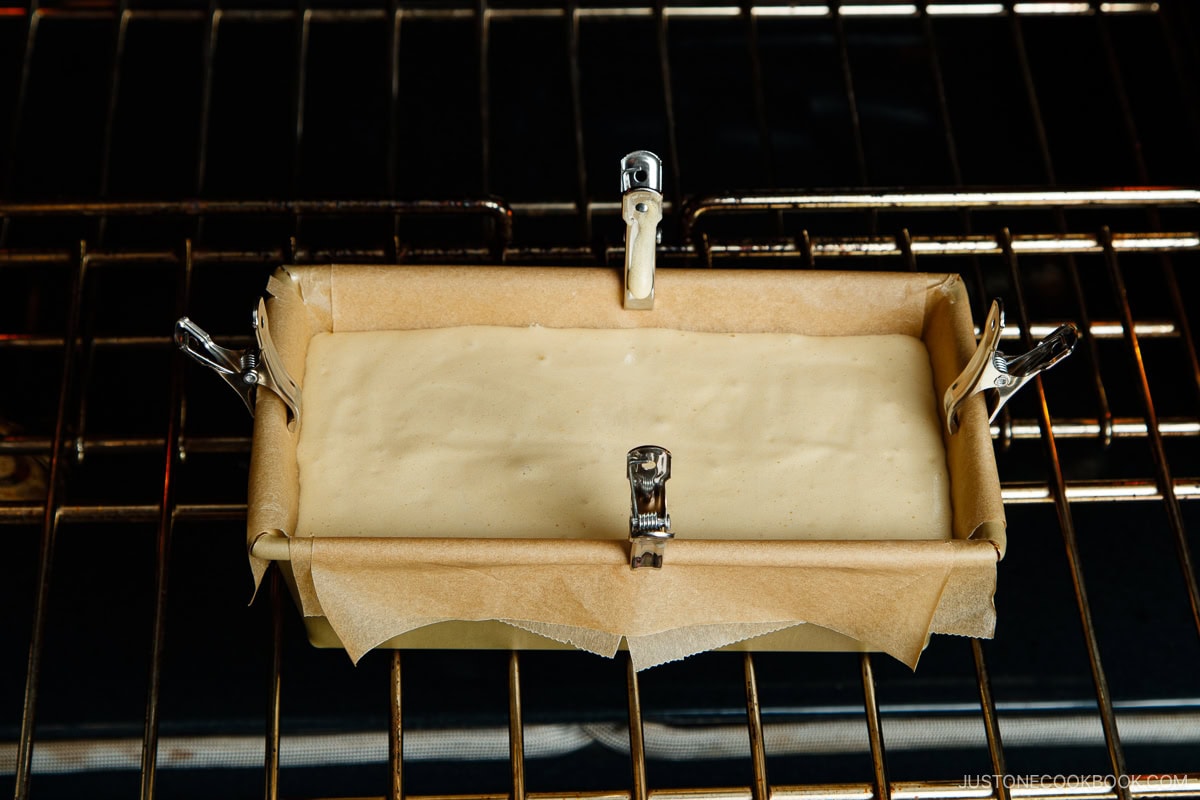
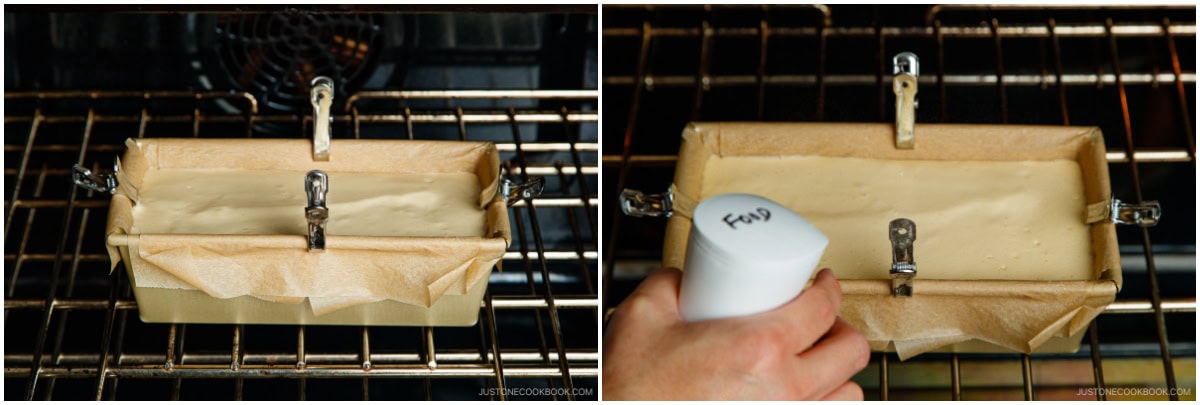
Use stainless steel clips to hold the parchment paper. I’ve tried different ways to attach the paper to the cake pan, but nothing worked until I used the clips.
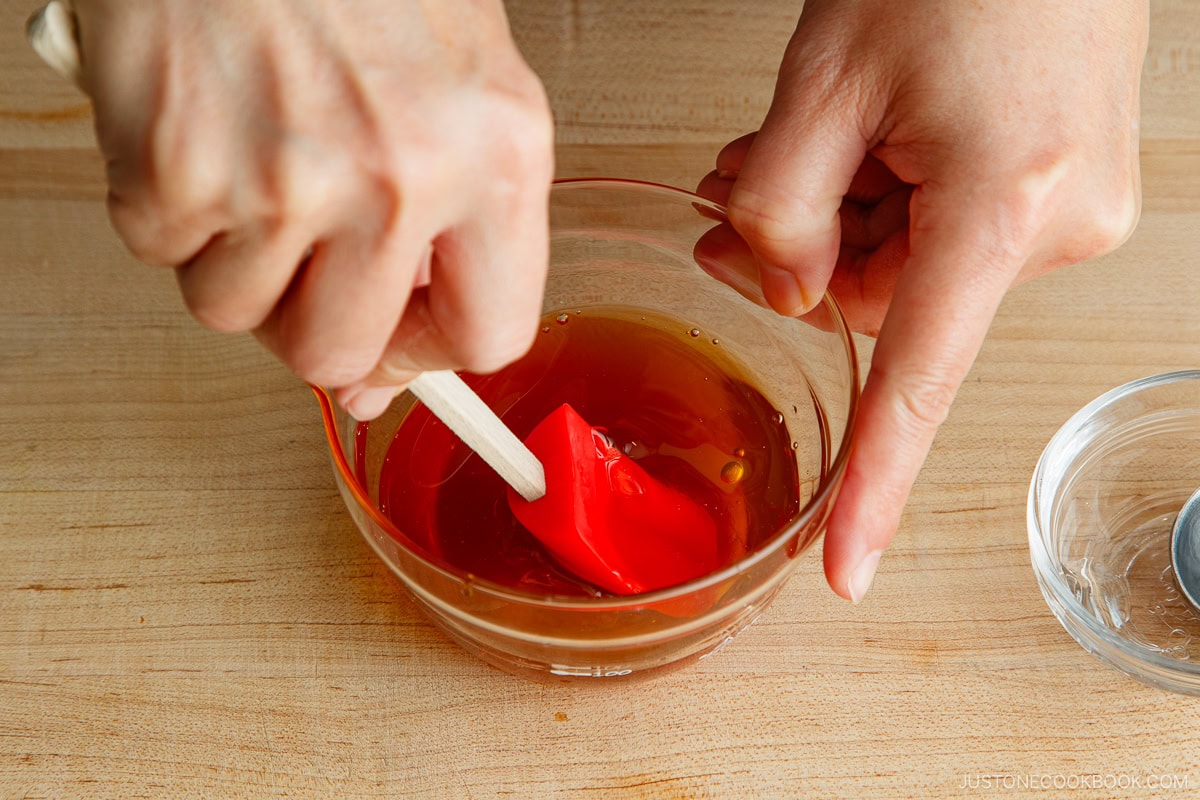
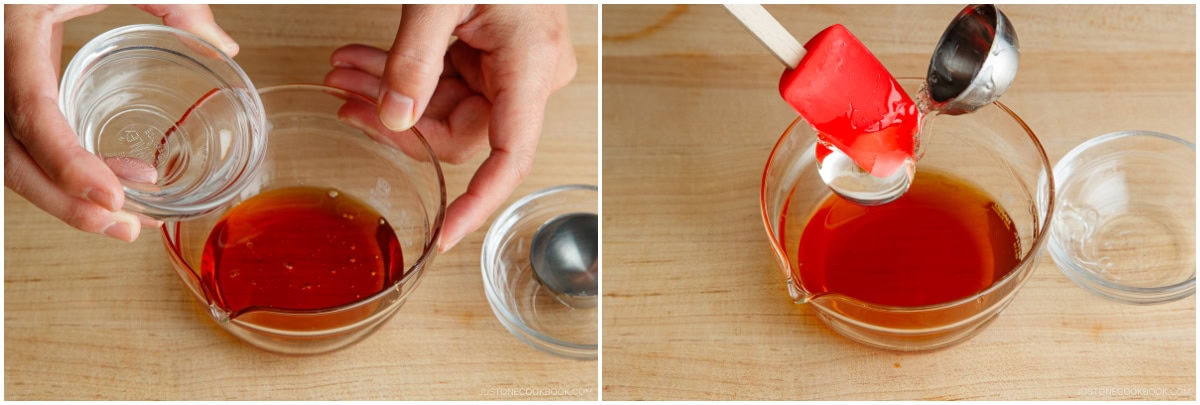
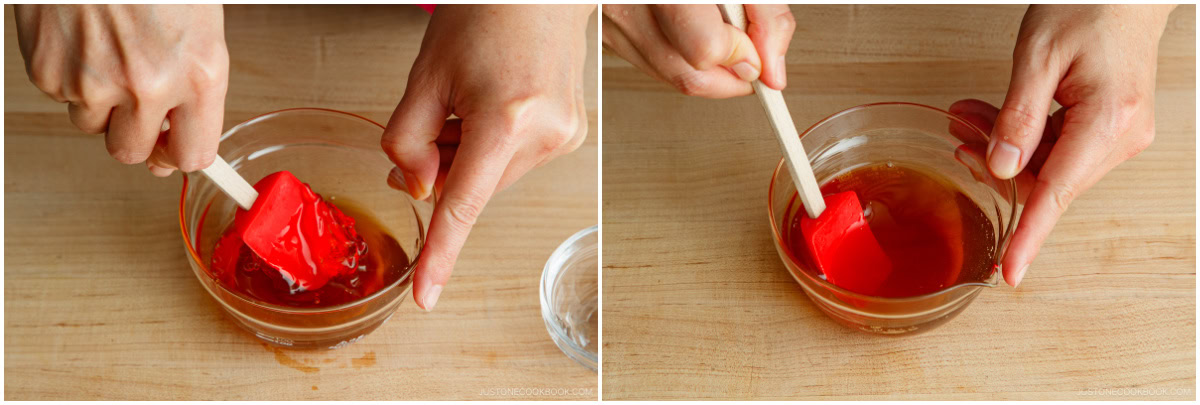
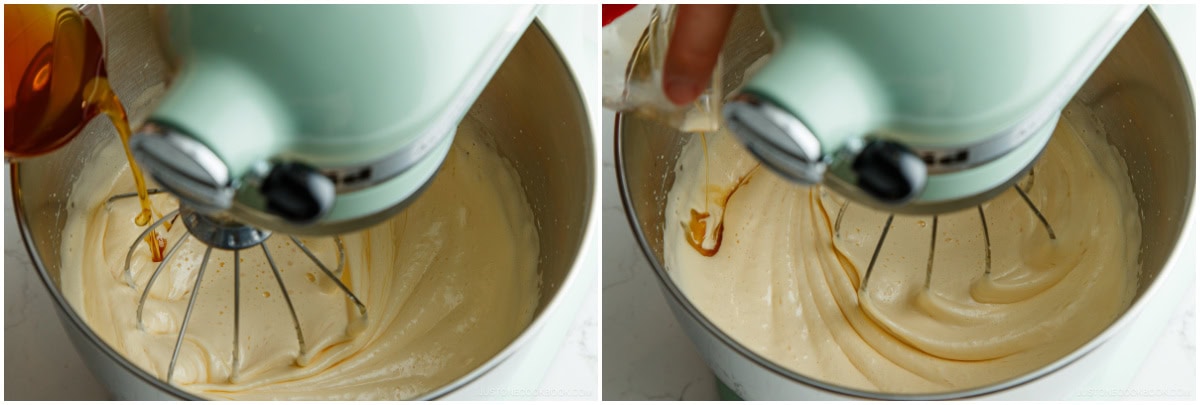
Don’t microwave the honey mixture. I know it’s tempting to heat the mixture to facilitate dissolving, but we don’t want to increase the batter temperature with a warm honey mixture. Press down and mash the thick mizuame with the mini spatula to facilitate dissolving.
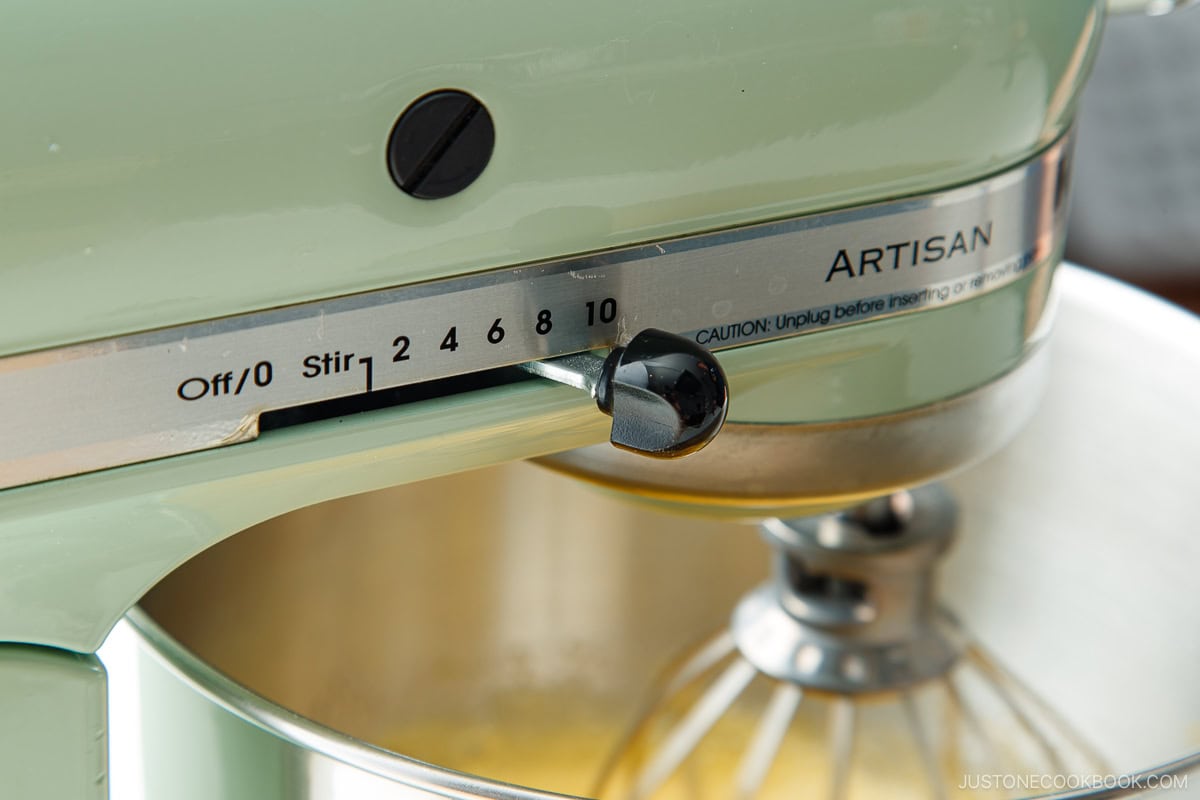
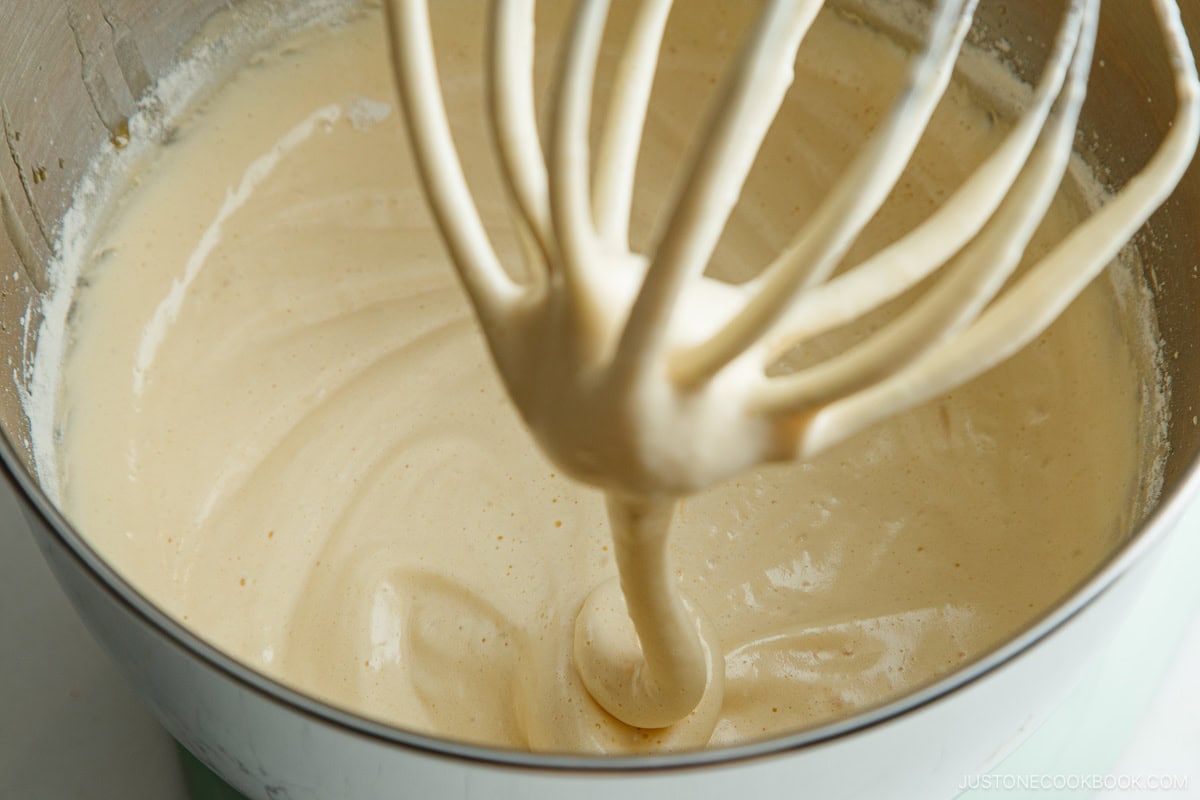
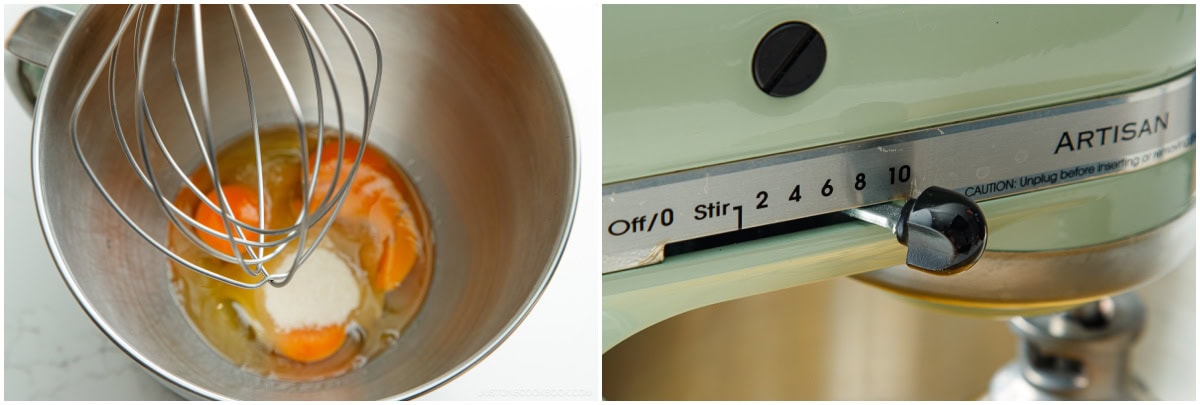
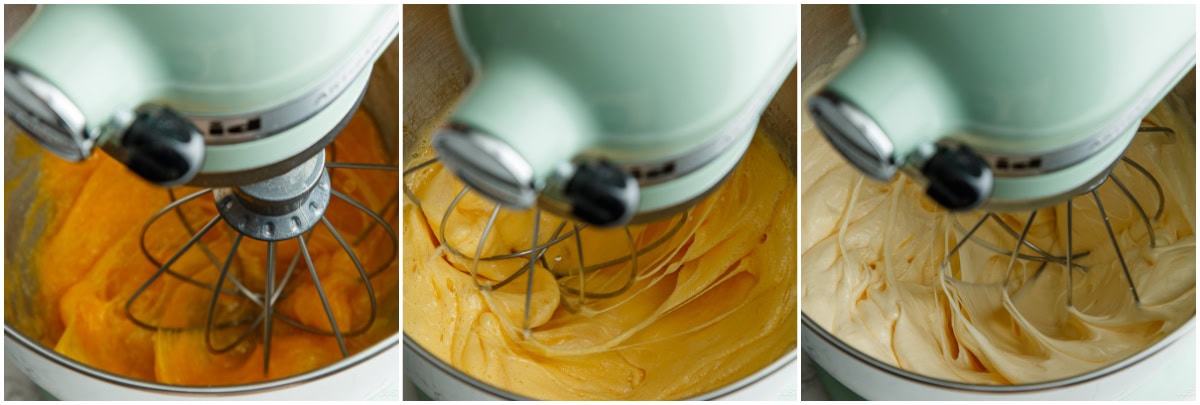
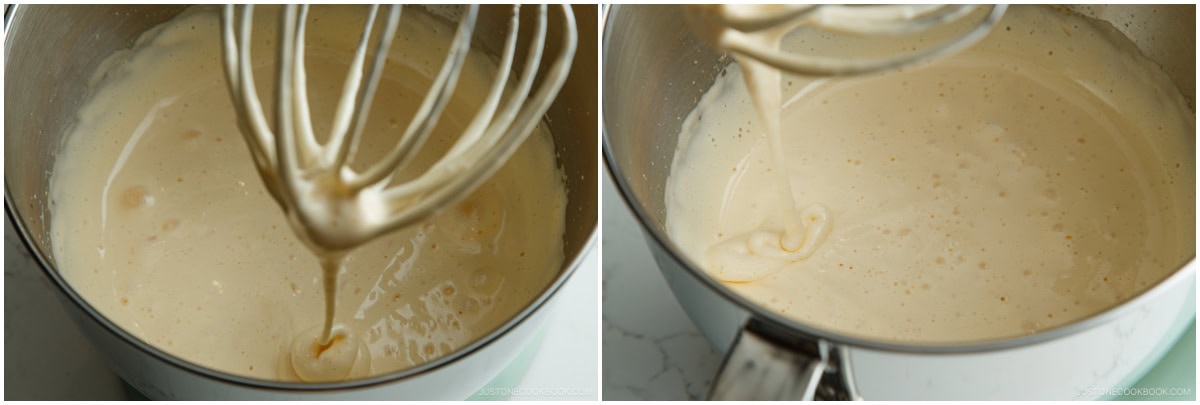
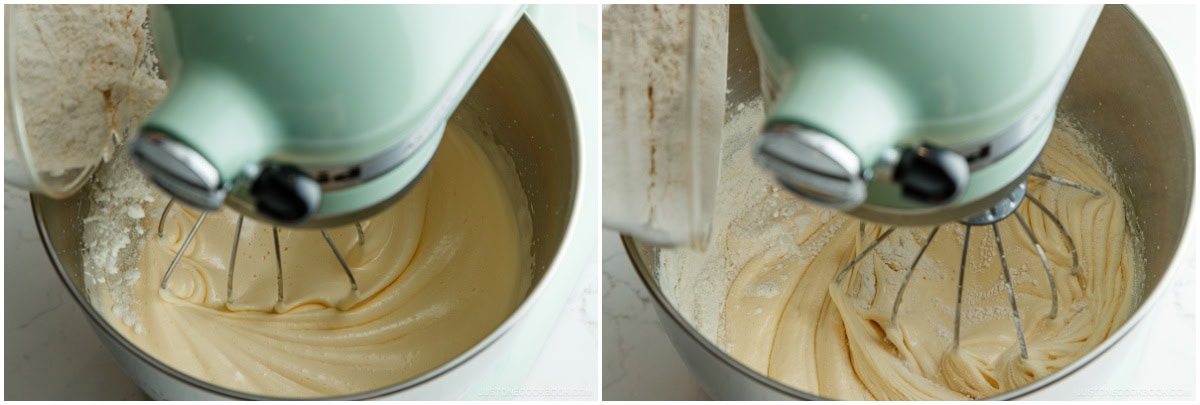
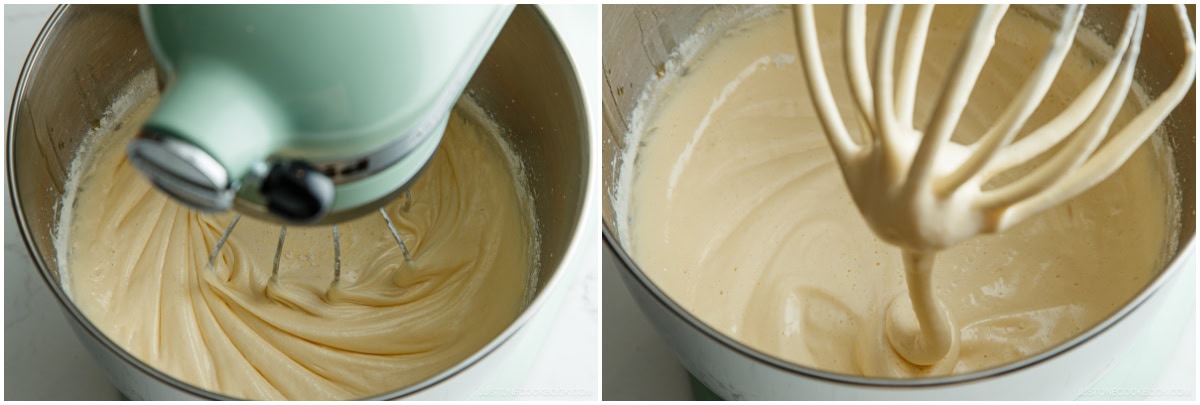
Whisk the eggs and sugar for 5 minutes on Speed 10 (for this KitchenAid). This setting worked perfectly. The batter should quadruple in volume and fall in ribbons. If you double the recipe, you can still whisk for 5 minutes on Speed 10.
Don’t overmix the batter after adding the honey mixture and flour. Just 30 seconds after each addition is enough. Overmixing could deflate the egg mixture and overdevelop the gluten in the flour.
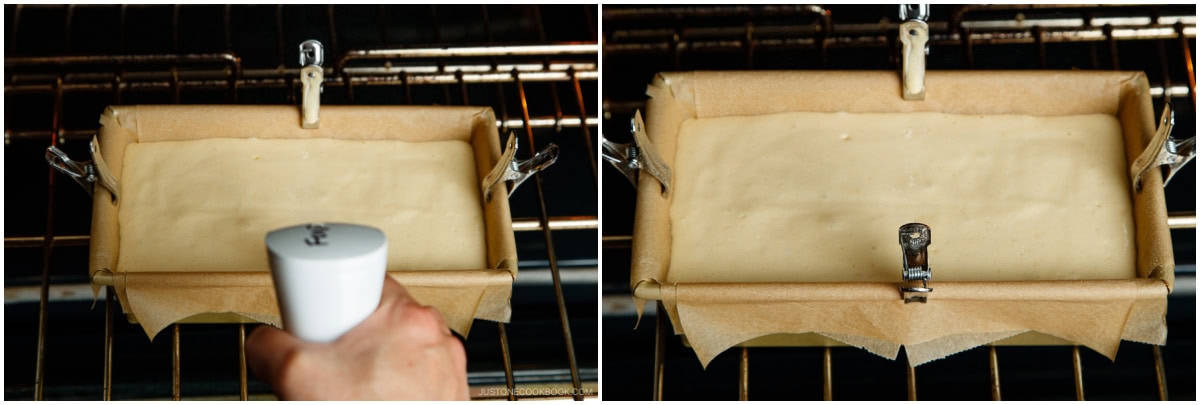
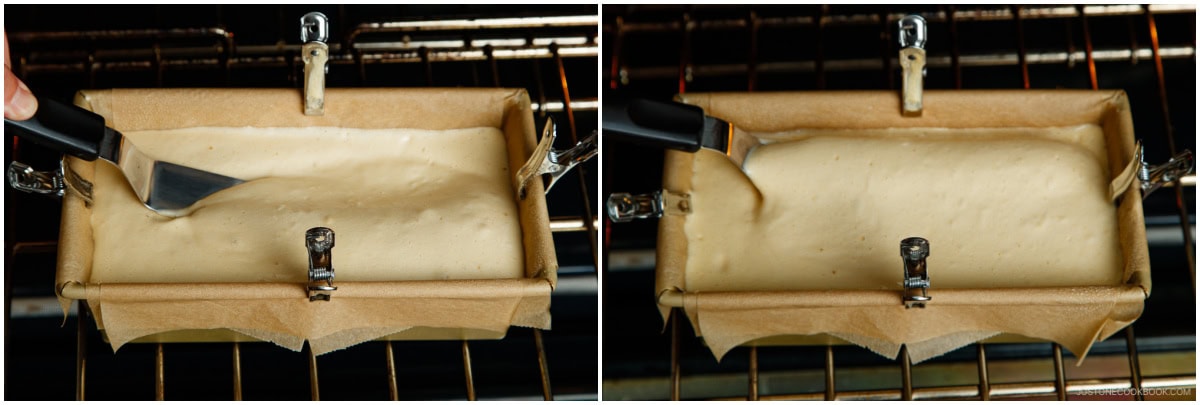
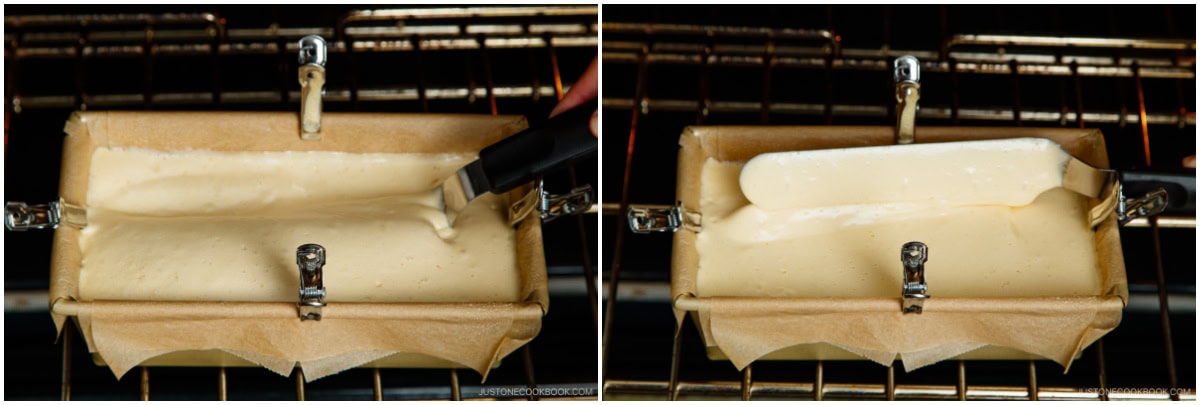
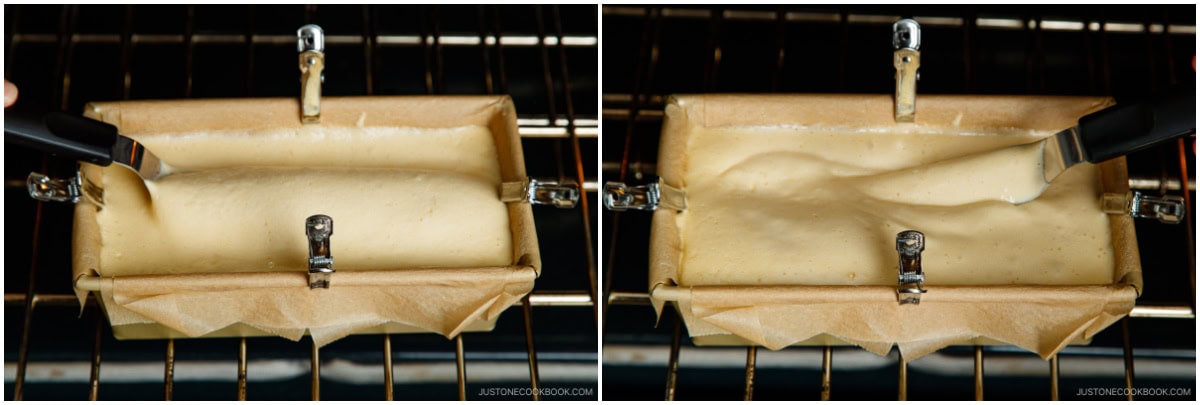
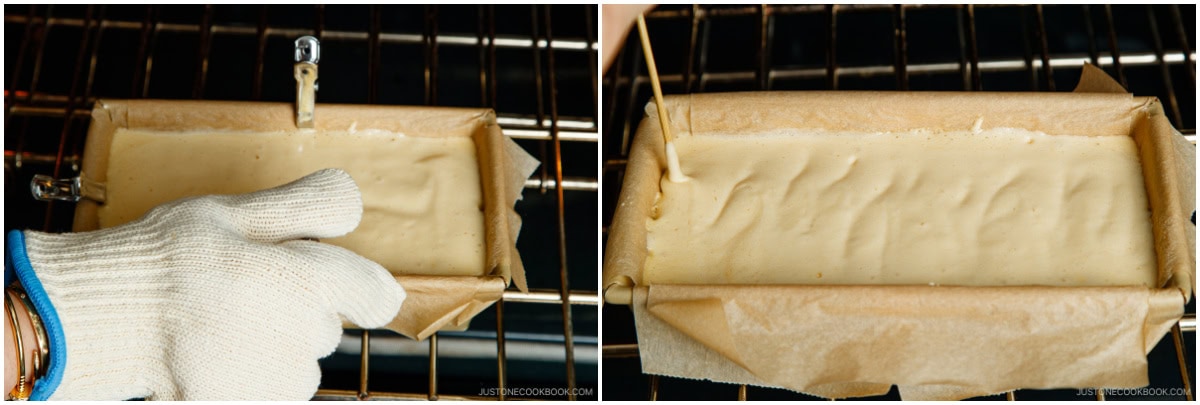
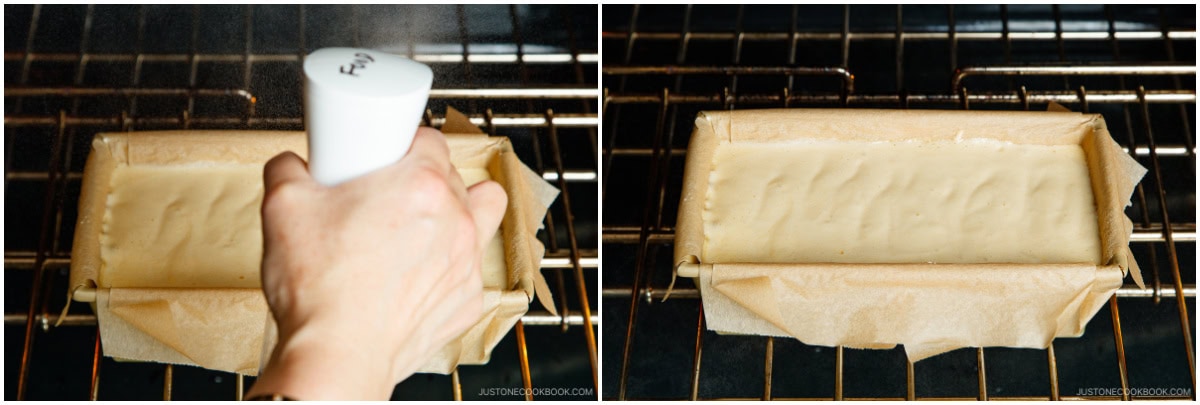
Mix the batter during baking with an offset spatula. The Japanese mixing technique called awakiri (泡切り, “bubble cut“) helps to even out the batter‘s temperature so the cake will rise without cracking.
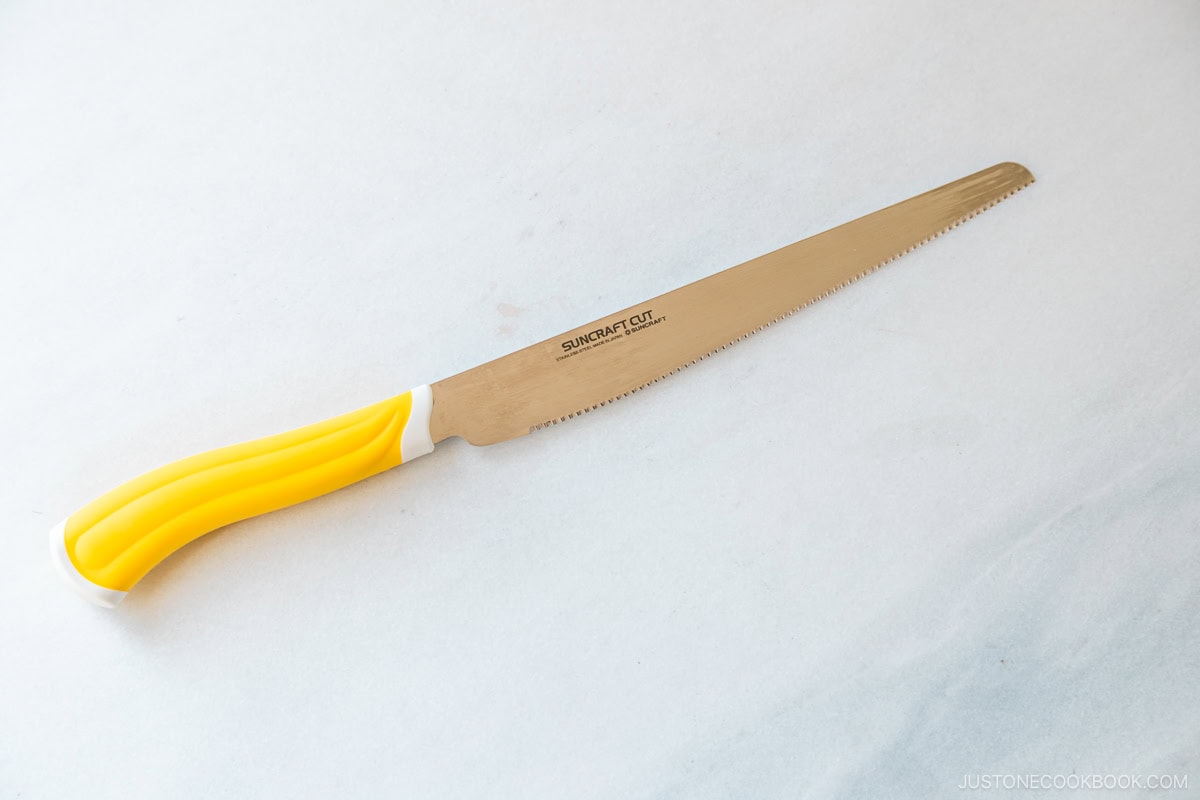
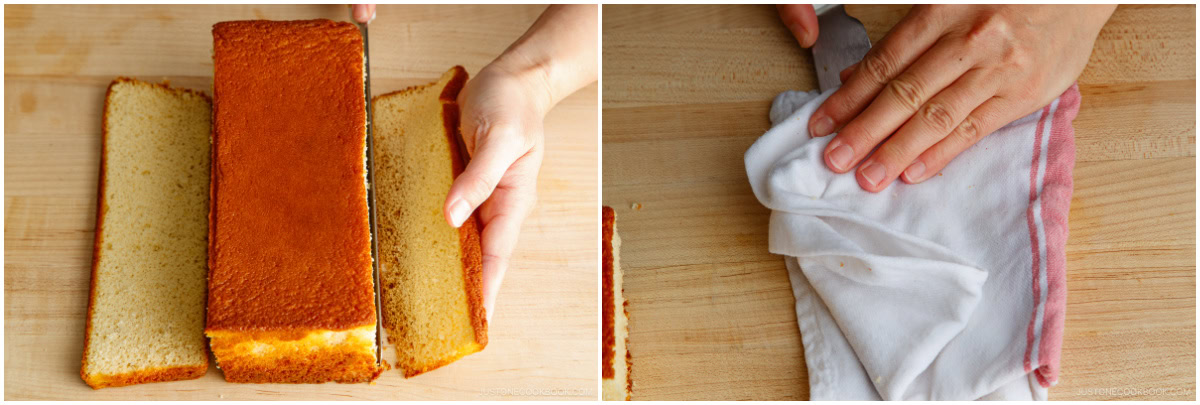
Use a serrated knife with small teeth. I’ve tried all kinds of knives to cut castella. The only one that worked well was the SUNCRAFT CUT brand bread knife, as per JOC baking assistant Haruka’s advice.
How to Store
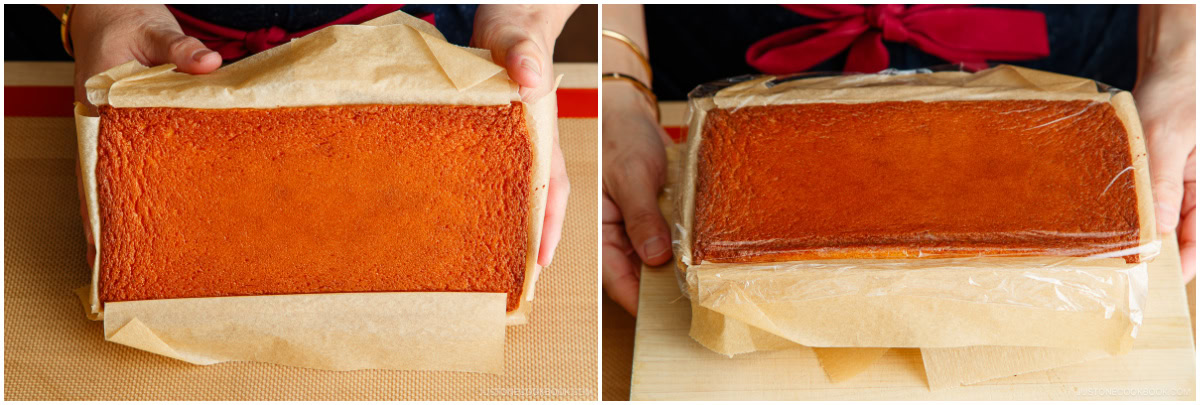
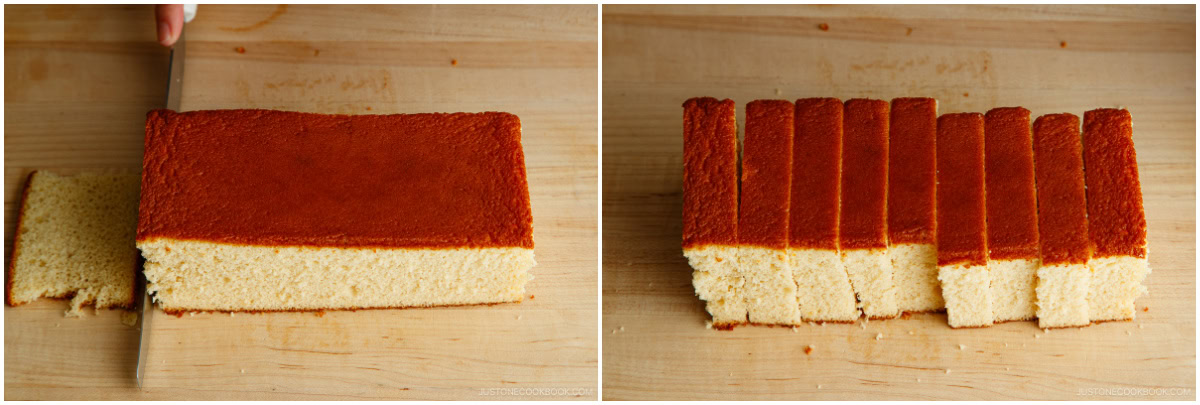
To save for later, wrap the individual pieces with plastic wrap. Store for up to 3-4 days at room temperature, 5–7 days in the refrigerator, and 1 month in the freezer.
What to Serve with Castella
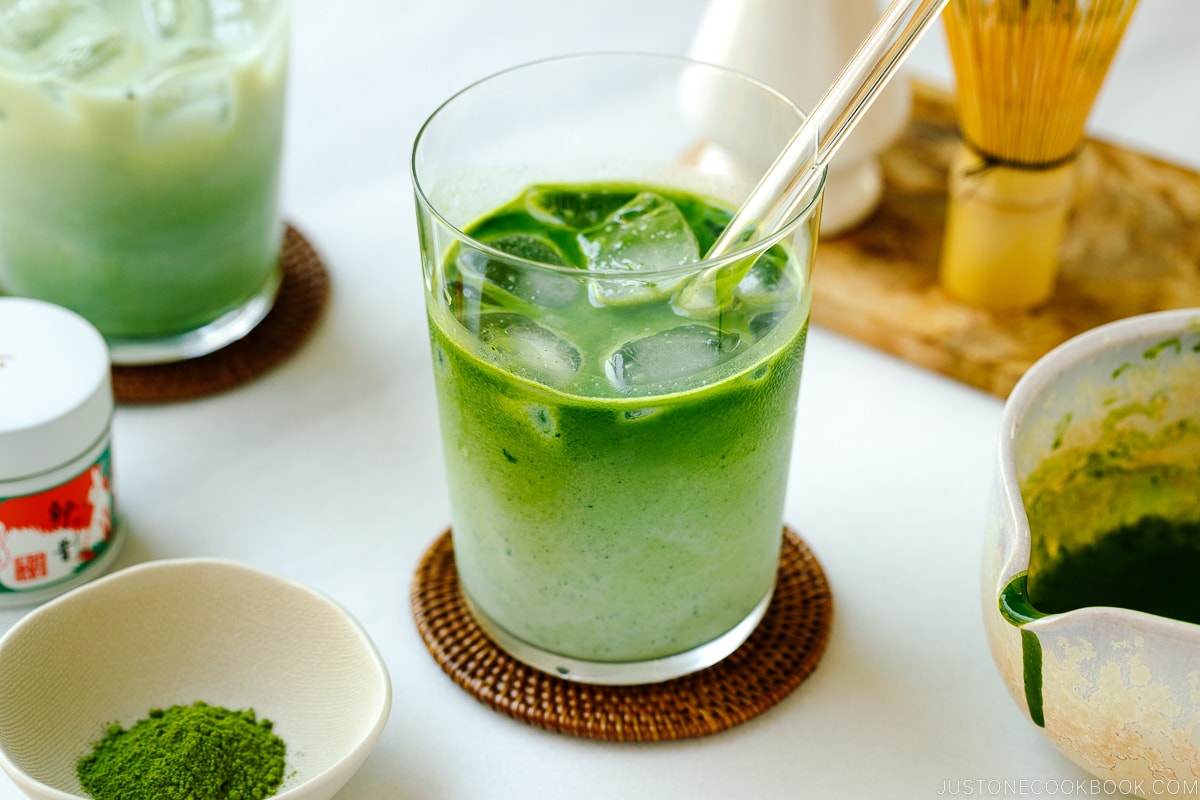
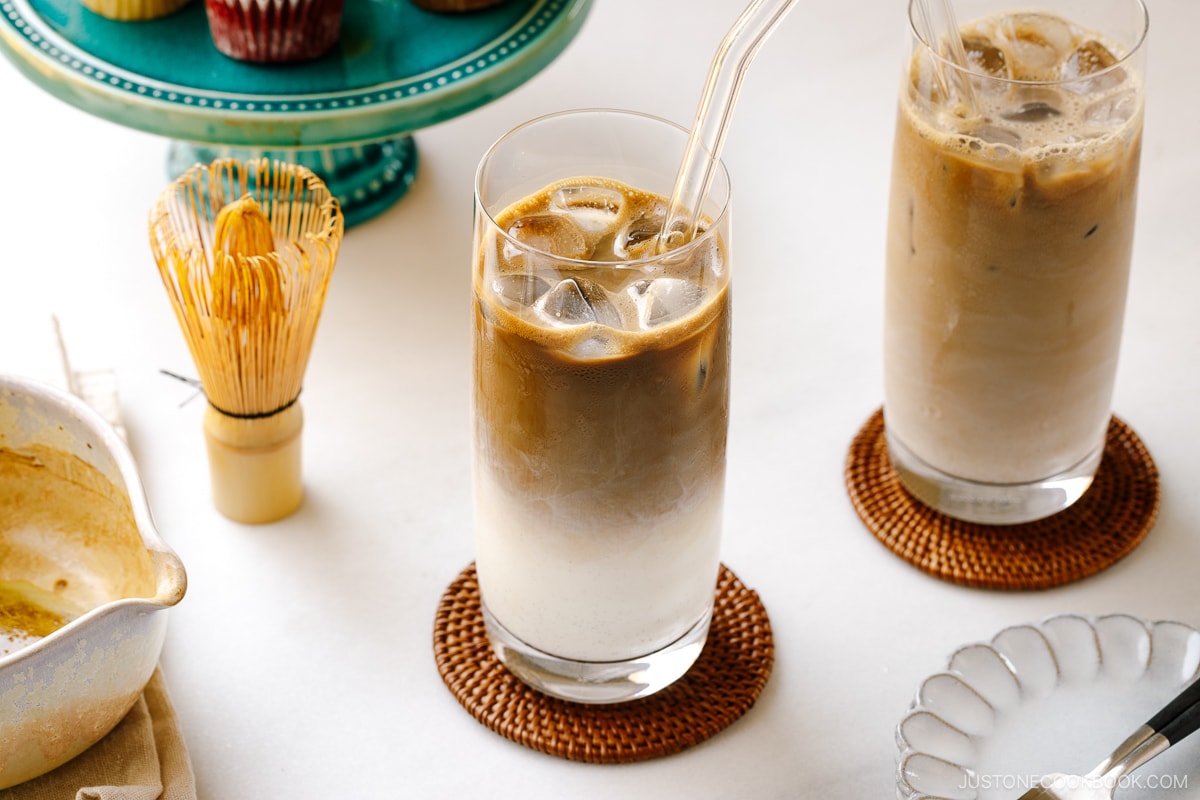
Green Tea Japanese Iced Coffee Iced Matcha Latte Hojicha Latte In a Japanese Fruit Parfait
Editor’s Note: This post was originally published on September 14, 2013. It was updated with a slightly revised recipe, helpful tips and techniques, and new images on May 2, 2024, and republished on May 24, 2024.
