The fall screams apple dessert recipes! Don’t miss Dutch apple pie, apple crisp, apple turnovers, apple dump cake, apple oatmeal cookies, mini apple pies, apple dumplings, apple cheesecake bars, apple turnovers and of course this Apple Cheesecake recipe!
Watch: Apple Caramel Cheesecake
Apple Cheesecake Recipe Ingredients
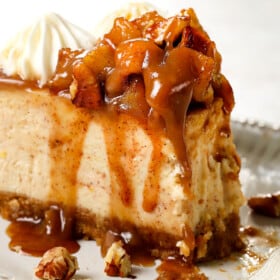
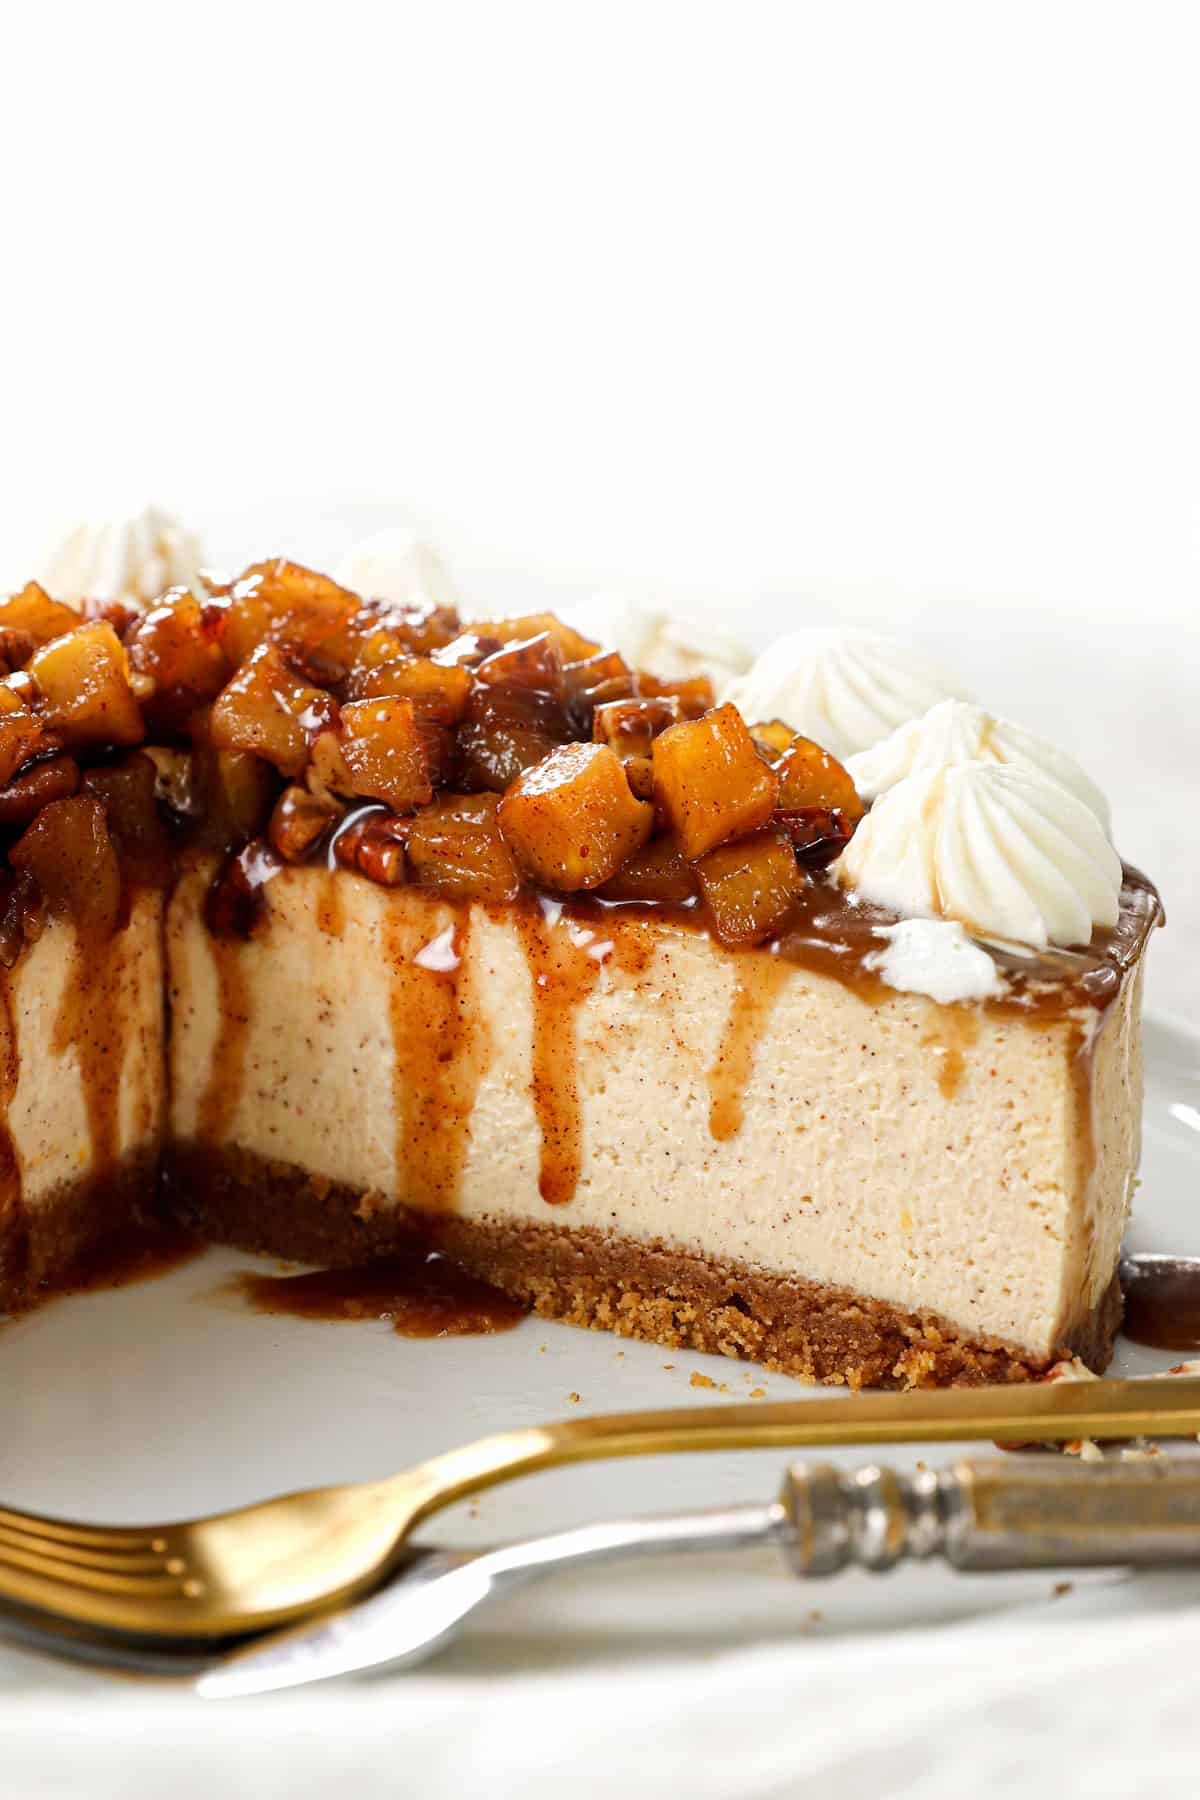
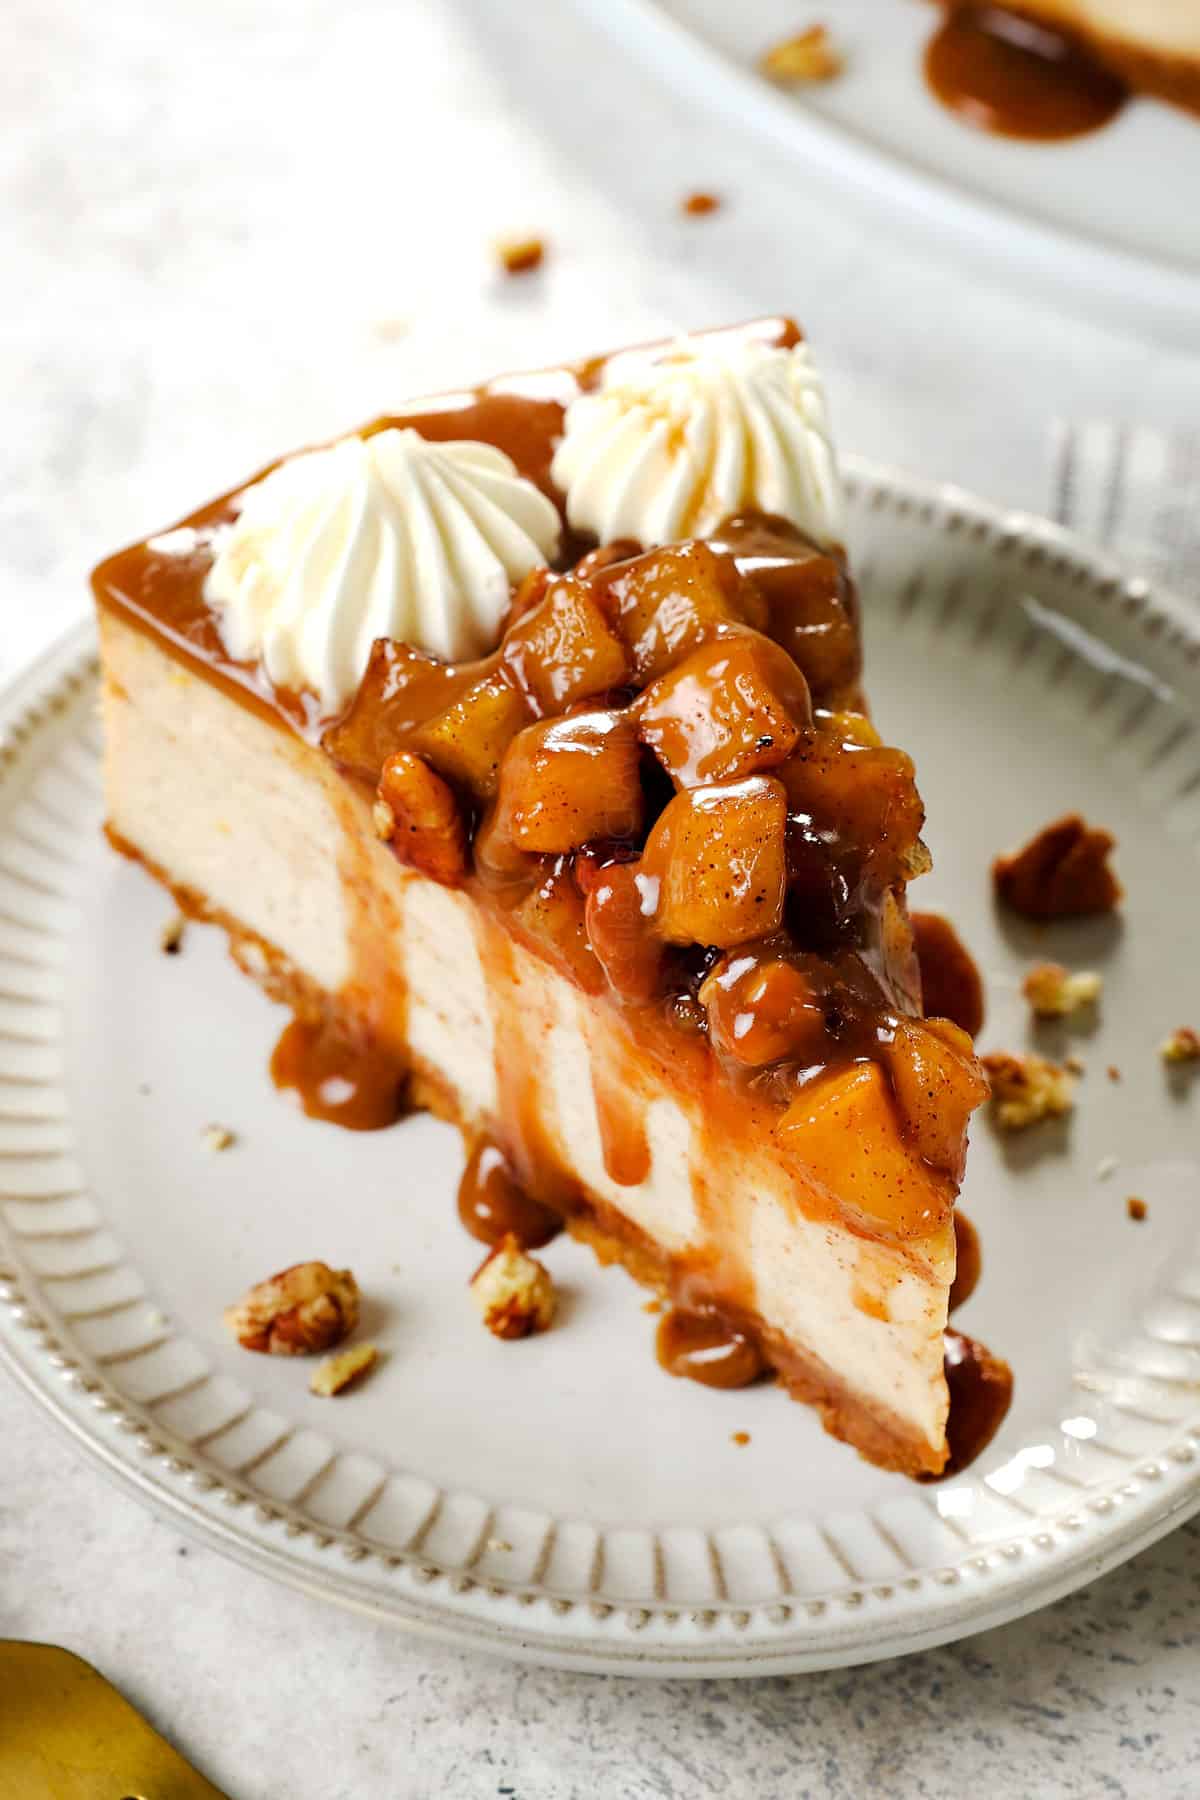
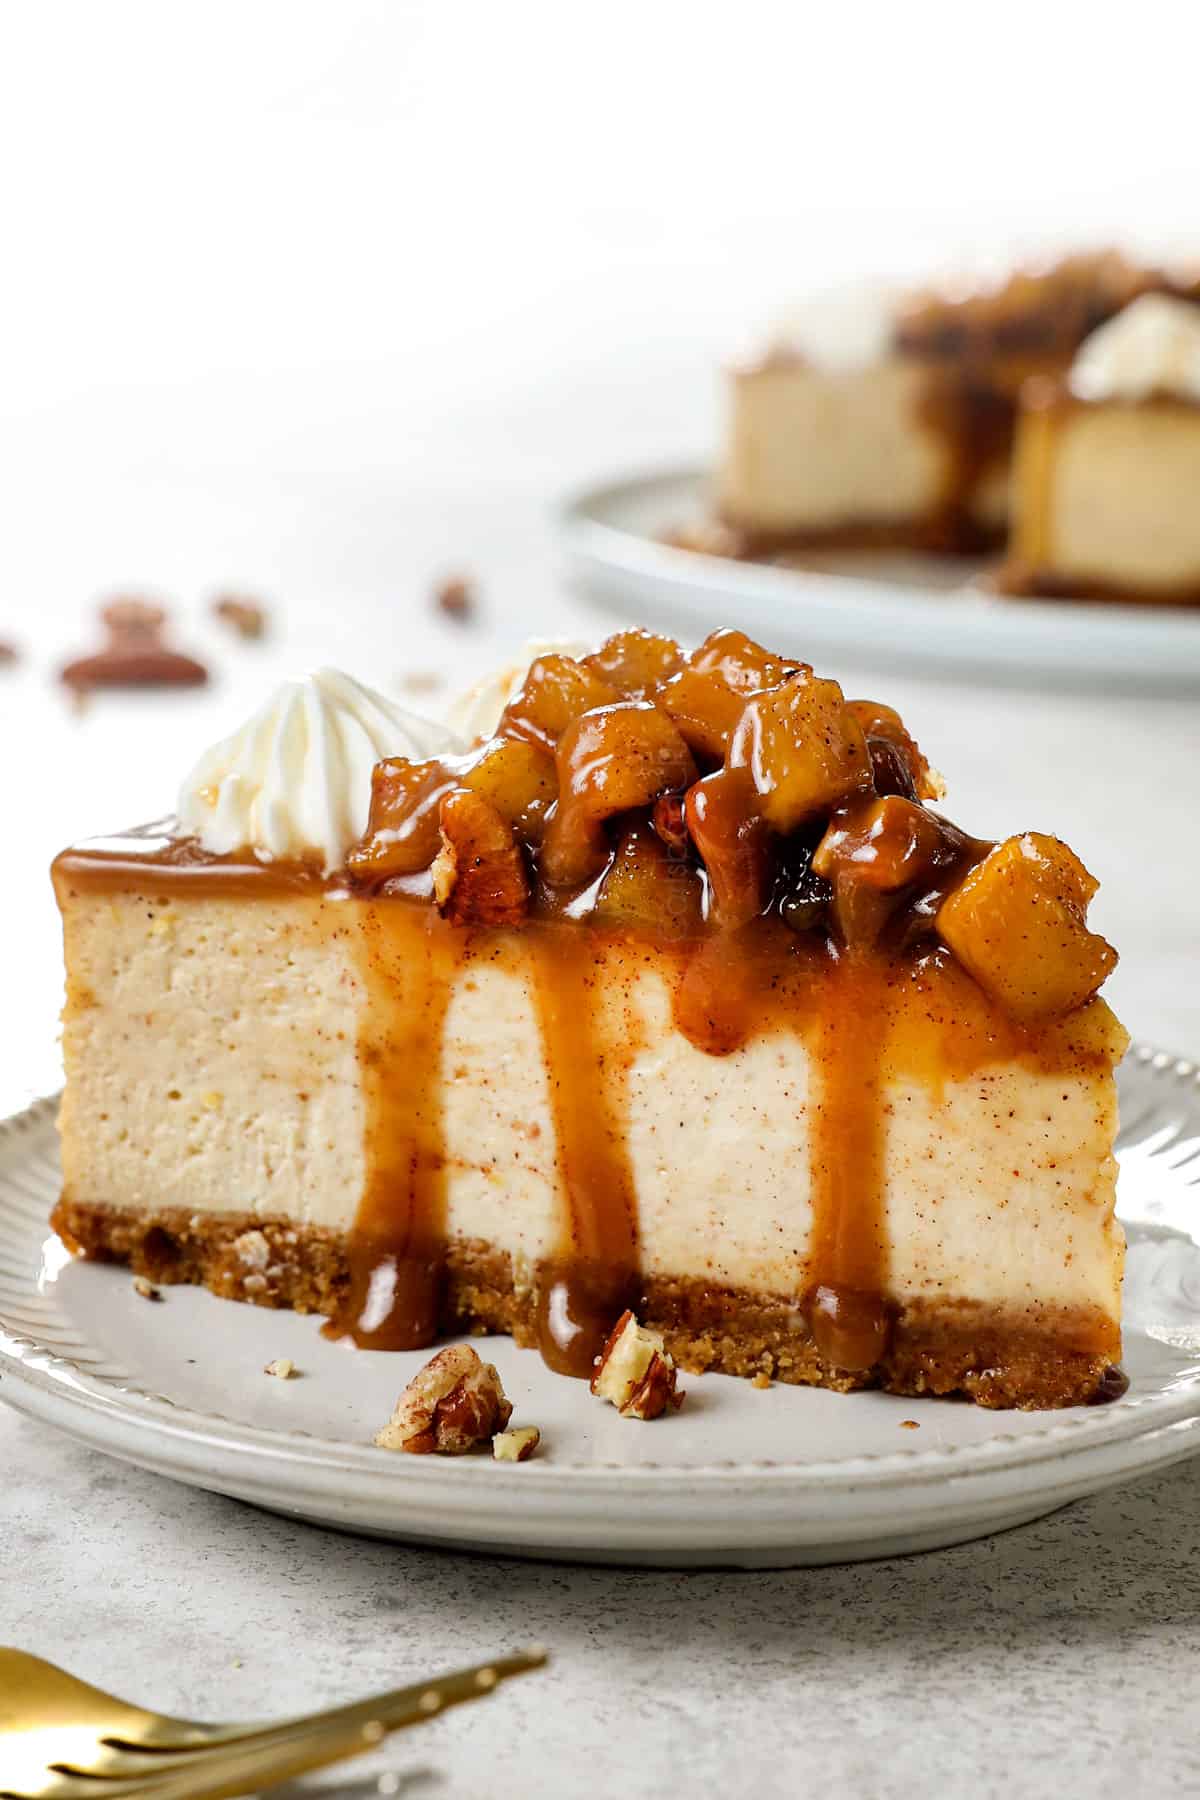
This homemade Apple Cheesecake recipe can be broken down into three layers: 1) the graham cracker crust, 2) the creamy cheesecake filling and 3) a caramelized spiced apple topping which all get drizzled with caramel sauce! Let’s take a closer look at what you’ll need (full measurements in the printable recipe card at the bottom of the post):
For the Graham Cracker Crust:
For the cream cheese layer
For the apple layer layer
How to Make Caramel Apple Cheesecake
This is an easy, yet time consuming recipe to prepare, so make sure to read through the recipe entirely before beginning. Below is an overview of the baking process with step by step photos. Full instructions with measurements can be found in the recipe card at the end of this post.
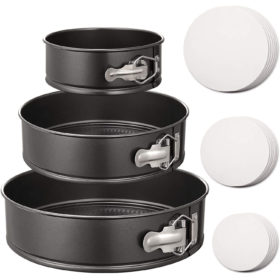
Step 2: Make and Blind Bake the Crust
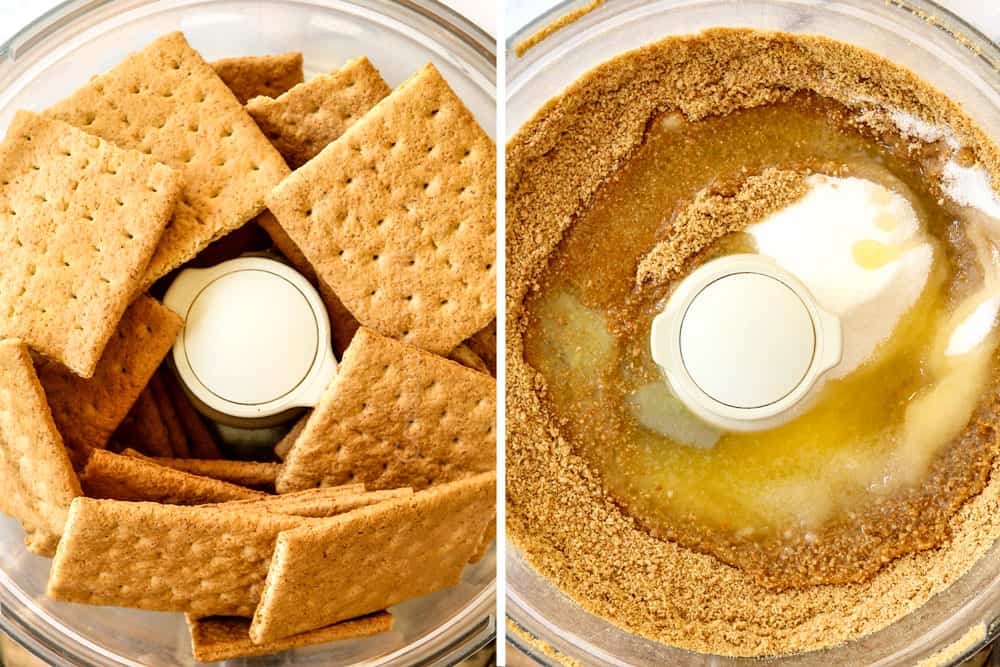
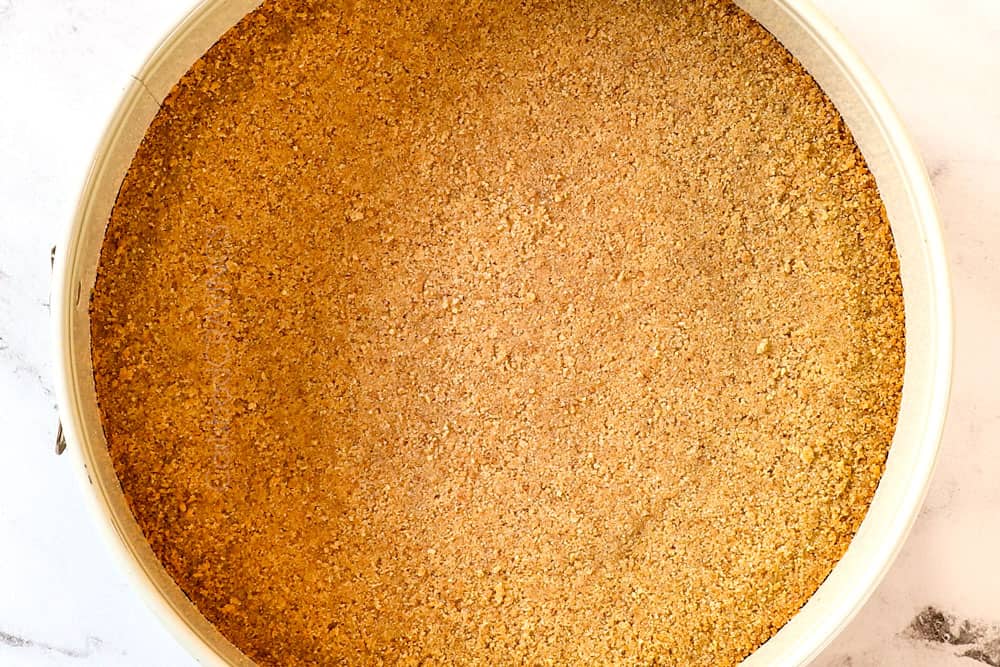
Grind Graham crackers: First, you’ll want to make crumbs by either pulsing the Graham crackers in your food processor or crushing in a sealable bag with a rolling pin/side of a can. You want very finely ground crumbs because they stick together better. Combine crumbs, sugar and butter: For the food processor, simply add the sugar and butter directly to the processor and process until the crumbs are moistened. If you don’t have a food processor, add the crumbs, butter and sugar to a bowl and stir until the crumbs are evenly moistened. Make the crust: Transfer the moistened crumbs to your lightly greased, parchment paper-lined springform pan and press firmly into the bottom of the pan in an even layer using a small bowl or bottom of a measuring cup. This helps the crust stay intact and not crumble when sliced. But don’t compact the crumbs too much or the crust will crack when you slice the cheesecake. Bake the crust: Bake the crust at 325 degrees F for 10 minutes then allow it to cool while you make the cheesecake filling. Baking the crust before adding the cheesecake allows it to seal together and cooling the crust before adding the cheesecake prevents it from becoming soggy.
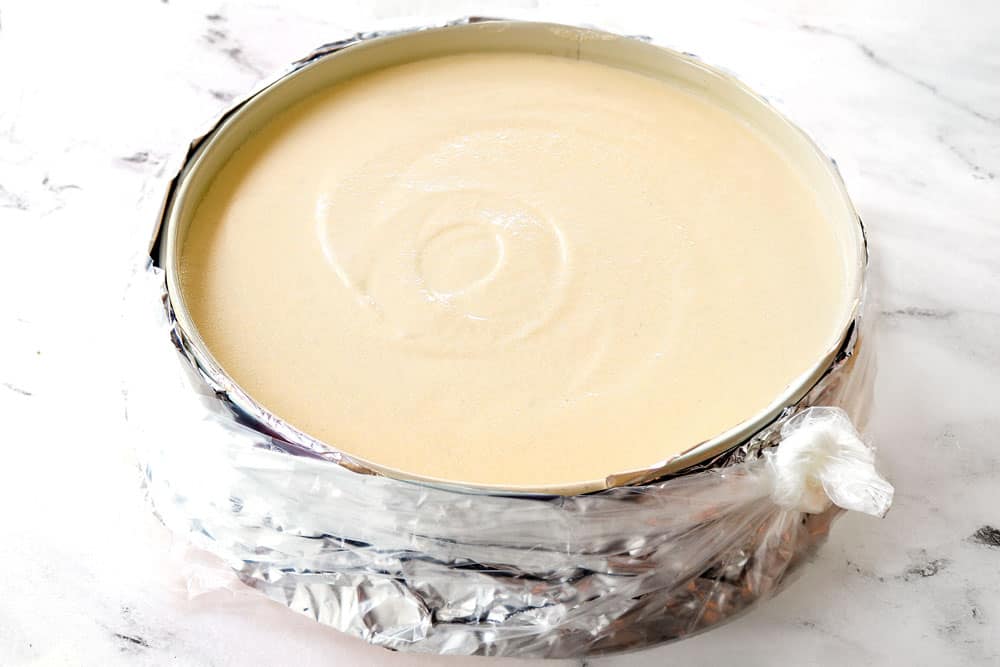
Step 3: Waterproof the Springform Pan
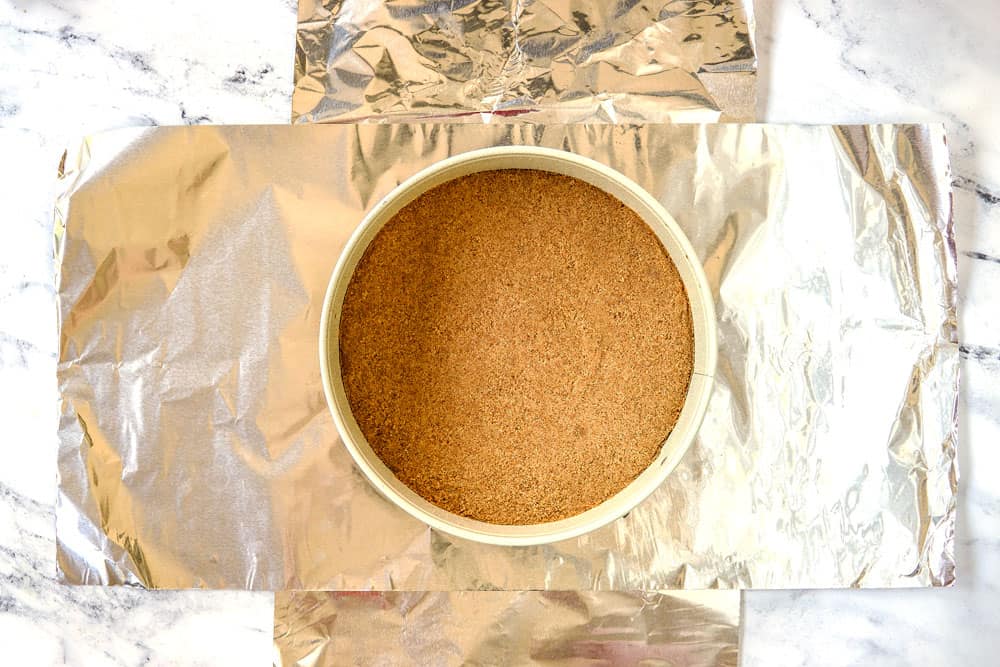
The springform pan needs to be waterproofed so water from the water bath doesn’t seep through the bottom of the springform pan and soak into the cheesecake. You have two options:
Option 1: Wrap in foil: First, place two large 18×18-inch pieces of heavy duty aluminum foil on a flat surface underneath the pan in the form of a “+.” Gently fold (to make sure you don’t create any holes) up the sides of the foil around the pan. If you use a slow cooker liner (below), you can use regular foil instead of heavy duty/18-inch. This method, alone, however, is not fool proof, so I highly recommend adding a slow cooker liner or roasting bag (below).
Option 2: Wrap with a slow cooker liner or oven roasting bag (optional but HIGHLY recommended): Next, place the foil lined springform pan in the center bottom of a slow cooker liner or large oven roasting bag. Bring the liner up to the top of the pan then gather excess to one side and tie it in a knot. If you don’t add the liner, then I suggest 2 more layers of foil around your springform pan.
Step 4: Make the Cheesecake Filling
Beat cream cheese and sugar: Beat the cream cheese in the bowl of an electric mixer fitted with the paddle attachment for 4 minutes, then add the sugar. Beat for an additional 5 minutes — don’t try to rush this process! Add sour cream and lemon zest: Add the sour cream, lemon zest, spices, vanilla, and beat until blended. Add eggs: Add the eggs one at a time followed by the egg yolk, beating as little as possible; overbeating eggs can cause cracks and the cheesecake to deflate. Assemble the cheesecake: Pour the cheesecake filling onto the cooled crust. Drop the pan on the counter a few times to remove excess air bubbles.
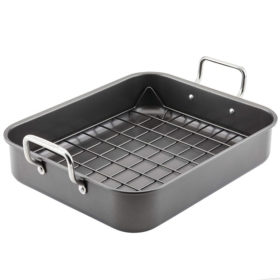
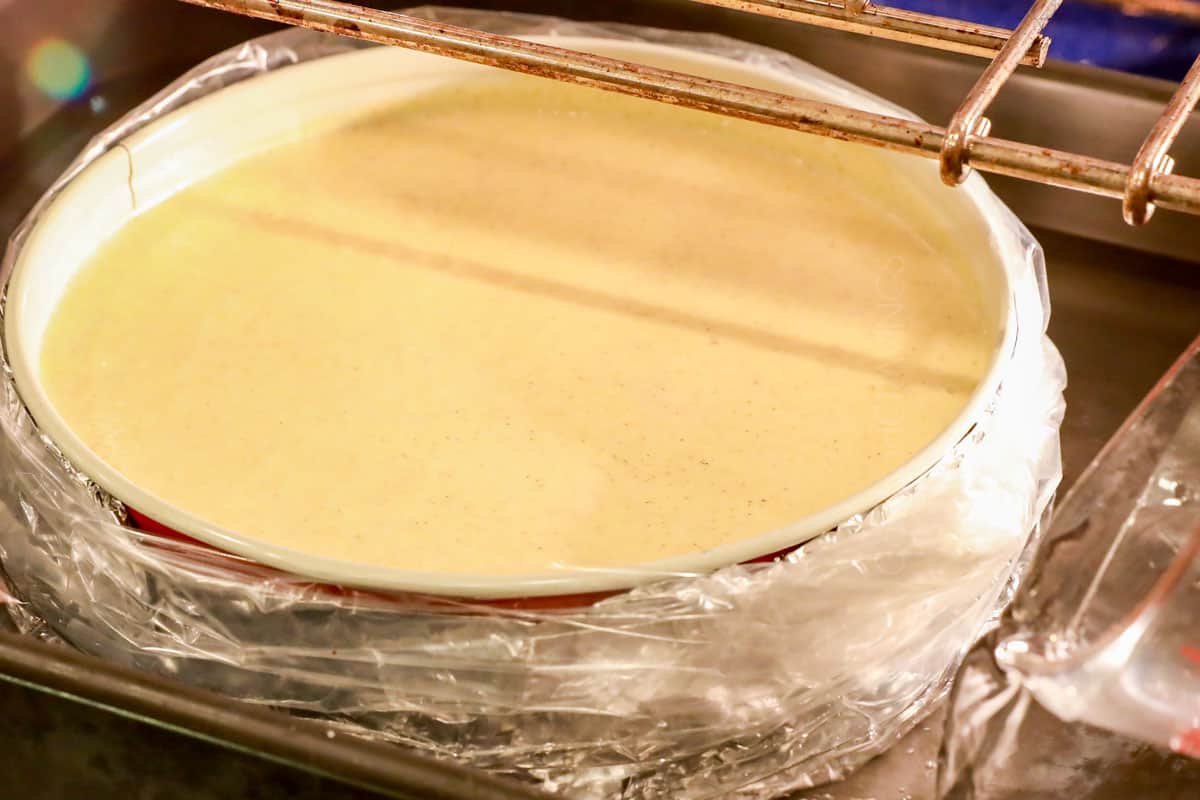
Step 5: Assemble the Water Bath
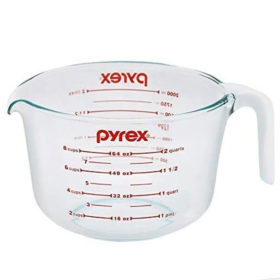
Add cheesecake to a roasting pan: Place the waterproofed cheesecake in a roasting pan, then place the roasting pan in the oven. I like to place the roasting pan in the oven before adding the water bath or else the pan can become heavy and the water can slosh around and threaten to get in your cheesecake while you transfer it. Make a water bath: To add the water, use a glass liquid measuring cup or pitcher (something with a spout) to carefully pour in enough boiling water around the cheesecake until it reaches halfway up the side of the springform pan. Make sure to add the water slowly to the corner of the pan so none of it gets on your cheesecake.
Step 6: Bake the Cheesecake
Bake: Bake the cheesecake at 325ºF until the edges are firm and the center 2-3 inches of the cheesecake is still wobbly.
Step 7: Chill the Cheesecake
Cool cheesecake in the oven: Turn off your oven and crack open the oven door. Allow the cheesecake to cool in the oven for 60 minutes. Cool cheesecake on the counter: Remove the cheesecake from the oven and the water bath and place it on a cooling rack on the counter. Cool cheesecake completely: Continue to cool the cheesecake for 2-3 hours on the counter or until the cheesecake is completely cooled. Refrigerate overnight: Cover the cheesecake with foil or transfer to a cake caddy with a lid and chill in the refrigerator overnight, but best if 24 hours.
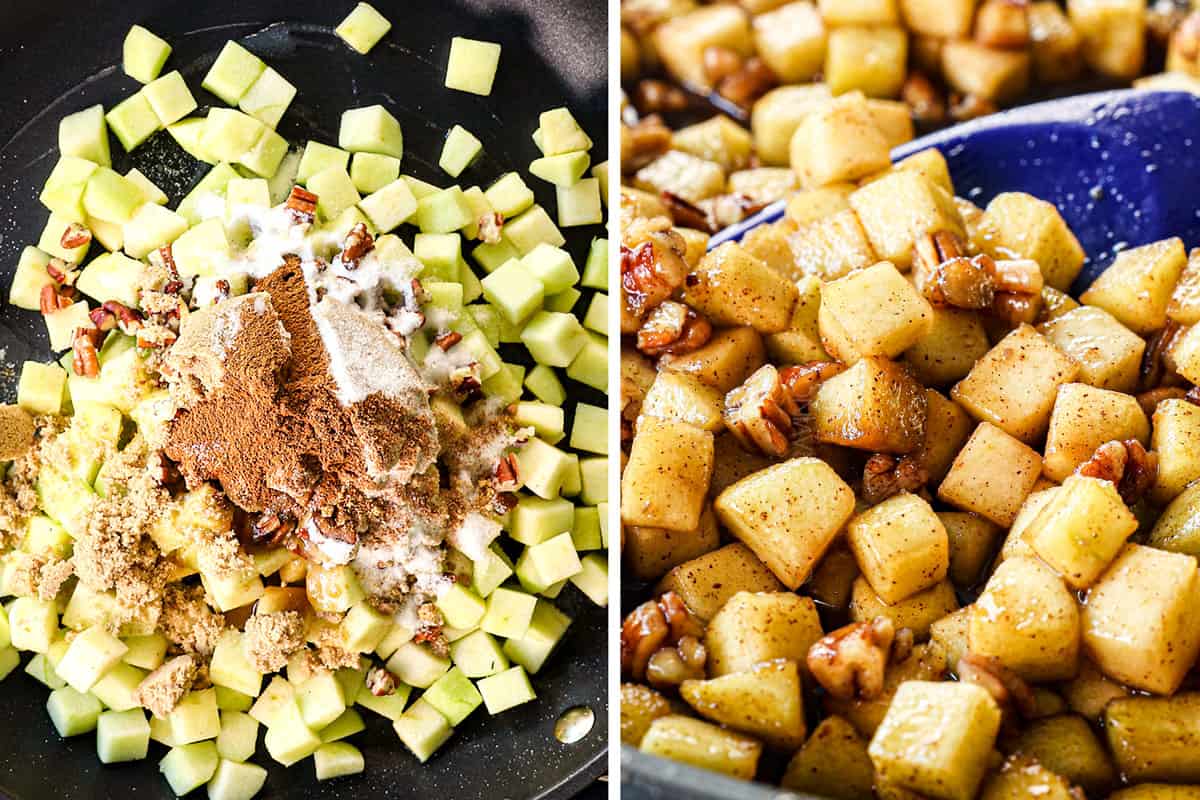
Step 8: Make the Apple Topping
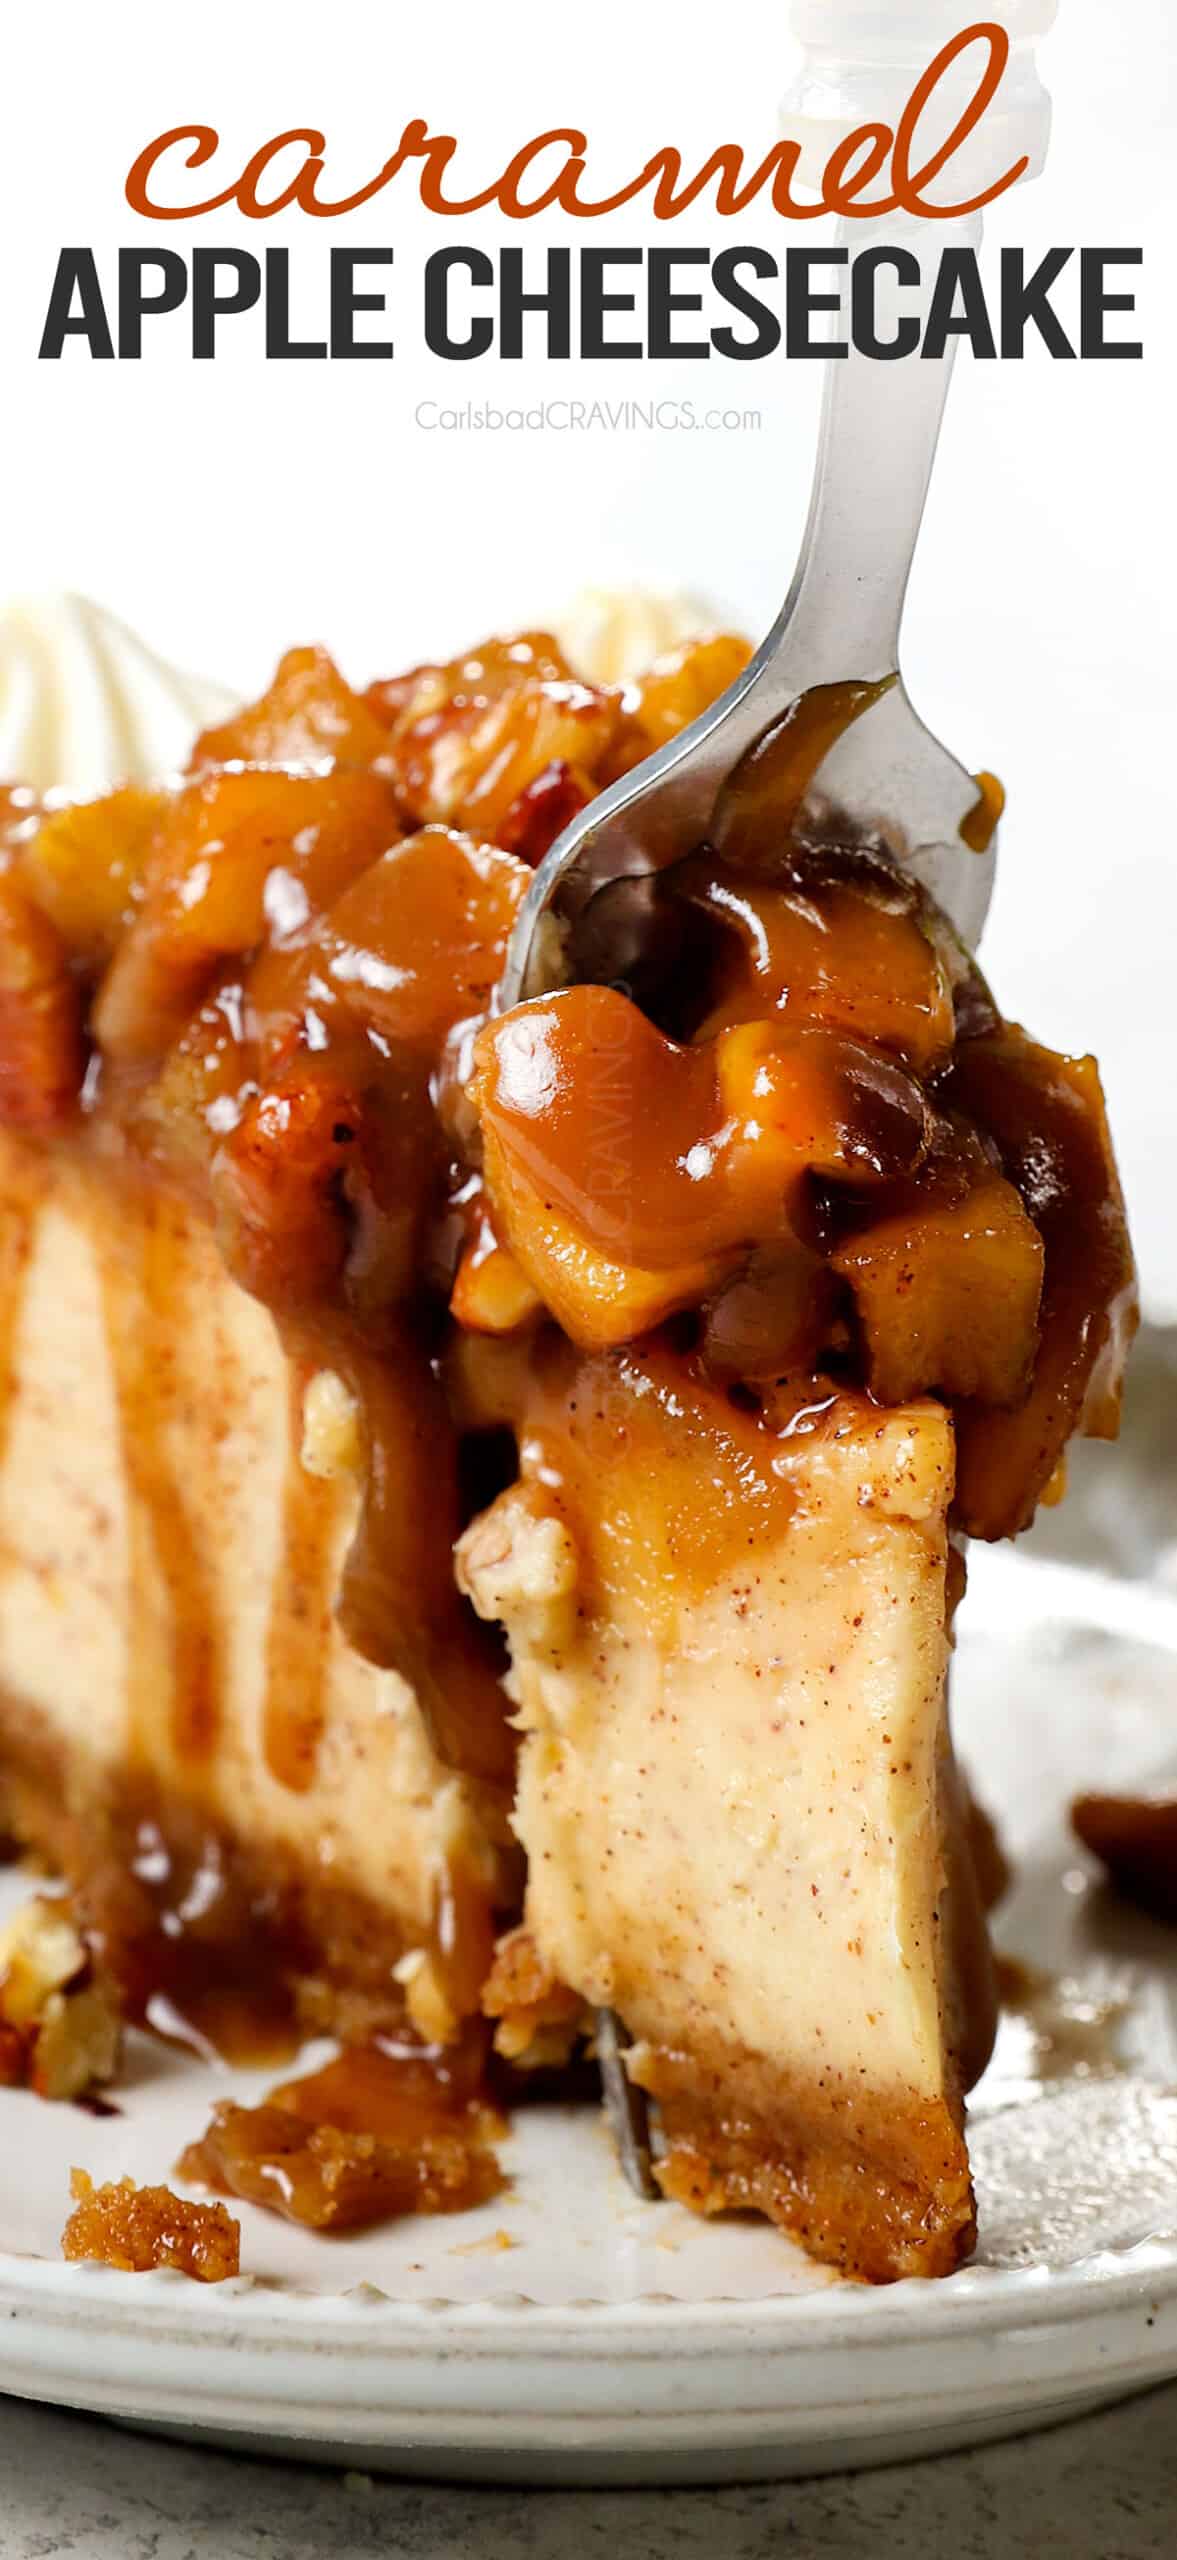
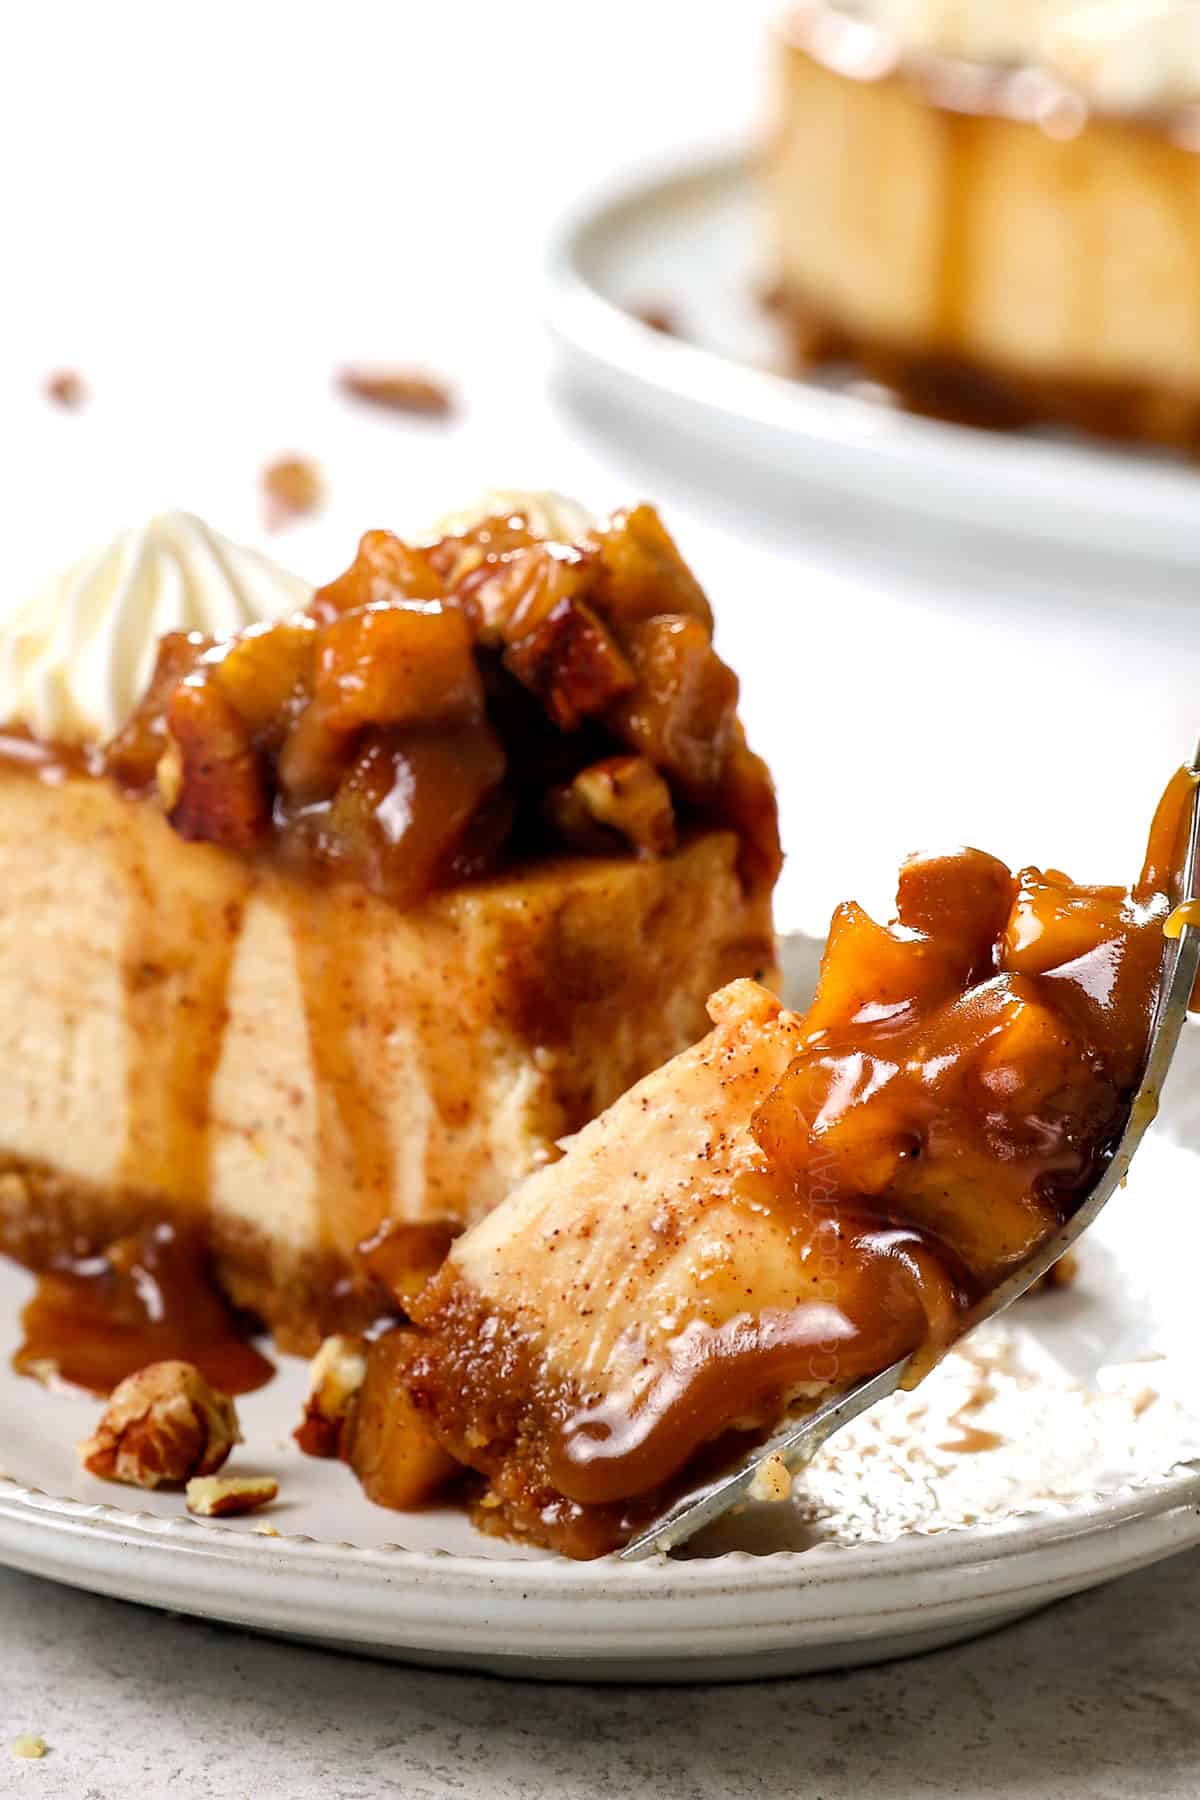
The apple topping is very best warm over the cooled cheesecake. It can be partially made ahead of time, then warmed, or make it right before serving.
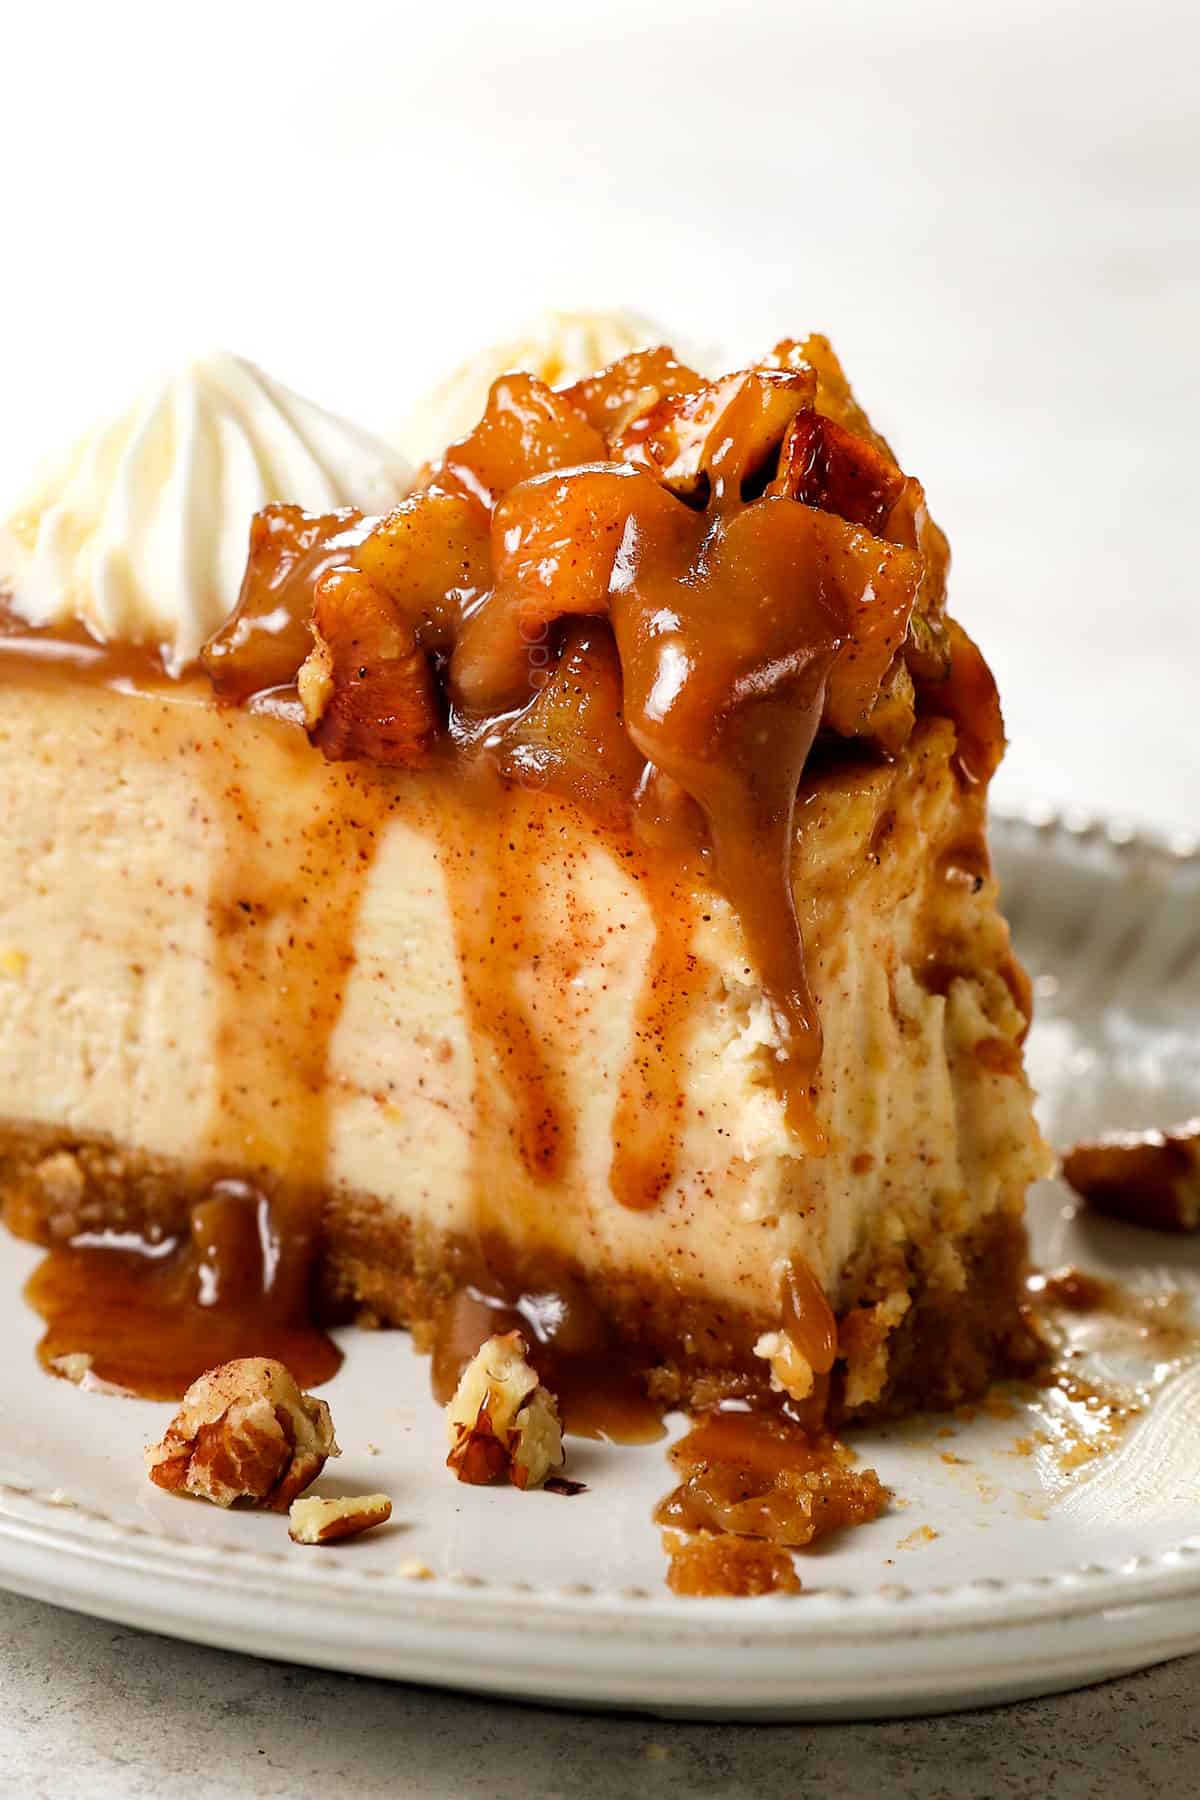
Combine the ingredients. Whisk the cornstarch with the lemon juice; set aside. Melt butter in a medium saucepan over medium heat. Add all the apple filling ingredients. Sauté the apples. Cook the apples for and cook for 5 minutes, stirring constantly. Reduce heat to low and cook until the apples are tender, another couple minutes. Remove from heat and stir in the vanilla extract. Add to cheesecake: Gently spoon the diced apple mixture over the cheesecake filling.
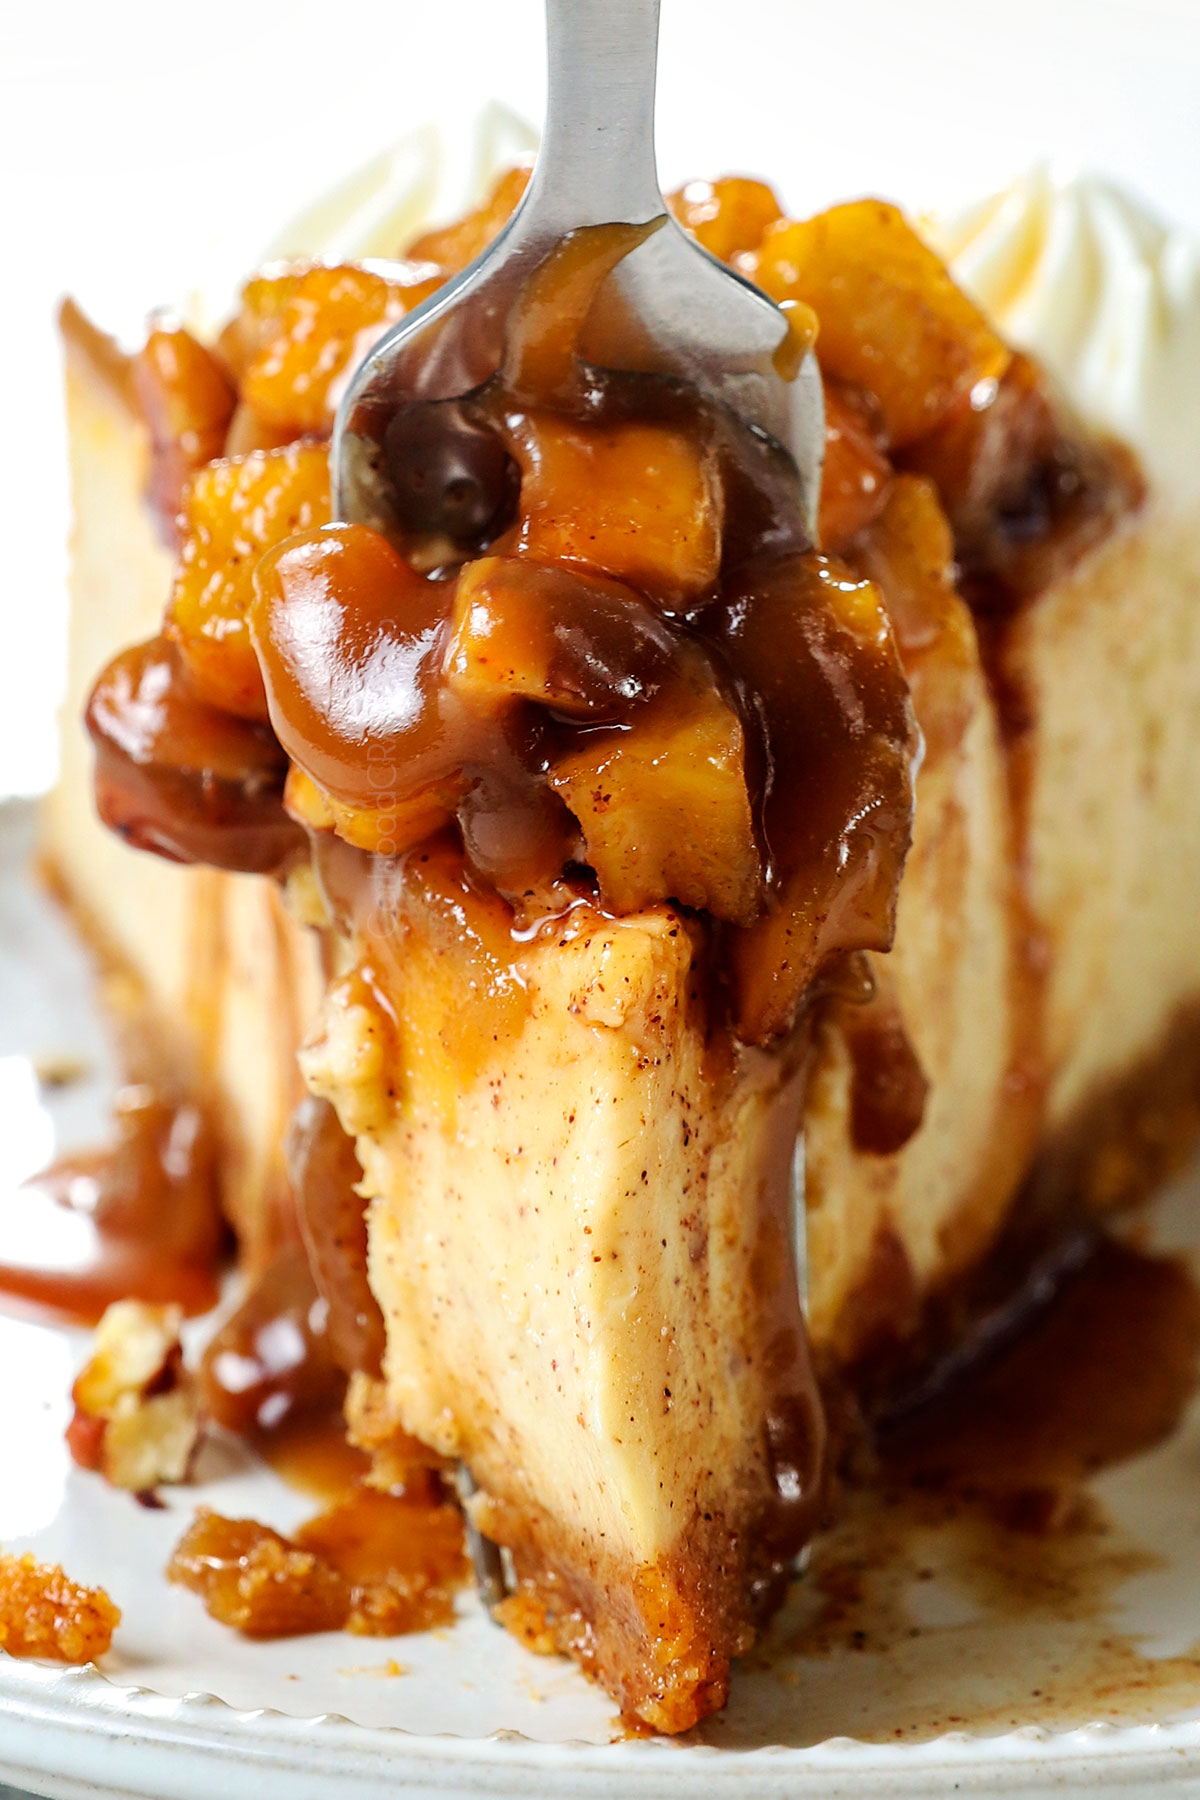
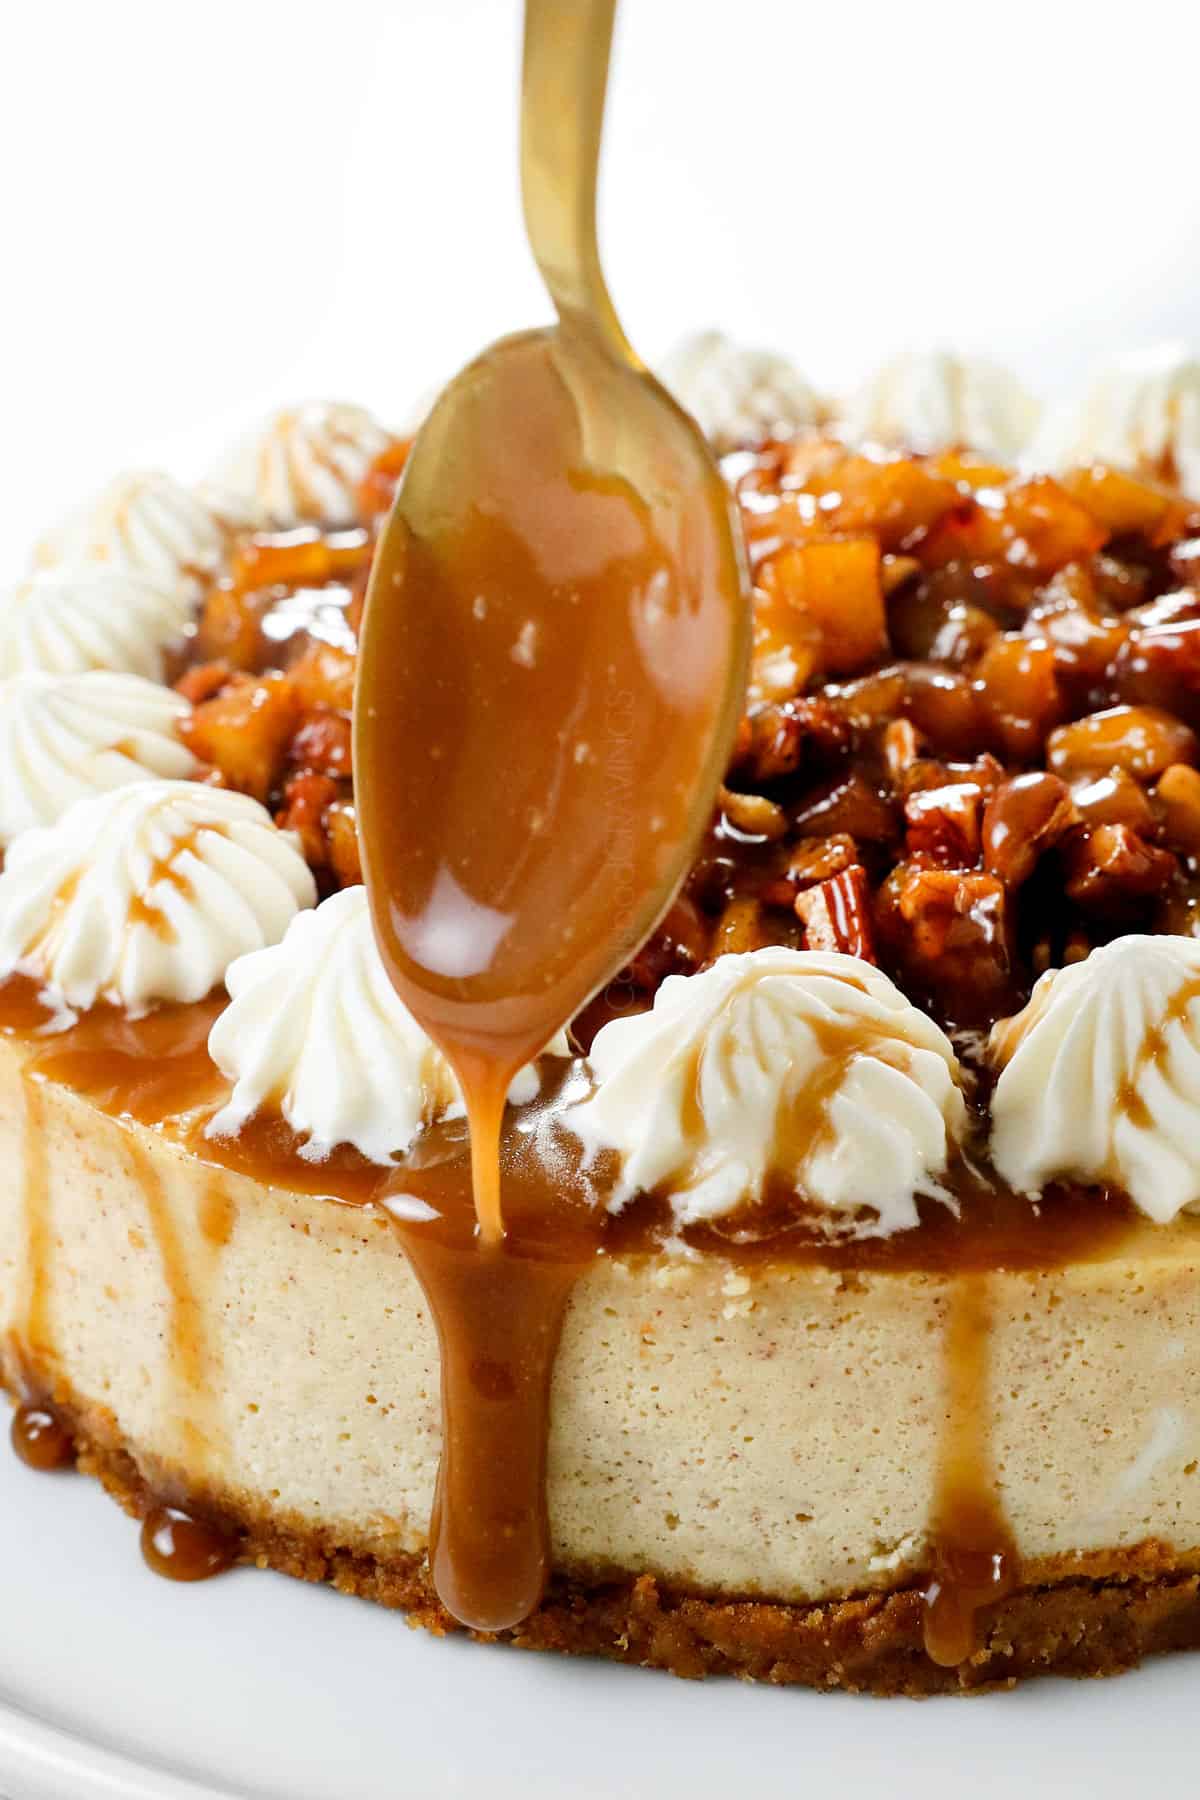
Step 9: Serve!
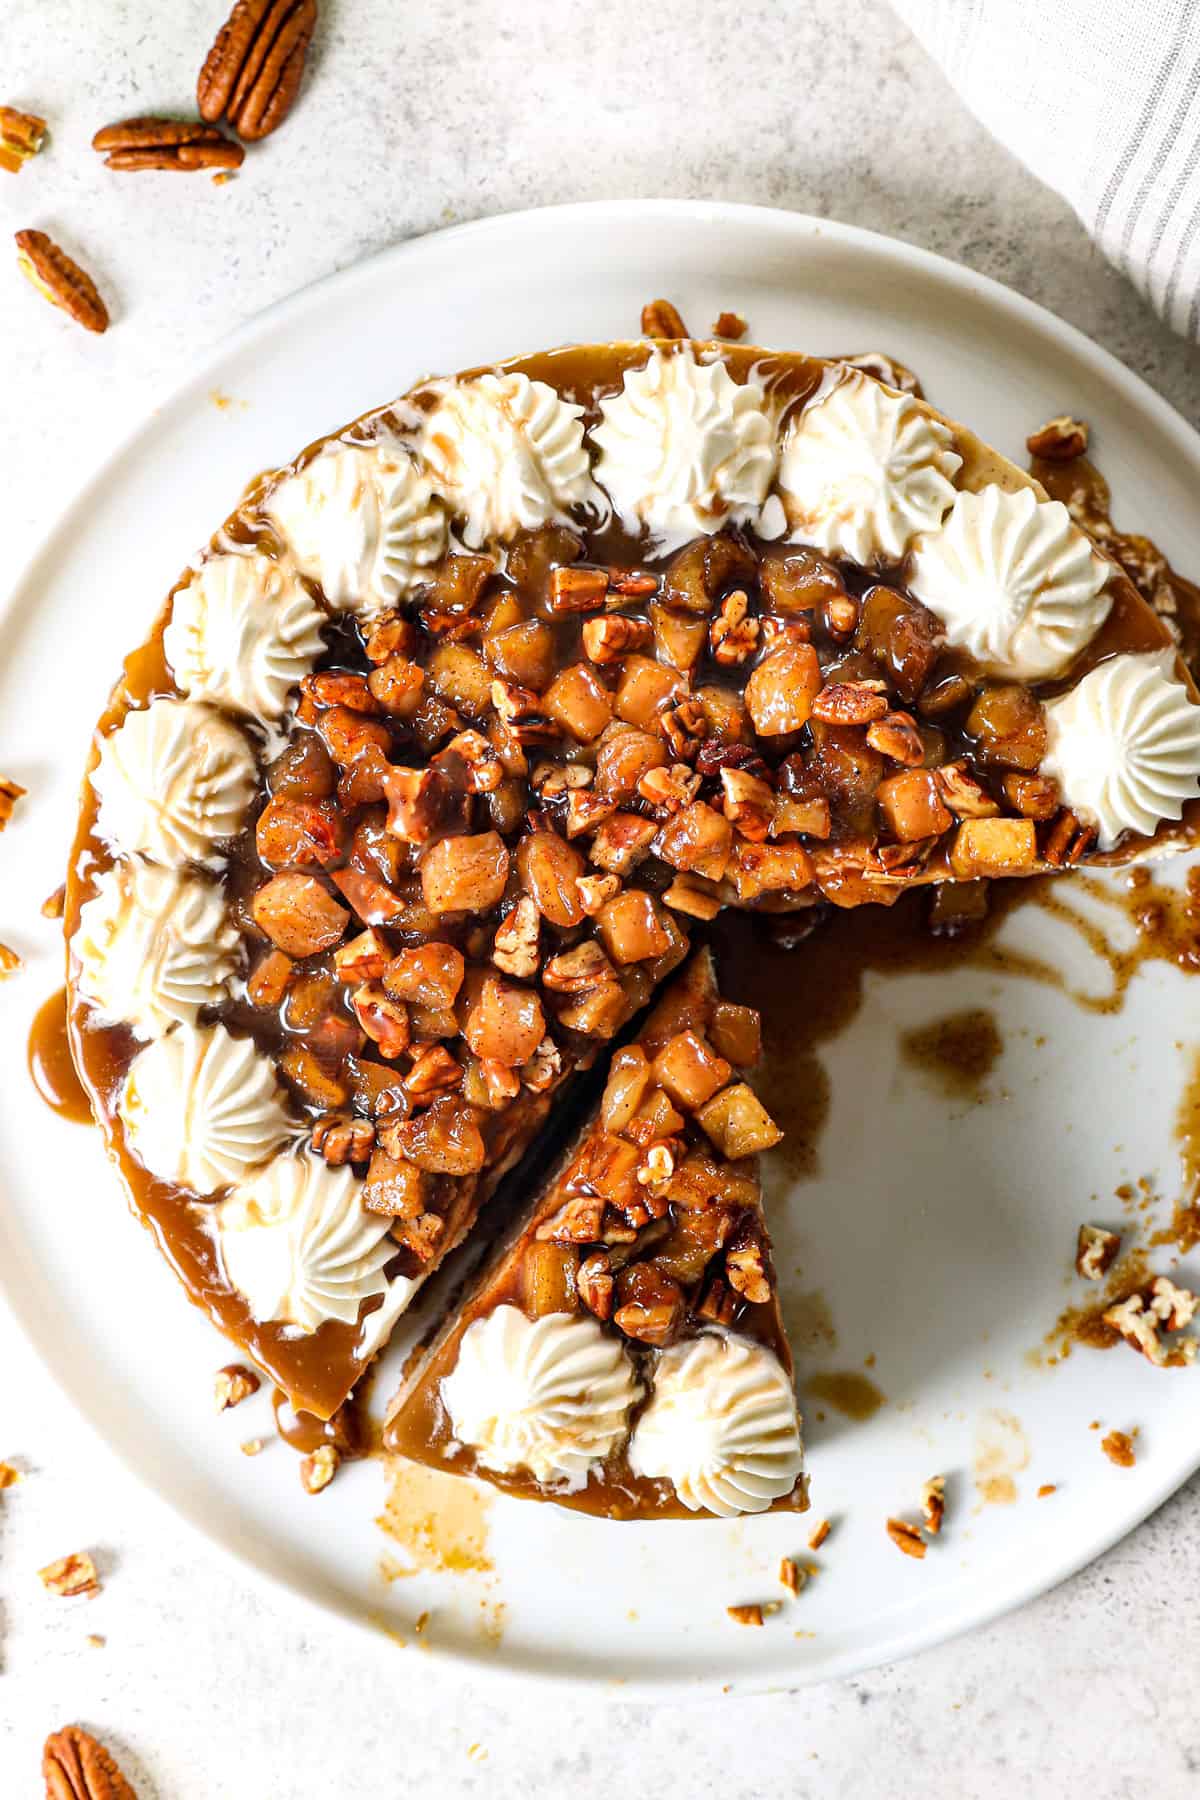
Add caramel: Carefully slide the cheesecake onto a serving platter. Drizzle with camel sauce, slice into wedges, and dig in!
Tag @CarlsbadCravings and Use #CarlsbadCravngs Leave a Review, I Always Love Hearing From You!


![]()