Our summertime in Japan was nothing but a sweet and precious one. Our children had a wonderful time reconnecting with their grandparents. We mostly enjoyed my mom’s simple yet delicious home cooked meals and once in a while we took my parents out to enjoy well-marbled wagyu meat in yakiniku restaurants. One of the things we did miss though is firing up the grill in our backyard, smelling the delicious smoke mixing with the summer air, and watching Mr. JOC with his grilling utensils in action. Now that we are back in the States and my children have started school, we took advantage of the weekend and grilled up one of our family favorites BBQ Pork Belly with a little extra flare.
How To BBQ Pork Belly
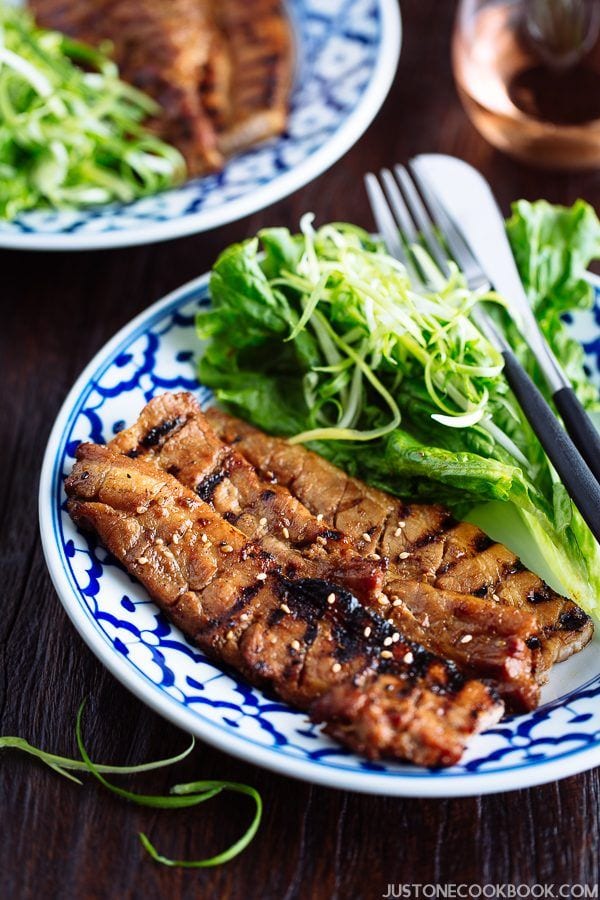
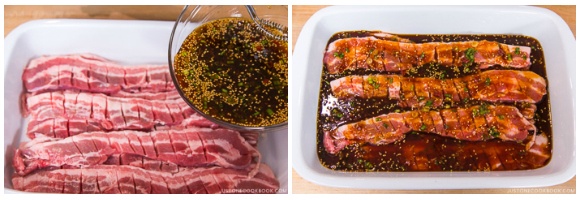
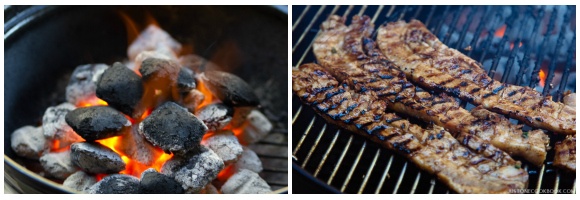
There are many ways to grill the pork belly. Mr. JOC is the grill master of our household and he swears by this technique of using charcoal with Weber Char-Basket Charcoal Briquet Holders. You start off by piling charcoals on one side of the holders. When ready to grill, sear the pork over charcoal using high heat on both sides (~1 min), before moving them over to the other side of the grill with low heat and then slowly grill them with cover on. This gives the meat an irresistible smoky charcoal flavor. If you get 1/4-inch thick slices of pork belly like I did, I highly recommend using an outdoor grill so that the extra fat will melt off and the finished product won’t be as oily and fatty. For those of you who live in the bay area, I go to a Korean meat shop in Sunnyvale (check out Angus Meat Market) to get short ribs, pork belly, and other cuts. Their meat quality is amazing and you won’t be disappointed. Japanese grocery stores sell slices and blocks of pork belly as well. However, the slices are 1/8-inch thickness (like bacon) and they get burn easily with the outdoor grill. You could definitely use it if you plan to cook on the stovetop. Sometimes you can only find a block of pork belly. But not to worry, you can slice your own (See the tutorial). If you don’t see them at the display, ask the helpful butcher at the counter for pork belly, because it’s often stored in the freezer.
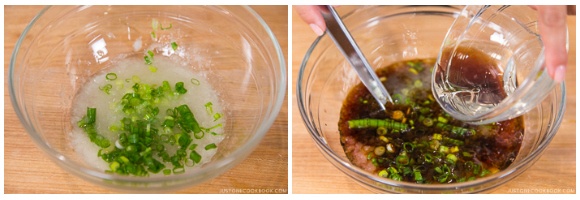
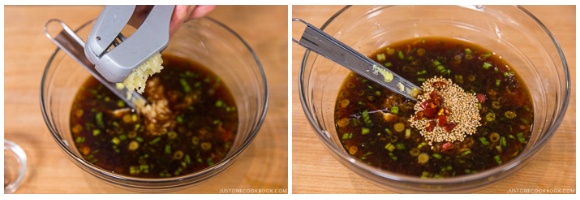
Delicious BBQ Pork Belly Marinade
Most of the ingredients and condiments that are used to make this marinade for BBQ Pork Belly are staples from the Japanese pantry. The flavor of this marinade is more savory, instead of sweet and spicy. If you like it spicy, you can increase the amount of red chili pepper. If you prefer a sweeter taste, you can add grated apple or Asian pear or more honey (or brown sugar) to the marinade. Last but not least, it’s important to include grated onion as it tenderizes the bbq pork belly and adds flavors to the marinade. Not a fan of pork belly or pork? You can definitely use this versatile marinade in beef or chicken.
Wines to Pair with BBQ Pork Belly
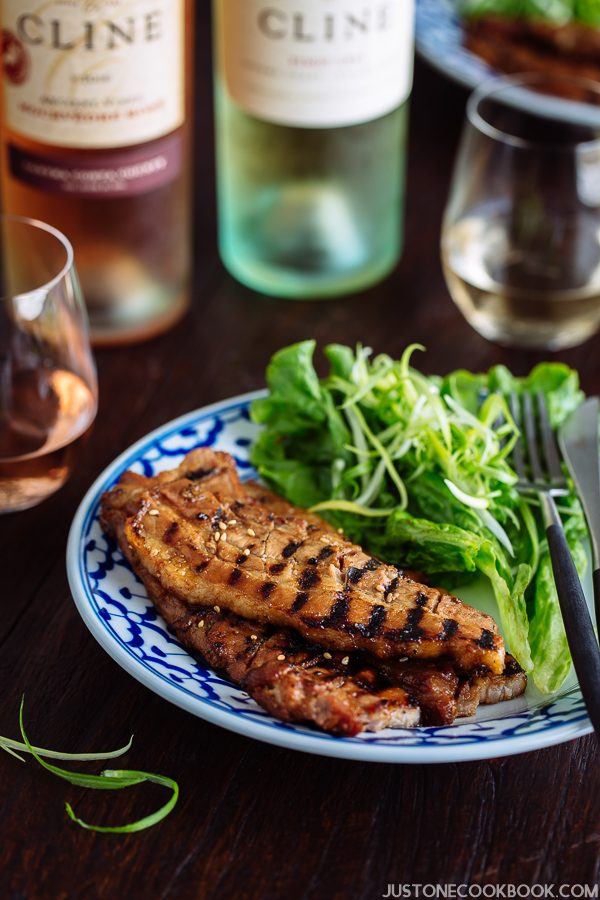
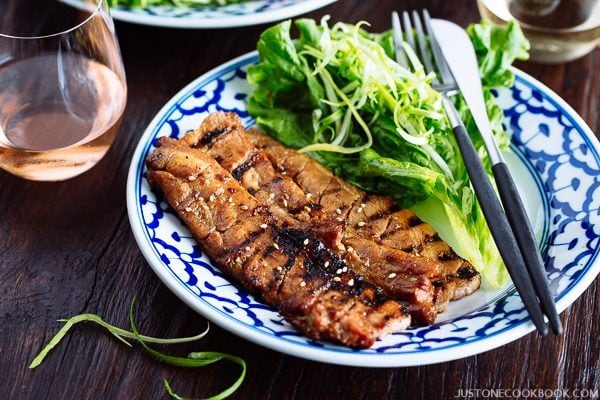
Before the best of summer is gone, we wanted to enjoy our meals outdoor as much as possible, with glasses of white wine and rosé in hands of course. For the BBQ pork belly, we paired the dish with Cline Family Cellars’ 2016 Sonoma Coast Estate Grown Pinot Gris and 2016 Ancient Vines Mouvèdre Rosé. Both wines complemented the pork belly perfectly. The pinot gris was light, refreshing, with hints of pear, honey, and citrus. I really liked the taste because it was not too sweet. The rosé was on the drier side, but equally delicious and bright. With each sip, you can almost taste the sweet fruits of summer with notes of cherries and berries. Both wines cut through the rich and succulent bbq pork belly and that probably made us ate more than we should. For the price (~$12-15), both wines are fantastic value and I recommend them for a summer party or simply enjoy them at your patio. I hope you get to try out this recipe and enjoy the remainder of the summer!
Don’t want to miss a recipe? Sign up for the FREE Just One Cookbook newsletter delivered to your inbox! And stay in touch with me on Facebook, Google+, Pinterest, and Instagram for all the latest updates. Disclaimer: We received no compensation for the wine review. We received Cline Family Cellars wines from Jarvis Communications, free of charge to use in exchange for an honest review. Editor’s Note: The post was originally published on August 27, 2012. The images, recipe, and content have been updated in August 2017.